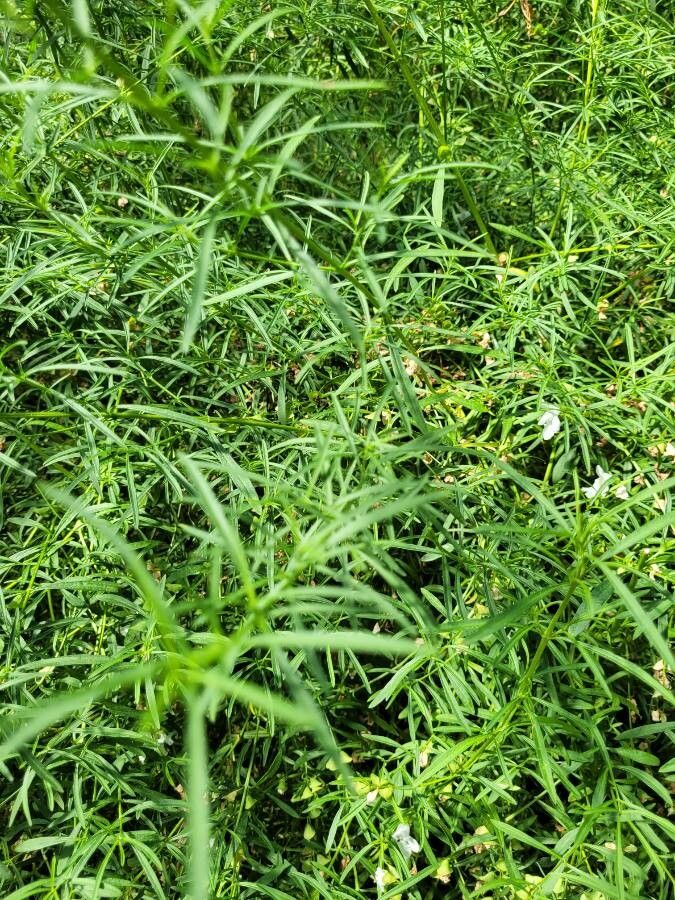
Hello fellow garden enthusiasts! Today, we’re going to chat about a plant that deserves a standing ovation: Westringia longifolia, often called coastal rosemary. I’ve spent countless hours with these beauties in my own garden and in clients’ landscapes, and let me tell you, they’re a real delight. Their delicate, rosemary-like foliage and pretty little white or lilac flowers add such a lovely touch, especially in coastal or sunny, drier spots. And the best part? They’re surprisingly easy to multiply! If you’re new to propagation, this is a fantastic plant to start with. It’s incredibly forgiving.
The Best Time to Start
For Westringia longifolia, the sweet spot for propagation is definitely late spring to early summer. This is when the plant is actively growing. You want to take cuttings from stems that are still somewhat soft and flexible – what we call “semi-hardwood” cuttings. Avoid taking them from brand new, bright green growth that snaps easily, or from old, woody stems. Think of it as taking a piece of growth that’s “just right.”
Supplies You’ll Need
Gathering your supplies before you begin makes the whole process smooth sailing. Here’s what I always have on hand:
- Clean, sharp pruning shears or a sharp knife: Essential for clean cuts that heal well.
- Rooting hormone (powder or gel): While Westringia can root without it, it certainly speeds things up and increases your success rate.
- Well-draining potting mix: I like a blend of equal parts perlite and peat moss, or a good quality seedling mix. You want something that won’t hold too much moisture.
- Small pots or seed trays: Clean them thoroughly beforehand!
- Plastic bags or a propagator lid: To create a humid environment.
- Watering can with a fine rose: For gentle watering.
- Labels and a pen: To keep track of what you’ve planted and when.
Propagation Methods
Let’s dive into how we can grow more of these wonderful plants. Stem cuttings are by far my favorite and the most successful method for Westringia longifolia.
Method: Stem Cuttings
- Select your cuttings: Head out to your Westringia and choose healthy shoots. Look for stems that are about 4-6 inches long.
- Make the cut: Just below a leaf node (where a leaf meets the stem), make a clean cut with your sharp pruning shears or knife. This is where the roots will emerge.
- Prepare the cutting: Strip off the lower leaves from the bottom 1-2 inches of the stem. This prevents them from rotting in the soil. If the remaining leaves are very large, you can trim them in half to reduce water loss.
- Apply rooting hormone: Dip the cut end of the stem into your rooting hormone, tapping off any excess.
- Potting them up: Fill your clean pots or trays with the well-draining potting mix. Make a small hole in the center with your finger or a pencil.
- Insert the cuttings: Gently place the treated end of the cutting into the hole, ensuring the bottom leaf nodes are buried in the soil. Firm the soil gently around the base of the cutting.
- Water gently: Water the pots thoroughly until water drains from the bottom.
- Create humidity: Place the pots inside a clear plastic bag (making sure the leaves don’t touch the sides) or cover them with a propagator lid. This traps moisture and keeps the cuttings from drying out. Pop them in a bright spot, but out of direct, scorching sun.
The “Secret Sauce” (Pro Tips)
Here are a few little tricks that I’ve found make a world of difference:
- Bottom heat is a game-changer: If you can, place your pots on a heated propagator mat. This warmth encourages root development from below, significantly speeding up the process. It’s like giving the roots a cozy little incubator.
- Don’t overwater! While humidity is key, soggy soil is the enemy of cuttings. Let the surface of the soil dry out slightly between waterings. You’ll get a feel for it. If the soil looks uniformly dark and wet, hold off.
- Patience is a virtue (and a propagation necessity): Resist the urge to pull up a cutting to check for roots too soon. I usually wait at least 4-6 weeks, sometimes longer. You’ll know they’re taking when you see new, fresh green growth emerging.
Aftercare & Troubleshooting
Once you see signs of new growth – a promising little leaf unfurling or a fresh shoot appearing – you’re on your way!
- Gradual acclimatization: Once your cuttings have a good root system (you can gently tug on them to feel resistance, or if they’re in clear pots, you can see roots), it’s time to get them used to normal conditions. Slowly begin to ventilate by opening the plastic bag or propagator lid for longer periods each day over a week or so.
- Potting on: When they’re sturdy and have a decent root ball, you can pot them into larger individual pots with a good quality potting mix.
- Watch for rot: The biggest culprit for failure is often overwatering leading to rot. If your cuttings turn yellow, mushy, and fall over, it’s usually a sign of too much moisture. Brown, shriveled stems that feel brittle can indicate they’ve dried out too much. Learn to read the signs, and don’t be discouraged if some don’t make it – it’s all part of the learning curve!
So there you have it! Propagating Westringia longifolia is a wonderfully rewarding way to expand your garden and share these lovely plants. Be patient, enjoy the magic of watching new life emerge, and don’t be afraid to experiment. Happy gardening!
Resource:
https://identify.plantnet.org/k-world-flora/species/Westringia%20longifolia%20R.Br./data