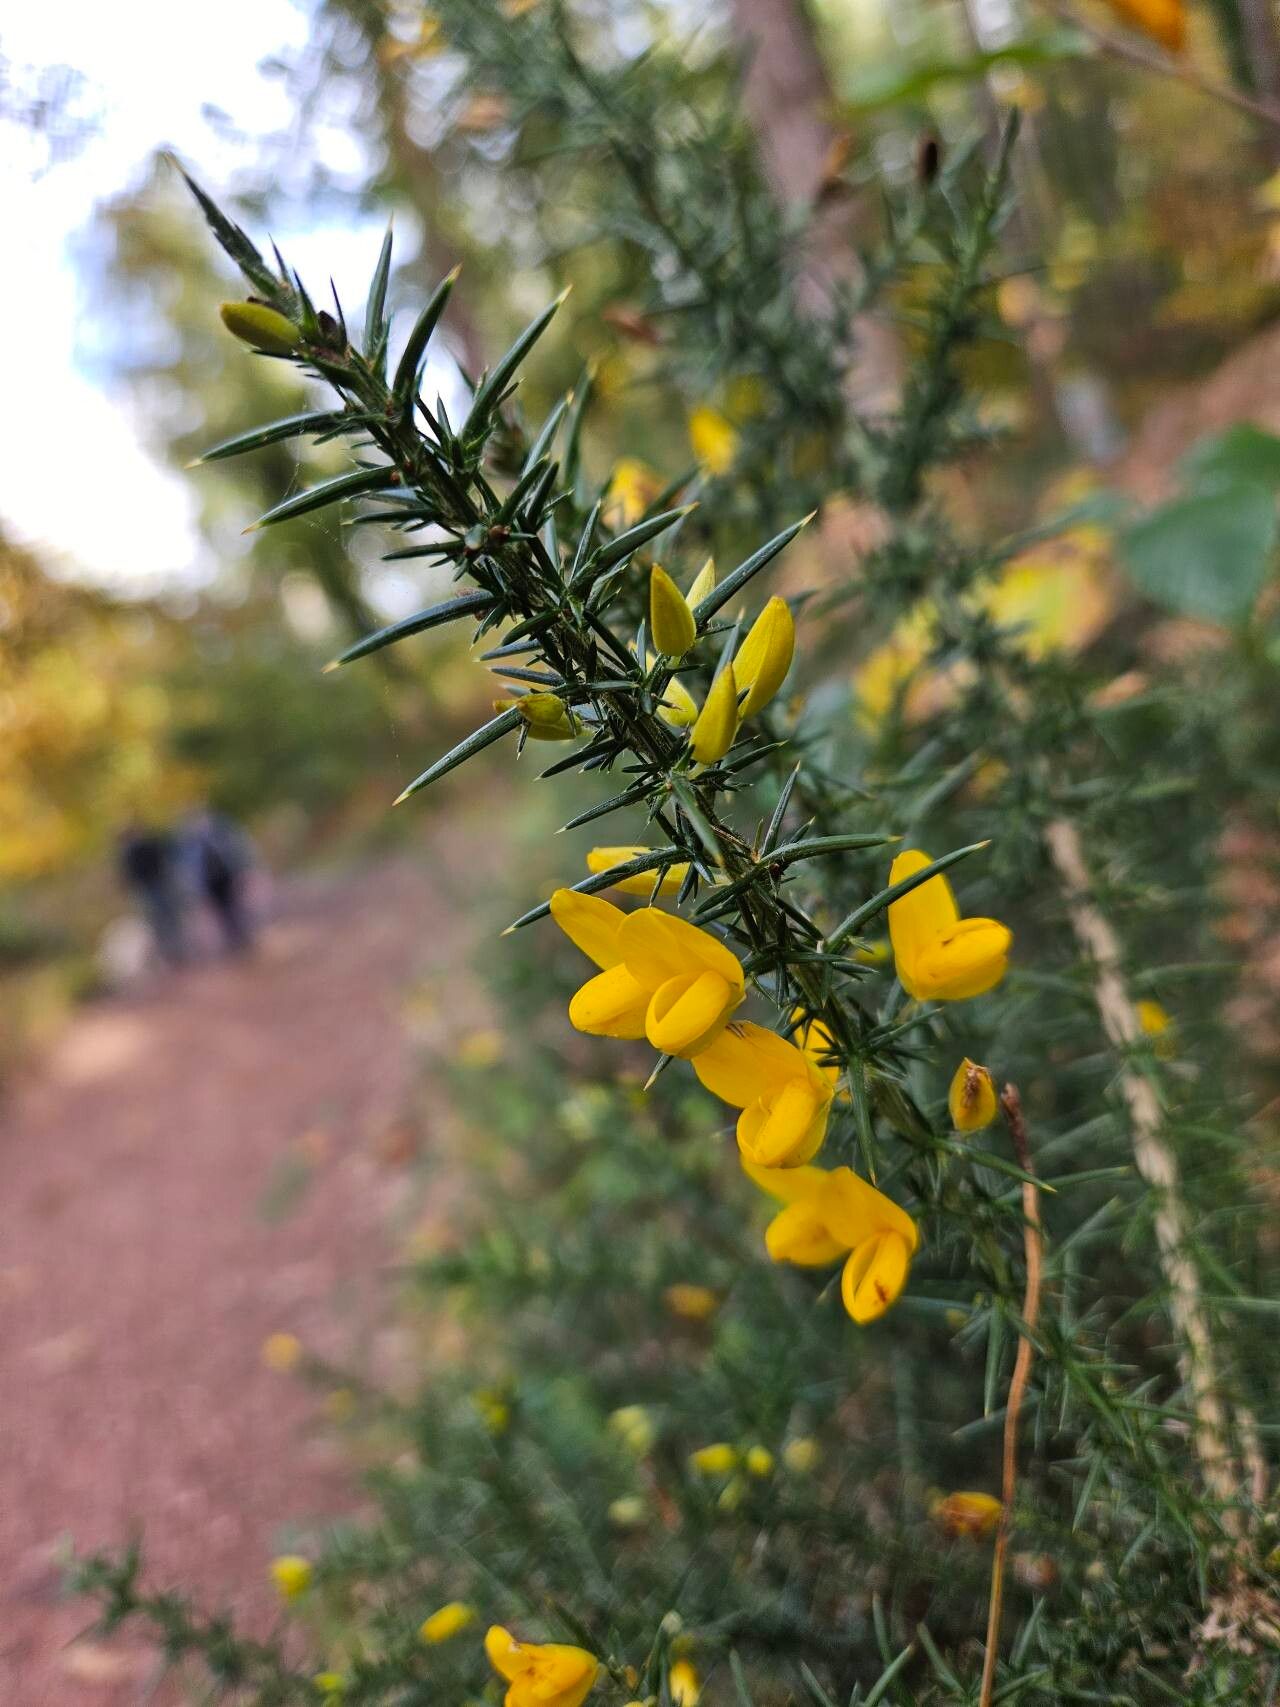
Hello there, fellow garden enthusiasts! Today, we’re diving into the wonderful world of Ulex minor, commonly known as Dwarf Gorse. If you’ve ever admired those cheerful, bright yellow blooms that carpet the landscape, you’re not alone. I certainly have, and coaxing these little beauties to life from scratch is a truly satisfying experience. While my 20 years in the garden have taught me that “easy” is a relative term in the plant world, I’d say propagating Ulex minor is a moderate challenge. It’s definitely achievable for a budding propagator, especially with a little guidance.
The Best Time to Start
For the highest chances of success with your Ulex minor propagation, I’ve found that late spring to early summer is your golden window. This is when the plant is actively growing, and you’ll be taking cuttings from what we call “semi-hardwood.” This means the stem is no longer brand new and soft, but not yet fully woody and mature. It’s got that perfect balance for rooting.
Supplies You’ll Need
You won’t need a whole lot of fancy gear for this. Here’s a quick rundown of what I always have on hand:
- Sharp Pruning Shears or a Craft Knife: Clean cuts are crucial for healthy callusing and rooting.
- Rooting Hormone: A good quality rooting powder or gel will significantly boost your success rate.
- Well-Draining Potting Mix: I usually mix my own with equal parts peat moss, perlite, and coarse sand. A pre-made mix formulated for succulents or cacti will also work wonders.
- Small Pots or Trays: Clean, small containers (about 3-4 inches) with drainage holes are perfect.
- Plastic Bags or a Propagator: To create a humid environment for your cuttings.
- Watering Can or Spray Bottle: For gentle watering.
- Labels: Don’t underestimate the power of labeling!
- Optional: Bottom Heating Mat: This can really speed up root development, especially if your home is on the cooler side.
Propagation Methods
There are a couple of ways to go about this, but my favorite for Ulex minor is by stem cuttings. It’s reliable and gives you the best chance of producing healthy new plants.
Stem Cuttings:
- Taking the Cuttings: On a pleasant late spring or early summer morning, select a healthy, non-flowering shoot from a mature Ulex minor. Using your clean secateurs, take cuttings that are about 4-6 inches long. Make your cut just below a leaf node, which is that little bump where a leaf attaches to the stem.
- Preparing the Cuttings: Gently remove the leaves from the bottom half of each cutting. You want to expose the nodes, as this is where roots will typically form. If the remaining leaves are very large, you can snip them in half to reduce water loss.
- Applying Rooting Hormone: Dip the cut end of each prepared cutting into your rooting hormone. Tap off any excess – you want a thin, even coating.
- Planting the Cuttings: Fill your small pots or trays with your well-draining potting mix. Make a shallow hole with a pencil or your finger. Insert the callused end of the cutting into the hole, ensuring at least two leaf nodes are buried in the soil. Gently firm the soil around the cutting.
- Creating a Humid Environment: Water the soil lightly. Then, if you’re using pots, place a clear plastic bag over each one, securing it with a rubber band. If you’re using a tray, you can cover the whole thing with a clear plastic dome or a a large plastic bag supported by stakes. For extra oomph, place the pots on a bottom heating mat set to a gentle warmth.
The “Secret Sauce” (Pro Tips)
Here are a couple of things I’ve learned over the years that make a real difference:
- When you dip your cuttings in rooting hormone, don’t get the hormone onto the leaves. It can sometimes inhibit rooting if it coats the foliage. Just the cut end and the lower stem nodes need it.
- Bottom heat is your friend! Even if you think your house is warm enough, a gentle heat from below can encourage root formation much more quickly and prolifically. I often use a propagator with a thermostat for this reason. It mimics that lovely warm earth you find in the summer.
Aftercare & Troubleshooting
Once your cuttings are potted, keep them in a bright location, but out of direct, harsh sunlight. The key is to maintain that humidity. Check the soil moisture every few days – it should be consistently damp, but never waterlogged.
You’ll know your cuttings are starting to root when you see new leaf growth appearing or feel a gentle resistance when you lightly tug on the cutting. This usually takes anywhere from 4 to 8 weeks, sometimes longer.
Troubleshooting: Now, what if things go wrong? The most common issue is rot. If you see your cuttings turning mushy and brown, it’s usually a sign of too much moisture and not enough air circulation. Ensure your soil is indeed well-draining and that you’re not overwatering. Sometimes, if you catch it early, you can trim away the rotted parts and try to re-root. Don’t be discouraged if a few don’t make it; it’s part of the learning process!
A Encouraging Closing
Propagating your own Ulex minor is a journey, and like any good garden endeavor, it requires a bit of patience and a lot of hope. Watch those little cuttings, give them the right conditions, and soon enough, you’ll be rewarding yourself with brand new bursts of vibrant color. Enjoy the process, and happy propagating!
Resource:
https://identify.plantnet.org/k-world-flora/species/Ulex%20minor%20Roth/data