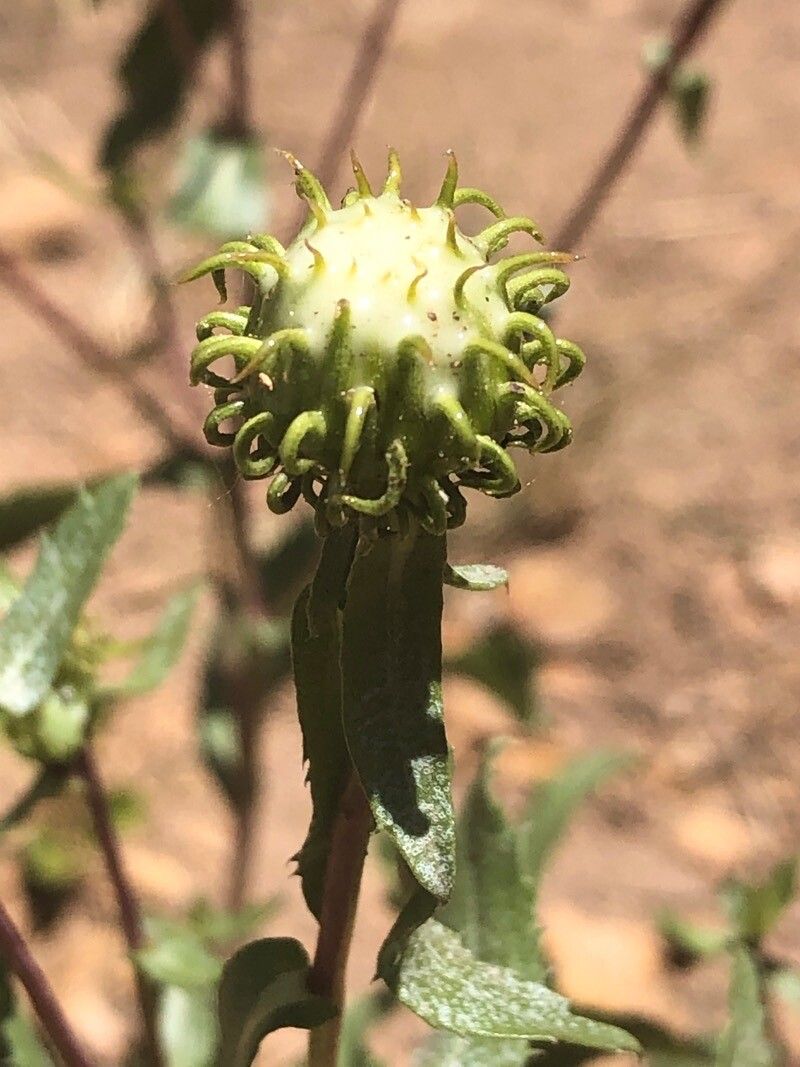
Hey there, fellow garden enthusiasts! It’s so wonderful to connect with you today. I’m absolutely thrilled to chat about one of my personal favorites: Grindelia subalpina, often called Alpine Gumweed or Sticky Gumweed. Its bright, cheerful yellow daisy-like flowers are such a joy, especially in late summer and fall when many other blooms are fading. Plus, it’s a magnet for pollinators – what’s not to love?
Propagating Grindelia subalpina is a truly rewarding endeavor. It’s a fantastic way to multiply your existing plants, share them with friends, or simply fill in those bare spots in your garden. And for those of you just dipping your toes into the world of propagation, I have good news: Grindelia subalpina is generally quite forgiving and a great plant for beginners to try their hand at!
The Best Time to Start
For the highest success rate with Grindelia subalpina, I always recommend starting in late spring or early summer. This is when the plant is actively growing and has plenty of energy to put into developing new roots. You’ll want to take cuttings from new, healthy growth that hasn’t yet started to flower. This vigorous young material is just brimming with potential.
Supplies You’ll Need
Gathering your supplies beforehand makes the whole process so much smoother. Here’s what I usually have on hand:
- Sharp pruning shears or a clean, sharp knife: For making clean cuts.
- A well-draining potting mix: I like a blend of peat moss, perlite, and a bit of coarse sand. Something that won’t hold too much moisture is key.
- Small pots or seed trays: Clean, of course!
- Rooting hormone (optional but recommended): A powder or gel can significantly speed up the root development process.
- Watering can with a fine rose attachment: For gentle watering.
- Plastic bags or a propagation dome: To create a humid environment for your cuttings.
- Small stakes or labels: To keep track of what you’ve planted and when.
Propagation Methods
Grindelia subalpina is wonderfully versatile, and the most straightforward method is through stem cuttings. It’s easy to get a good number of new plants this way.
Stem Cuttings:
- Select your cuttings: In late spring or early summer, find a healthy, non-flowering stem. Using your clean shears or knife, cut a piece that’s about 4-6 inches long. Make a clean cut right below a node (where a leaf attaches to the stem).
- Prepare the cuttings: Gently remove the lower leaves from the bottom half of the cutting. You want to expose a few nodes, as this is where roots will emerge.
- Apply rooting hormone: If you’re using rooting hormone,dip the cut end of the stem into the powder or gel. Tap off any excess.
- Plant the cuttings: Fill your pots or trays with your well-draining potting mix. Make a small hole in the center of the mix. Insert the prepared cutting into the hole, ensuring the nodes where you removed the leaves are covered by the soil. Gently firm the soil around the base of the cutting.
- Water gently: Water the soil thoroughly but be careful not to dislodge the cuttings.
- Create humidity: Cover the pots loosely with a plastic bag or place them under a propagation dome. This traps moisture, which is crucial for rooting. Make sure the leaves do not touch the plastic, as this can encourage rot.
- Provide light: Place your pots in a bright spot, but out of direct, hot sun. A windowsill with bright, indirect light is perfect.
The “Secret Sauce” (Pro Tips)
Here are a few little tricks I’ve picked up over the years that can really help your Grindelia cuttings thrive:
- Bottom Heat is Your Friend: While not strictly necessary for Grindelia, using a gentle heat mat underneath your pots can significantly speed up root formation, especially if your home is a bit cooler. It mimics the warmth of spring soil.
- Don’t Overwater, But Don’t Let Them Dry Out: This is a delicate balance. The soil should feel consistently moist but not soggy. Check the moisture level by gently poking your finger into the soil. If the top inch feels dry, it’s time for a light watering.
- Air Them Out: Even with the plastic cover, it’s a good idea to lift the bag or dome for a few minutes each day to allow for some air circulation. This helps prevent fungal issues.
Aftercare & Troubleshooting
Once your cuttings have started to develop roots, you’ll notice they feel a bit more resistant when you gently tug on them. You might also see tiny new leaves emerging. This is a great sign!
- Acclimatize them: Once you see good root development, gradually remove the plastic cover over a few days to help them adjust to normal humidity levels.
- Transplant carefully: When the new plants are sturdy enough to handle, you can transplant them into individual pots. Be gentle with the young roots.
- Continue regular watering: Keep the soil consistently moist, especially in the first few weeks after transplanting.
- Watch out for rot: The most common sign of failure is rot at the base of the cutting. This usually happens due to overwatering or poor drainage. If you see mushy, dark stems, it’s likely that cutting is lost. Make sure your potting mix is draining well and don’t water too frequently. Another sign is browning or wilting leaves that don’t perk up after watering; this can also indicate rot or too dry conditions depending on other factors.
A Encouraging Closing
Watching those tiny roots emerge and knowing you’ve helped create a new life from a simple stem cutting is such a satisfying feeling. Be patient with your Grindelia subalpina cuttings – sometimes it takes a little while. Enjoy the process, learn from each attempt, and happy gardening! You’ve got this!
Resource:
https://identify.plantnet.org/k-world-flora/species/Grindelia%20subalpina%20Greene/data