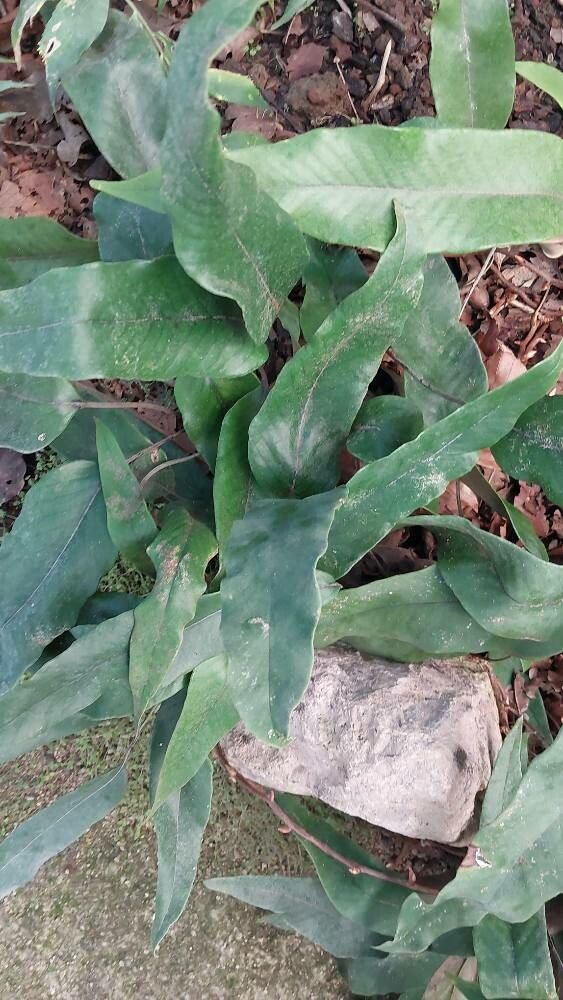
Oh, hello there! Pull up a chair and let’s talk about one of my absolute favorite ferns: Pyrrosia lingua. Honestly, this little gem is such a joy in the garden, with its wonderfully leathery, tongue-shaped leaves. It brings this charming, creeping texture to shady spots and rockeries. And the best part? You can easily multiply its beauty! Propagating Pyrrosia lingua is a wonderfully rewarding process, and I’m so excited to share how I do it. Don’t worry, even if you’re new to plant propagation, you’ll find this fern to be quite forgiving.
The Best Time to Start
When it comes to getting new Pyrrosia lingua plants going, spring is your golden ticket. As the days start to lengthen and the temperatures warm up, the plant is in full swing with its growing energy. This is when cuttings are most vigorous and ready to put down roots. You can also have success in early summer, but I find spring gives you the best head start.
Supplies You’ll Need
You don’t need a whole lot of fancy equipment for this. Here’s what I usually gather:
- Sharp, clean pruning shears or a sharp knife: For making clean cuts.
- A well-draining potting mix: I often use a mix of equal parts peat moss, perlite, and a bit of orchid bark. You want good aeration.
- Small pots or trays: Terracotta pots are lovely as they allow the soil to breathe a bit.
- Watering can with a fine rose attachment: For gentle watering.
- Clear plastic bags or a propagation dome: To create a humid environment.
- Rooting hormone (optional but helpful): A simple powder or gel will do.
- A spray bottle: For misting.
Propagation Methods
Pyrrosia lingua is a rhizomatous fern, meaning it spreads via underground stems. This makes division the absolute easiest and most straightforward method. But if you want to try your hand at cuttings, that’s rewarding too!
1. Division: The Gardener’s Delight
This is my preferred method because it’s like giving your established fern a good tidy-up and getting new plants in one go!
- Gently unpot your mature Pyrrosia lingua. Try to do this when the soil is slightly moist, as it makes it easier to handle.
- Examine the root ball. You’ll see those creeping rhizomes. Look for sections that have at least a few healthy leaves and a good clump of roots attached.
- Using your hands or a clean knife, carefully separate the rhizome sections. Don’t be afraid to gently pull them apart. The goal is to end up with divisions that have both roots and some leafy growth.
- Pot up each division into its own pot. Use your well-draining potting mix.
- Water gently and place in a slightly shaded spot.
2. Stem Cuttings: A Little More Patience
This method involves taking pieces of the rhizome with leaves attached.
- Choose healthy, actively growing rhizomes. Look for ones that are a few inches long and have some nice, fresh leaves.
- Using your sharp shears or knife, make a clean cut to remove a section of rhizome. You want at least one or two leaves attached to each cutting.
- If you’re using rooting hormone, dip the cut end of the rhizome into it. Tap off any excess.
- Plant the rhizome cutting about an inch deep in your potting mix, with the cut end down and the leaves pointing upwards. The leaves should be just above the soil surface.
- Water gently to settle the soil.
The “Secret Sauce” (Pro Tips)
Here are a couple of little tricks I’ve learned over the years that can really boost your success rate:
- Mimic the Tropics: Whichever method you choose, the key is to keep things consistently warm and humid. Once you’ve potted up your divisions or cuttings, cover the pots with a clear plastic bag or pop on a propagation dome. This creates a mini-greenhouse effect. Make sure the leaves aren’t directly touching the plastic, as this can encourage rot. If they do, prop up the bag with a few small sticks.
- Bottom Heat is Your Friend: While not strictly essential, placing your pots on a heat mat designed for propagation can significantly speed up root development. Ferns just love a bit of warmth from below, especially during the spring and summer months.
Aftercare & Troubleshooting
Once your new Pyrrosia lingua starts to show signs of potting on – think new leaf growth or tiny roots peeking out of the drainage holes – it’s time to transition them.
- Gradually increase light exposure but always keep them out of harsh, direct sun.
- Continue to keep the soil consistently moist but not waterlogged. This is crucial.
- Continue misting regularly, especially if you’ve removed the plastic cover.
Now, about troubleshooting. The most common issue you’ll encounter is rot. If you see your cuttings or divisions turning mushy or black, it’s usually a sign of too much moisture and poor air circulation. This is why that well-draining soil and not over-watering are so important. Remove any affected parts immediately, and ensure better ventilation. Brown, crispy leaves can mean it’s getting too much sun or drying out too much.
A Encouraging Closing
Propagating plants is such a beautiful way to connect with nature and expand your green oasis. Be patient with your new Pyrrosia lingua – they might take their sweet time to establish, but the satisfaction of watching them grow is immense. Enjoy the process, learn from every little sprout, and happy gardening!
Resource:
https://identify.plantnet.org/k-world-flora/species/Pyrrosia%20lingua%20(Thunb.)%20Farw./data