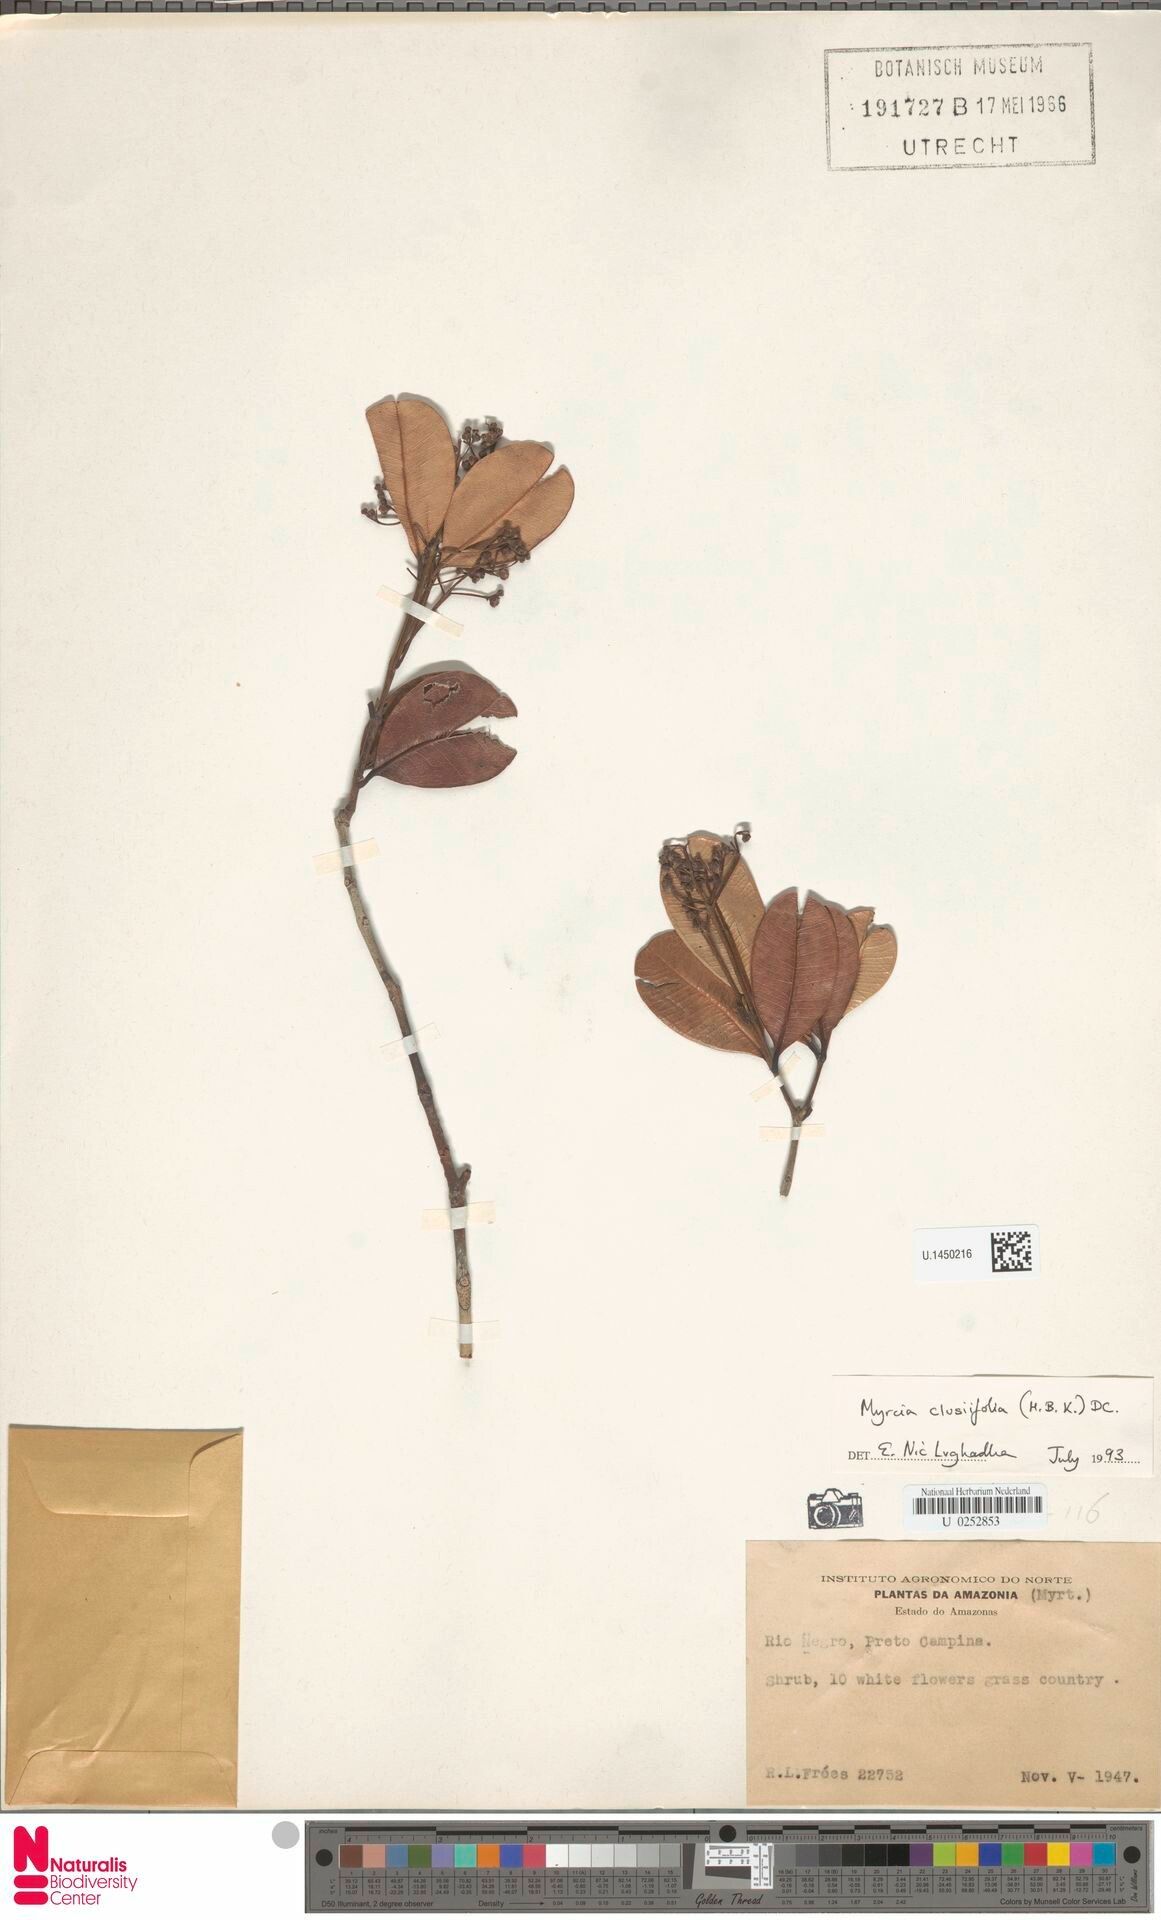
Oh, hello there! It’s so lovely to have you join me. Today, we’re diving into the wonderful world of propagating Myrcia clusiifolia. If you’ve ever seen this beauty – perhaps with its glossy, oval leaves and charming, sometimes fragrant, blossoms – you know how delightful it is. And the real magic? Being able to create more of them yourself! It’s incredibly satisfying to nurture a tiny cutting into a full-fledged plant, a little piece of your garden you can share with friends or simply admire. For those of you just starting out with propagation, Myrcia clusiifolia is a pretty gentle soul, making it a fantastic plant to practice your skills on.
The Best Time to Start
When it comes to getting the most bang for your propagation buck, spring and early summer are your best friends. This is when the plant is in its most vigorous growth phase, meaning it’s got plenty of energy to put into developing new roots. Look for stems that are firm and slightly woody, but not old and brittle. New, soft growth can be a bit too tender and might struggle.
Supplies You’ll Need
Here’s what you’ll want to have on hand before you get started:
- Sharp Pruning Shears or a Clean Knife: For making clean cuts.
- Rooting Hormone (Optional but Recommended): Powder or gel helps speed things up.
- Well-Draining Potting Mix: A good blend of peat moss or coco coir, perlite, and a touch of compost works wonders. Avoid heavy soils.
- Small Pots or Seed Trays: With drainage holes!
- Clear Plastic Bags or a Propagation Dome: To keep humidity high.
- Watering Can or Spray Bottle: Gentle watering is key.
- Trowel or Small Spoon: For filling pots.
Propagation Methods
For Myrcia clusiifolia, stem cuttings are usually the go-to method, and it’s quite reliable.
- Taking Cuttings: Select a healthy stem and using your sharp shears, cut a section about 4-6 inches long. Make the cut just below a leaf node (where a leaf attaches to the stem). This is where a lot of rooting activity happens.
- Prepare the Cuttings: Gently remove the leaves from the bottom half of the cutting. If your cutting has any flowers or buds, pinch them off – we want all that energy directed towards rooting, not flowering!
- Apply Rooting Hormone: If you’re using rooting hormone, dip the cut end into the powder or gel according to the product’s instructions. Tap off any excess.
- Planting: Fill your small pots with your well-draining mix. Make a small hole in the center with your finger or a trowel. Insert the cut end of your prepared stem into the hole, pressing the soil gently around it to ensure good contact. You can typically get 2-3 cuttings per pot, spacing them a few inches apart.
- Watering and Covering: Water the soil gently but thoroughly. You want it to be evenly moist, not waterlogged. Then, cover the pot with a clear plastic bag, securing it around the rim with a rubber band, or place it under a propagation dome. This creates a mini-greenhouse effect, keeping the humidity high, which is crucial for cuttings.
The “Secret Sauce” (Pro Tips)
Here are a few little tricks I’ve picked up over the years that can really boost your success rate:
- Bottom Heat is Your Friend: If you have a heat mat designed for seedlings, placing your pots on it can make a world of difference, especially in cooler months. It encourages root development from below, mimicking warmer soil temperatures.
- Don’t Let the Leaves Touch the Water (if you choose water propagation): While stem cuttings are usually best in soil, some folks try water rooting. If you go this route, it’s vital that the leaves never touch the water. Submerged leaves quickly rot and can take your cutting down with them. Only the stem should be submerged.
- A Fresh Dose of Air: Even though we want to keep humidity high, it’s a good idea to “vent” your cuttings daily for a few minutes. Just lift the plastic bag or dome, let some fresh air in, and then reseal. This helps prevent fungal issues and gets the plant used to less humid conditions as it grows.
Aftercare & Troubleshooting
Once your cuttings have been planted, place them in a spot with bright, indirect light. Avoid direct sunlight, as it can scorch those tender new leaves. Keep the soil consistently moist, but never soggy. Check the soil moisture by gently touching the surface.
You’ll know your cuttings have rooted when you see new leaf growth or feel a slight resistance when you gently tug on the stem. This can take anywhere from 4 to 8 weeks, or sometimes a bit longer. Be patient!
The most common issue you might encounter is rot. This usually happens if the soil is too wet and there isn’t enough air circulation. If you see stems turning black and mushy, unfortunately, that cutting is likely lost. Don’t be discouraged; just retrieve the rotten bit and try again, perhaps with better drainage or more frequent venting. Yellowing leaves can sometimes indicate overwatering or not enough light.
A Little Encouragement
Propagating plants is a journey, and like any good journey, it has its ups and downs. Celebrate every little success, learn from any setbacks, and most importantly, enjoy the process. Watching a tiny piece of plant life take hold and flourish is one of gardening’s greatest rewards. So, grab those shears, get your hands a little dirty, and happy propagating!
Resource:
https://identify.plantnet.org/k-world-flora/species/Myrcia%20clusiifolia%20(Kunth)%20DC./data