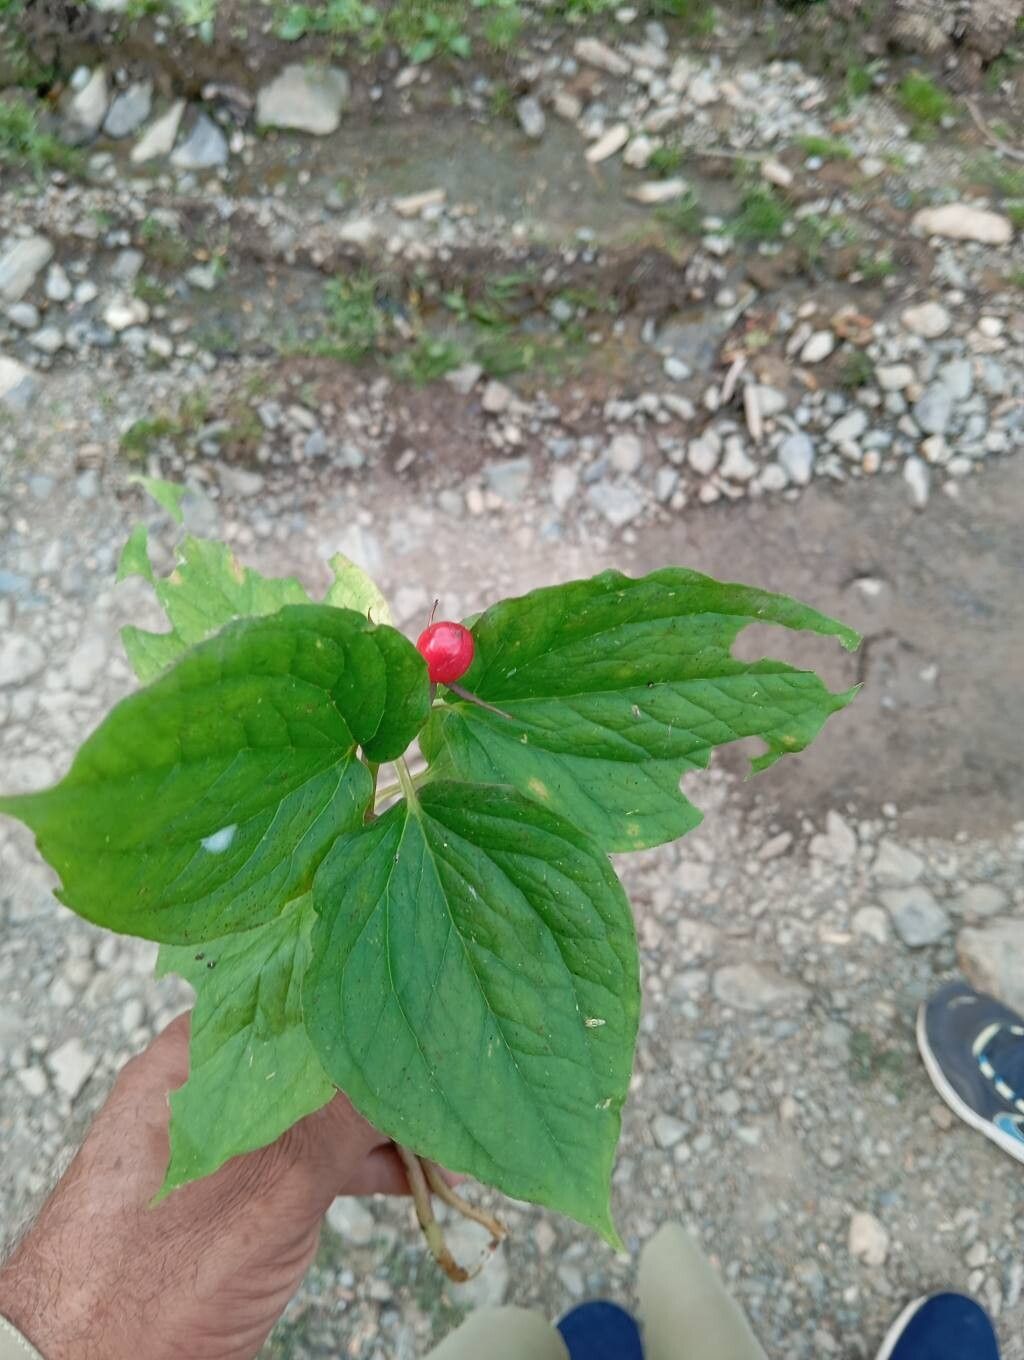
Oh, Trillium govanianum! Isn’t it just a little jewel? With those exquisite, delicate petals and that graceful silhouette, it’s no wonder it captures so many hearts. Growing these beauties from scratch is such a deeply satisfying endeavor. It’s not for the impatient, I’ll tell you that right upfront. Trilliums have their own rhythm, and learning to dance to it is part of the charm. If you’re new to propagation, this might be a bit of a curveball, but with a good dose of patience and a thoughtful approach, you absolutely can succeed. Let’s get our hands dirty!
The Best Time to Start
For Trilliums, division is truly the most reliable method, and the prime time for this is as soon as the plant finishes flowering and the foliage begins to yellow, typically late spring to early summer. This allows the rhizome to have stored up energy and still have enough time to establish in its new spot before the heat of summer truly sets in, or before winter truly bites. While seeds feel like the romantic notion, they can take years to germinate and mature, so let’s focus on what gives us faster, more predictable results.
Supplies You’ll Need
To give our new Trilliums the best start, gather these handy helpers:
- Sharp, clean trowel or spade: For carefully digging and dividing rhizomes.
- Small brush or toothpick: To gently tease apart rhizomes.
- Well-draining potting mix: I like a blend of peat moss, compost, and coarse sand or perlite. Good aeration is key!
- Small pots or containers: With drainage holes, of course.
- Watering can with a fine rose: For gentle watering.
- Labels and a permanent marker: To keep track of your precious new charges.
Propagation Methods: The Art of Division
Since Trillium govanianum is best propagated by division, let’s dive into that.
- Observe Your Plant: Wait until the flowers have faded and the leaves are starting to droop or turn yellow. This tells you the plant is entering its dormant or semi-dormant phase, and the energy has moved down into the rhizome.
- Gently Excavate: Using your trowel or spade, carefully dig around the base of the plant. You want to lift the entire clump with as much of the original soil ball intact as possible. Be gentle! Trillium rhizomes can be a bit brittle.
- Examine the Rhizome: Once it’s out of the ground, gently shake off excess soil. You’re looking for the thick, fleshy rhizome, often with several growth buds (which look like tiny, pointed nubs) emerging from it.
- The Moment of Separation: With your fingers or a clean, sharp knife (if absolutely necessary), gently separate the rhizome into sections. Each section should have at least one healthy bud and a good portion of the rhizome itself. Don’t be tempted to break off tiny bits – aim for substantial sections. If you have multiple established clumps, you can often simply pull them apart by hand.
- Replant Immediately: Have your prepared pots and soil ready. Plant each division so the top of the rhizome is just below the surface of the soil, with the bud pointing upwards.
- Watering In: Water gently but thoroughly. You want the soil to be moist but not soggy.
The “Secret Sauce” (Pro Tips)
A few little tricks I’ve learned over the years can really boost your success:
- My absolute favorite tip is to handle the divisions as little as possible once you’ve separated them. The less you disturb those delicate roots and rhizomes, the happier they’ll be. Get your soil prepped and pots ready to go before you even start digging.
- When replanting, I always add a little sprinkle of mycorrhizal fungi to the planting hole for each division. It’s like giving them a beneficial root buddy system that helps them absorb nutrients and water more effectively. Look for a good quality product at your local garden center.
- Don’t be afraid to let the soil dry out just a little between waterings once the plant shows signs of new growth. While they love moisture, consistently waterlogged conditions are a recipe for rot. It’s a delicate balance, but you’ll get a feel for it.
Aftercare & Troubleshooting
Once your divisions are nestled into their new homes, give them consistent, light watering. Keep them out of direct sun for the first few weeks, as they need time to adjust. You can start them in a shadier spot in your garden or keep them in the pots in a cool, sheltered location.
The most common issue you might face is rot, often caused by overwatering or poor drainage. If you notice the rhizome becoming mushy and dark, or the leaves suddenly wilting and turning black, that’s a sure sign of rot. Unfortunately, if rot has set in deeply, it’s often too late. Your best defense is to ensure excellent drainage from the start and water judiciously.
A Little Patience Goes a Long Way
Propagating Trilliums is a journey, not a race. Don’t be discouraged if not every division takes off immediately. Sometimes plants need a season to settle in before they really show their true colors. Keep observing, keep learning, and most importantly, enjoy the process of nurturing these woodland wonders. Happy gardening!
Resource:
https://identify.plantnet.org/k-world-flora/species/Trillium%20govanianum%20Wall.%20ex%20D.Don/data