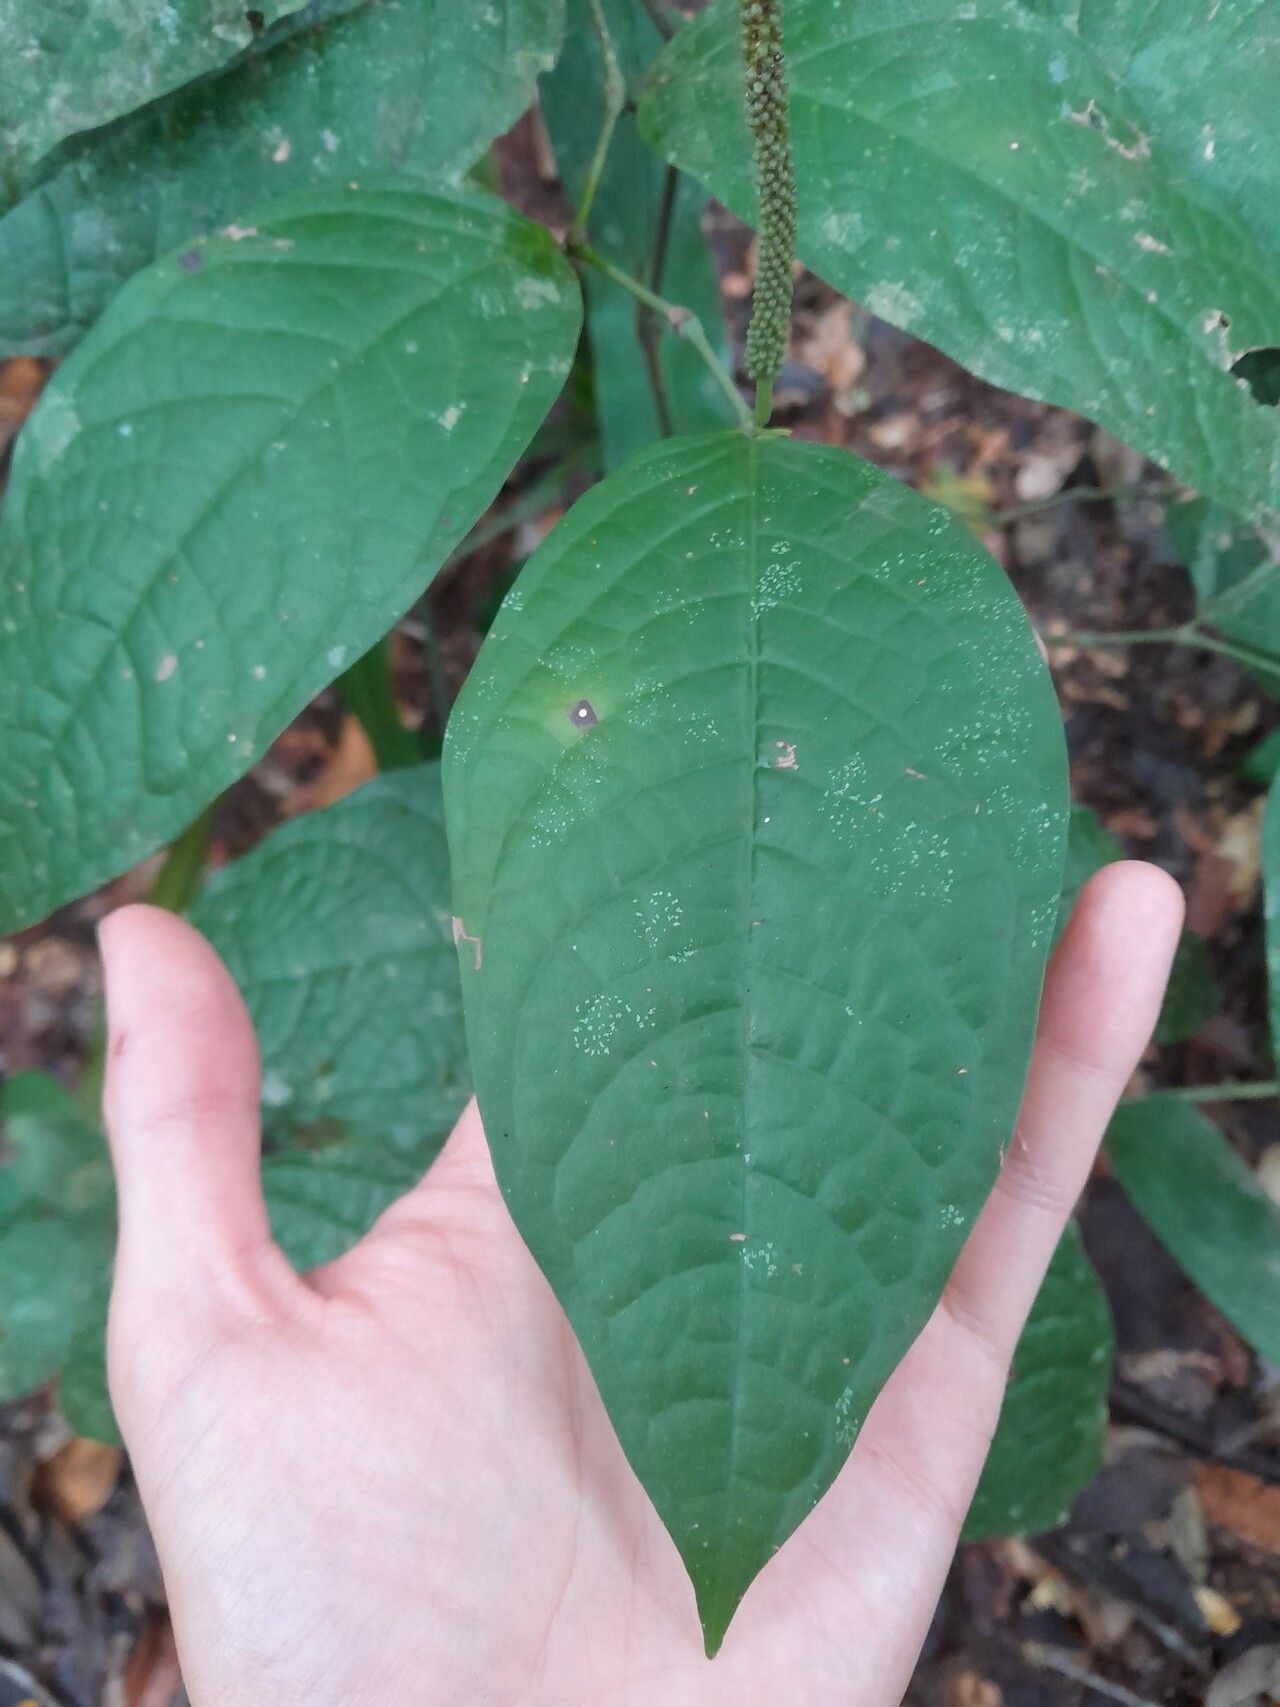
Oh, Piper bartlingianum! What a gorgeous plant. I just adore the way its heart-shaped leaves unfurl, creating such a lush, tropical feel. It’s one of those plants that just brings a smile to my face. And the best part? You can easily multiply its beauty! Propagating it is incredibly rewarding, a true joy for any plant parent. Honestly, I’d say it’s quite a forgiving plant, even for those just starting their propagation journey. You’ll be amazed at how satisfying it is to watch a tiny cutting transform into a thriving new plant.
The Best Time to Start
For the happiest cuttings and the quickest rooting, I always aim for spring or early summer. This is when the plant is in full growth mode, brimming with energy, and ready to channel that into producing roots. You’ll want to take cuttings from healthy, vigorous stems that aren’t flowering. Look for growth that’s firm but still a bit pliable – not woody, but not so soft that it wilts instantly.
Supplies You’ll Need
Here’s what you’ll want to have on hand to set yourself up for success:
- Sharp Pruning Shears or a Clean Knife: For making clean cuts.
- Well-Draining Potting Mix: A good blend of peat moss, perlite, and potting soil works wonders. Some folks like to add orchid bark for extra aeration.
- Small Pots or Propagation Trays: Make sure they have drainage holes!
- Rooting Hormone (Optional but Recommended): A powder or gel can give your cuttings a helpful boost.
- Clear Plastic Bag or Humidity Dome: To create a humid environment.
- Watering Can or Spray Bottle: For gentle watering.
- Small Pebbles or Coarse Sand (Optional): To mix into your potting medium for even better drainage.
Propagation Methods
I find stem cuttings to be my most reliable method for Piper bartlingianum. It’s straightforward and yields great results.
Stem Cuttings
- Select Your Cuttings: Choose a healthy stem and make a clean cut just below a leaf node (that little bump where a leaf grows from the stem). Aim for cuttings that are about 4-6 inches long.
- Prepare the Cutting: Gently remove the lower leaves, leaving just two or three at the top. This prevents leaves from rotting when buried and encourages the plant to focus its energy on root development.
- Apply Rooting Hormone (Optional): If you’re using rooting hormone, dip the cut end of the stem into the powder or gel. Tap off any excess.
- Plant the Cutting: Fill your small pot with your chosen potting mix. Make a small hole with your finger or a pencil. Gently insert the cut end of the stem into the hole, making sure the leaf nodes are below the soil line. Firm the soil gently around the cutting.
- Water Gently: Water the soil thoroughly but avoid waterlogging. You want it to be moist, not soggy.
- Create a Humid Environment: Place the pot inside a clear plastic bag or cover it with a humidity dome. Make sure the leaves aren’t pressing against the plastic. You can prop the bag up with a few stakes if needed.
- Find a Warm Spot: Place your potted cutting in a bright spot with indirect light. Avoid direct sun, which can scorch the delicate cutting.
Water Propagation (A Quick Start)
While I prefer soil for long-term success, water propagation is a fun way to see roots develop quickly.
- Prepare the Cutting: Follow steps 1 and 2 from the stem cuttings method.
- Place in Water: Submerge the bottom half of the cutting in a jar or glass of clean water.
- Change Water Regularly: Change the water every few days to keep it fresh and prevent bacterial growth.
- Watch for Roots: You should start to see tiny white roots emerge from the nodes within a few weeks.
- Transplant When Ready: Once the roots are about an inch long, carefully transplant the cutting into potting soil following the steps for stem cuttings.
The “Secret Sauce” (Pro Tips)
Here are a few little tricks I’ve learned over the years that really make a difference:
- Don’t Let the Leaves Touch the Soil (in water): If you’re water propagating, any leaves submerged in the water will almost certainly rot. Keep all leaves above the waterline. This is crucial for preventing decay.
- Bottom Heat is Your Friend: If you have space, placing your potted cuttings on a seedling heat mat can significantly speed up root development. A little warmth from below encourages the plant to get busy growing roots.
- Wipe Down the Leaves: Occasionally, lightly mist or wipe down the leaves of your cuttings, even inside the humidity tent. This helps them stay hydrated and healthy while they are busy growing roots.
Aftercare & Troubleshooting
Once you see new growth appearing on your cutting, that’s a great sign! It means roots have formed.
- Acclimate Gradually: Over the next week or so, gradually remove the plastic bag or humidity dome for longer periods each day. This helps the new plant adjust to the normal humidity levels.
- Water with Care: Continue to water when the top inch of soil feels dry. Avoid letting it sit in water.
- Watch for Rot: The biggest culprit for failure is usually overwatering leading to rot. If the stem turns mushy and brown, or the leaves start to yellow and drop rapidly, it’s likely rot. This is why good drainage is so vital.
- Patience is Key: Sometimes, cuttings take their sweet time. Don’t give up too early! If a cutting hasn’t shown signs of life after a month or two, it might be time to try again.
A Little Encouragement
Propagating Piper bartlingianum is a wonderful way to share the joy of this beautiful plant. Be patient, observe your cuttings, and don’t be discouraged if a few don’t make it. Every gardener has casualties! The thrill of seeing that first new leaf emerge is a reward in itself. So grab your shears, have some fun, and enjoy the process of bringing more green life into your home. Happy propagating!
Resource:
https://identify.plantnet.org/k-world-flora/species/Piper%20bartlingianum%20(Miq.)%20C.DC./data