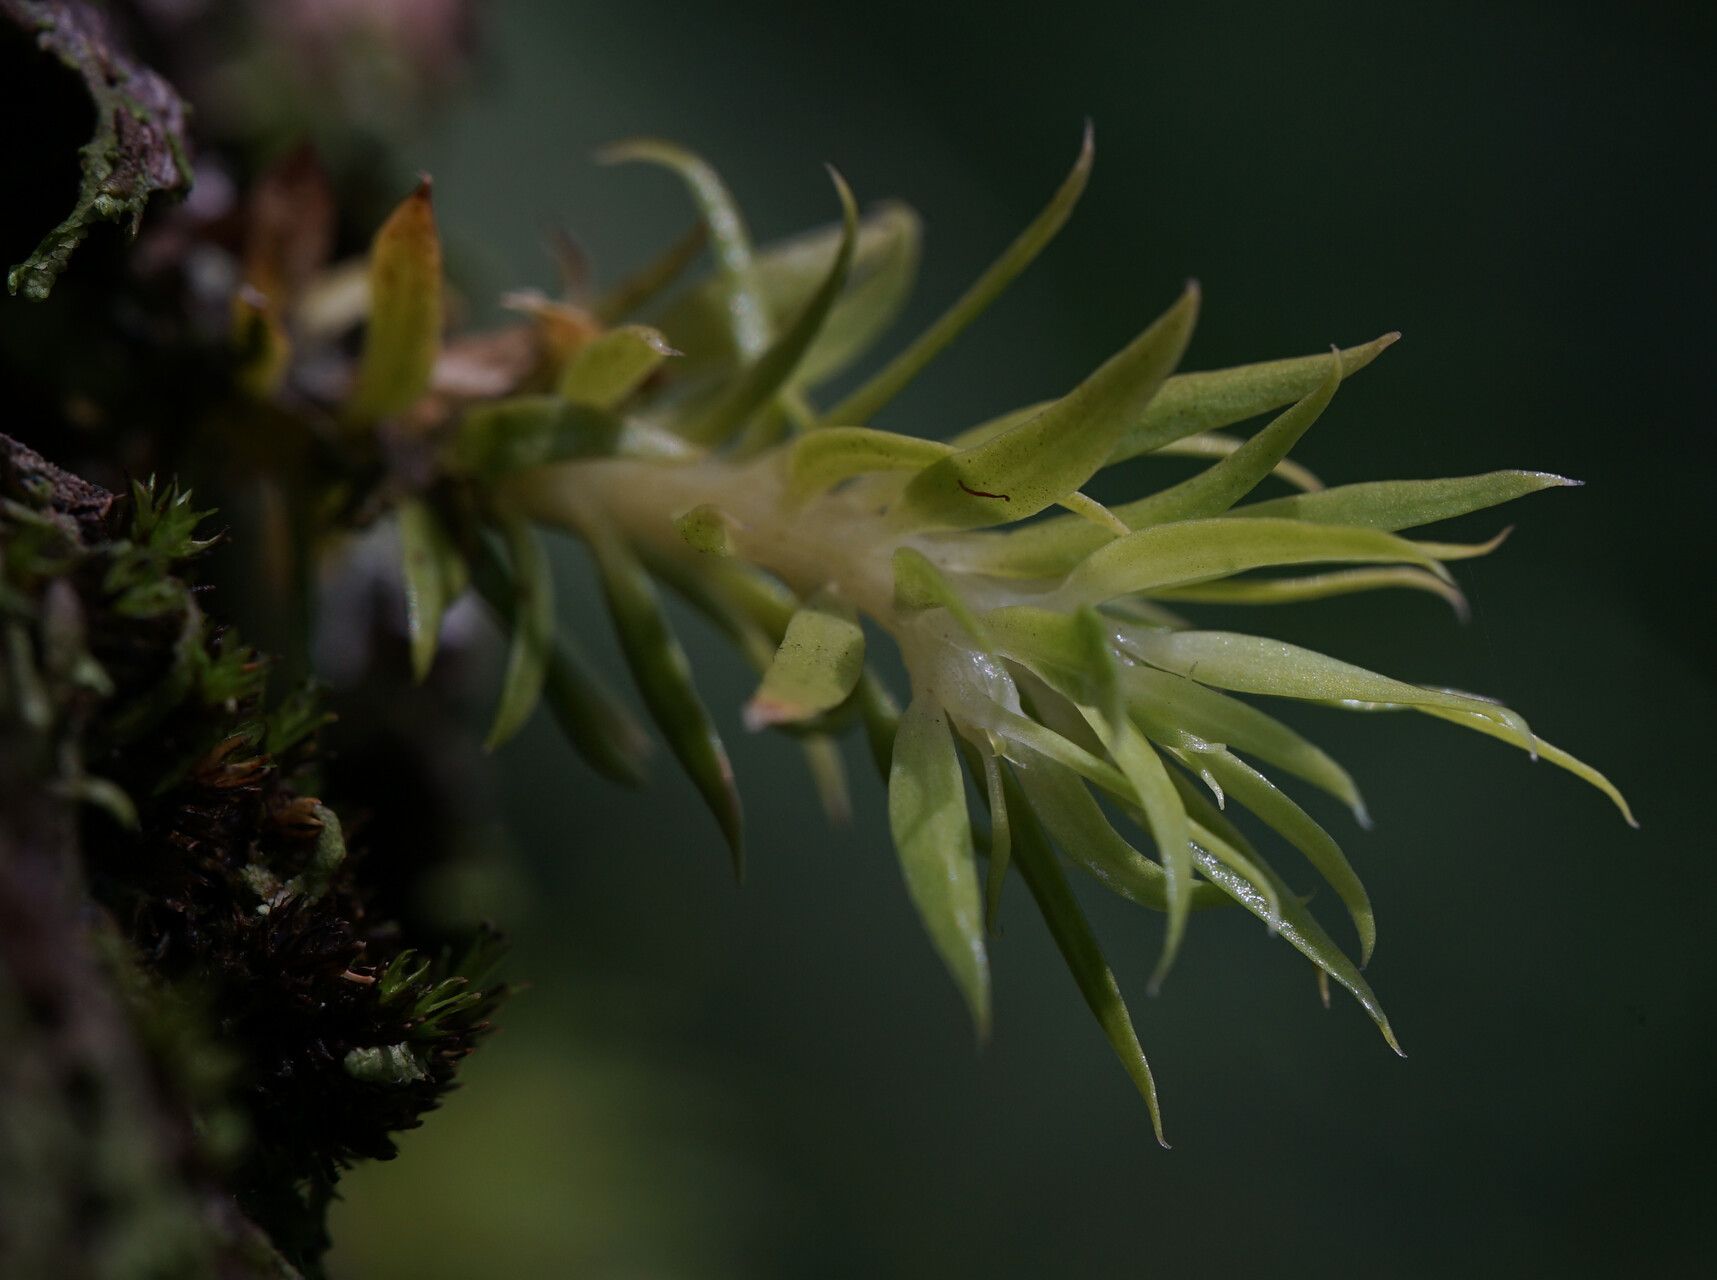
Oh, hello there! Come on in and grab a mug. I’m so glad you’re curious about Huperzia schlechteri. This little beauty, with its cascading, fern-like foliage, is just captivating, isn’t it? Bringing one of these charming plants into your home is like inviting a piece of the forest floor indoors. And the real magic? Being able to create more of them yourself! Propagating Huperzia can feel a bit like a delicate dance, and while it’s not the absolute easiest plant for a complete beginner, with a little patience and the right approach, you’ll be successful. I promise!
The Best Time to Start
For the absolute best chance of success with your Huperzia schlechteri, I find that spring is your golden ticket. When the days start getting longer and the plant is gearing up for active growth, its energy is channeled into producing new shoots and roots. This is the time it’s most receptive to propagation. You can also have a decent go at it in early summer, but spring really is prime time.
Supplies You’ll Need
Gathering your tools before you begin is always a smart move. Here’s what I usually have on hand for propagating Huperzia:
- Sharp, sterilized pruning shears or a clean knife: Essential for making clean cuts.
- Well-draining potting mix: I often use a blend of equal parts peat moss, perlite, and orchid bark. A good quality houseplant mix with added perlite works too.
- Small propagation pots or liners: Anything that can hold your medium and allow for good drainage.
- Perlite or coarse sand: For improving drainage and aeration in your mix.
- Clear plastic bags or a propagation dome: To create a humid environment.
- Rooting hormone (optional but recommended): A powdered or gel form can give your cuttings a boost.
- A mister bottle: For keeping things nicely humid.
- Bottom heat source (optional but helpful): A seedling heat mat can significantly speed up root development.
Propagation Methods
Huperzia schlechteri is most often propagated through stem cuttings. It’s straightforward once you get the hang of it.
Stem Cuttings:
- Select a healthy stem: Look for a vibrant, actively growing stem. You want cuttings that are at least 3-4 inches long and have several sets of leaves. Avoid any that look leggy or are yellowing.
- Make the cut: Using your sterilized shears, make a clean cut just below a leaf node. This is where the plant is most likely to produce roots.
- Prepare the cutting: Gently remove the lower leaves from your cutting. You want at least one or two leaf nodes exposed to the potting mix. If your cutting is very long, you can trim some of the upper leaves in half to reduce water loss through transpiration.
- Apply rooting hormone (optional): If you’re using rooting hormone, dip the cut end into the powder or gel. Tap off any excess.
- Plant your cutting: Fill your small propagation pot with your well-draining potting mix. Make a small hole with your finger or a pencil. Carefully insert the cut end of the stem into the hole, ensuring at least one leaf node is buried in the mix. Gently firm the mix around the stem.
- Water and cover: Water the potting mix thoroughly until it’s evenly moist but not soggy. Then, place the pot inside a clear plastic bag, sealing it loosely, or put it under a propagation dome. This will trap humidity.
- Provide light and warmth: Place your little propagations in a bright spot that receives indirect light. If you have a heat mat, place the pots on it.
The “Secret Sauce” (Pro Tips)
Now, here are a few things I’ve learned over the years that make a real difference:
- Don’t let the leaves touch the water in the bag! This is crucial. If the leaves are in constant contact with moisture inside the bag, they’re much more prone to rotting before they can root. If they’re touching, just trim them down a bit.
- Mist, mist, mist! Regularly opening the bag for a few minutes each day to allow for some air exchange is good, but also give the inside of the bag a light misting to keep that humidity level high. It’s that moist environment that encourages those roots to form.
- Patience is your best friend. Huperzia can be slow to root. I’ve had cuttings take anywhere from 4 to 8 weeks, sometimes longer. Don’t get discouraged if you don’t see activity right away. Keep them in their humid environment and trust the process.
Aftercare & Troubleshooting
Once you start to see little roots poking out of the drainage holes, or you gently tug on the cutting and feel resistance, congratulations! Your Huperzia has rooted!
- Acclimatize slowly: Gradually begin to remove the plastic bag or dome for longer periods over a week or two. This lets the new plant get used to lower humidity.
- Pot up: Once acclimated, you can pot your new plant into a slightly larger pot with its regular houseplant mix.
- Watering: Water thoroughly when the top inch of soil feels dry to the touch.
- Signs of trouble: The most common enemy here is rot. This usually happens from overwatering and too little air circulation, especially in the initial propagation stage. If your cutting turns yellow, then mushy and brown, it’s likely succumbed to rot. Discard it and try again, paying close attention to your watering and humidity levels. Another sign of failure is a cutting that just stays limp and doesn’t develop roots after a very long time – this can sometimes happen if the cutting was old or the conditions weren’t quite right.
A Little Encouragement
See? It’s not so daunting, is it? Propagating your Huperzia schlechteri is such a rewarding experience. Watching a tiny cutting transform into a thriving new plant is just pure joy. Be patient with yourself and with your little green charges. Enjoy the journey, and before you know it, you’ll have a whole collection of these enchanting plants! Happy growing!
Resource:
https://identify.plantnet.org/k-world-flora/species/Huperzia%20schlechteri%20(E.Pritz.)%20Holub/data