Hey there, fellow plant lovers! It’s so lovely to have you pop by. Today, we’re going to dive into something truly satisfying: coaxing new life from our beloved Ophiopogon jaburan, also known as Japanese Slender Grass or Lilyturf.
Why Grow Ophiopogon Jaburan?
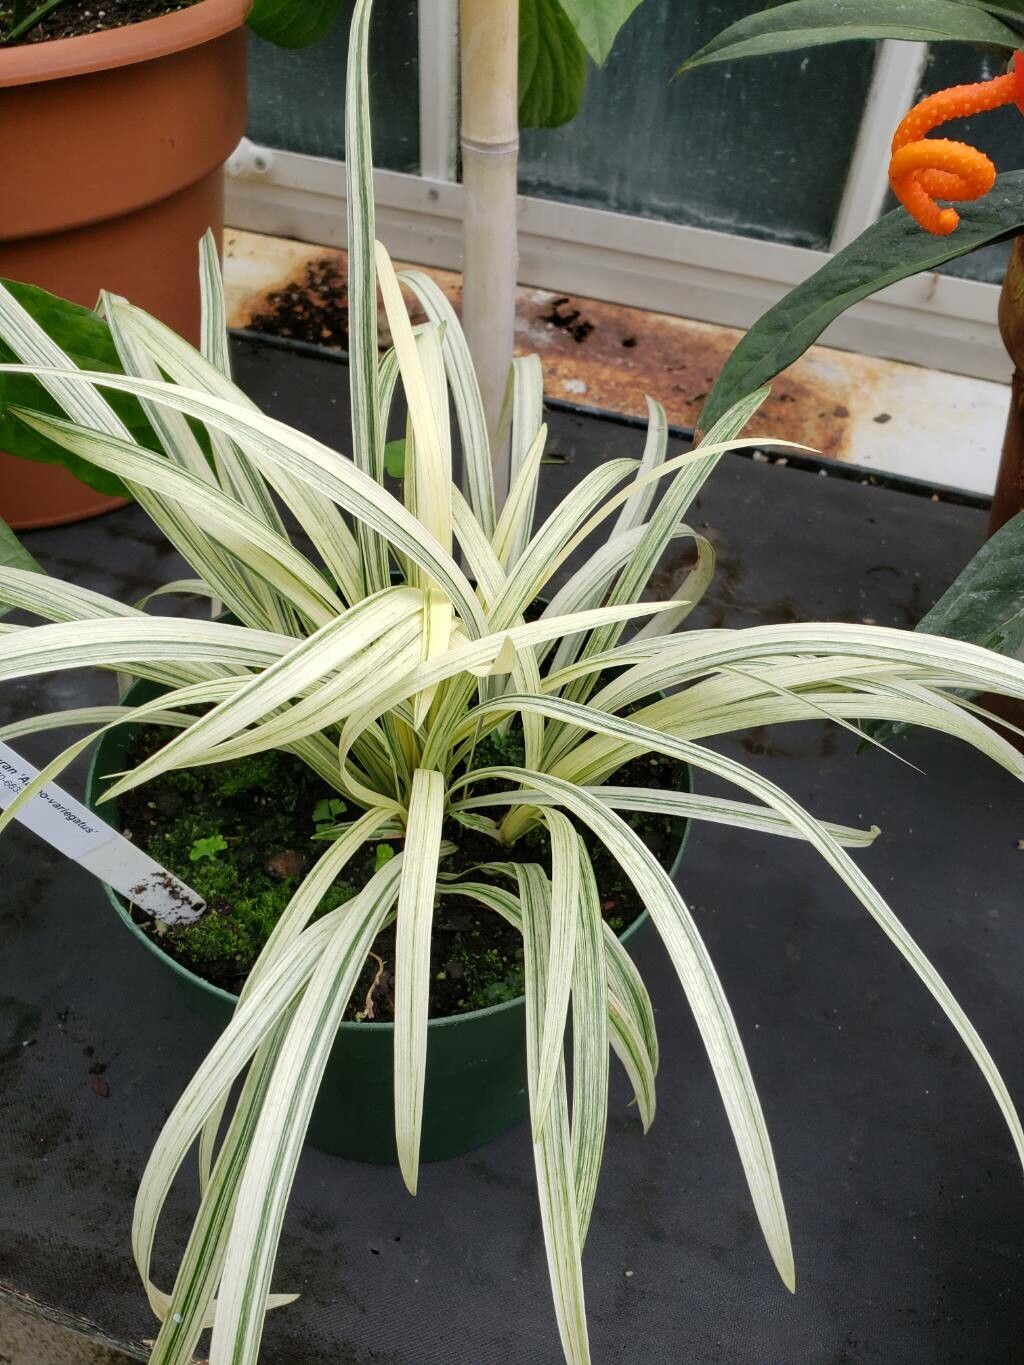
This isn’t just any grass. Ophiopogon jaburan brings a beautiful, architectural touch to the garden. Its elegant, arching leaves, often a deep, glossy green, spill and cascade with such grace. It’s fantastic for edging paths, softening borders, or even tucking into containers. Plus, those lovely little lilac-blue flower spikes that appear in summer are just the sweetest bonus! And the best part? Propagating it is a wonderfully accessible project, even for those just starting out on their gardening journey. You can truly expand your collection without spending a penny.
The Best Time to Start
For the most success, I always reach for my secateurs in late spring or early summer. This is when Ophiopogon jaburan is actively growing and full of vigor. The warmer temperatures and increasing daylight really give those new divisions or cuttings the best possible start.
Supplies You’ll Need
Here’s what I usually have on hand when I’m propagating:
- Sharp pruning shears or a clean knife: Essential for making neat cuts.
- Gloves: To keep your hands clean, though Ophiopogon isn’t a scratchy plant at all.
- Small pots or trays: With drainage holes, of course!
- Potting Mix: A good quality, well-draining mix is key. I often use a blend of peat-free compost and perlite (about a 2:1 ratio) to ensure good aeration.
- Rooting hormone (optional but helpful): Especially if you’re taking cuttings.
- Watering can or spray bottle: For gentle moisture.
- Labels: So you don’t forget what you planted where!
Propagation Methods
Ophiopogon jaburan is wonderfully forgiving, and the easiest way to get more plants is through division. It’s the plant’s natural way of spreading, and we’re just helping it along!
Division: A Step-by-Step Guide
- Excavate Gently: First, locate a well-established clump of Ophiopogon jaburan. Gently dig around the base of the plant with your trowel, lifting it from the soil. Try not to disturb the roots too much.
- Clean Up: Once the clump is out, gently shake off excess soil. You’ll see how the plant naturally forms multiple growths.
- Divide and Conquer: Now for the fun part! You can usually carefully pull apart the root ball with your hands. If it’s a bit stubborn, use your clean knife or pruning shears to cut through any tangled roots, ensuring each new section has a good portion of roots and some healthy foliage. Aim for divisions that are roughly fist-sized or a bit smaller.
- Pot Them Up: Fill your pots or trays with your prepared potting mix. Make a little hole in the center and nestle your new division in, firming the soil gently around the roots. Plant it at the same depth it was growing before.
- Water and Wait: Give your newly potted divisions a good, gentle watering to settle the soil.
(Note: While division is the most foolproof method, you can also try taking stem cuttings from young, non-flowering shoots in late spring. Dip the cut end in rooting hormone and plant in a moist, well-draining mix. Keep them consistently moist and warm, and they might root!)
The “Secret Sauce” (Pro Tips)
Here are a few little tricks I’ve picked up over the years that can really boost your success:
- Don’t Overwater Initially: While you want the soil to be moist, soggy feet are the enemy for new divisions. Let the top layer of soil dry out slightly between waterings. This encourages the roots to seek out moisture, making them stronger.
- Embrace Shade: For the first few weeks, place your newly divided plants in bright, indirect light. Direct, harsh sun can scorch their tender new growth and dry them out quickly before they can establish their roots.
- A Little Humidity Helps: If your home is particularly dry, especially in winter, I’ll often group my pots together or place them on a pebble tray filled with water (making sure the pot bottoms aren’t sitting directly in the water). This creates a microclimate of humidity that new plants adore.
Aftercare & Troubleshooting
Once you see signs of new growth – tiny new leaves emerging or the plant looking perkier – you know your Ophiopogon is settling in! Continue to water them as needed, letting the soil dry out slightly between waterings. You can gradually introduce them to more light once they’re well-established.
The main issue to watch out for is rot. If your plant looks limp, mushy, or develops black spots, it’s likely due to overwatering and poor drainage. If you catch it early, you might be able to save it by repotting it in fresh, dry soil, removing any rotted parts. It’s a good reminder to always ensure excellent drainage!
Happy Propagating!
There you have it! Propagating Ophiopogon jaburan through division is truly a rewarding experience. It’s a gentle introduction to plant propagation that gives you beautiful results. Be patient, enjoy the process of nurturing these new lives, and soon you’ll have even more of this wonderful grass to fill your garden spaces. Happy gardening!
Resource:
https://identify.plantnet.org/k-world-flora/species/Ophiopogon%20jaburan%20(Siebold)%20G.Lodd./data