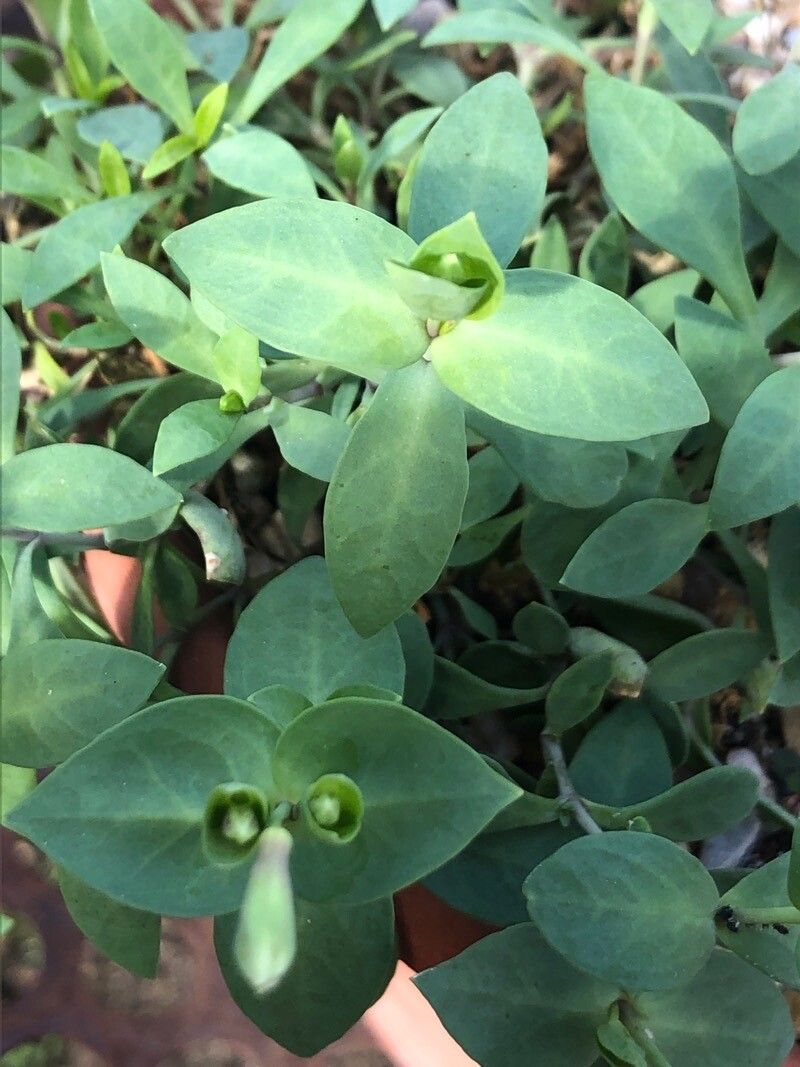
Ah, Petrocoptis glaucifolia! If you’ve ever seen this beauty gracing a garden, you know why it’s so special. Those delicate, often silvery-blue leaves form these charming mounds, and when those airy sprays of tiny white flowers appear, well, it’s just pure joy. It’s a plant that whispers elegance without shouting. I’ve found that propagating them is a wonderfully rewarding endeavor, giving you more of these little treasures to tuck into corners or share with fellow plant lovers. While they aren’t difficult, they do appreciate a bit of thoughtful care. For absolute beginners, I’d say it’s a solid “intermediate challenge” – you’ll learn a lot!
The Best Time to Start
My favorite time to get cuttings of Petrocoptis glaucifolia is in late spring or early summer. This is when the plant is actively growing and has plenty of energy to put into forming new roots. You’re looking for healthy, non-flowering stems that are pliable but not too soft. Think of it as striking when the iron is hot, but in a gentle, plant-friendly way!
Supplies You’ll Need
Here’s what I always have on hand when I’m starting new plants:
- Sharp Pruning Shears or a Knife: Cleanliness is key!
- Rooting Hormone (Optional but Recommended): A powder or gel really gives cuttings a boost.
- Well-Draining Potting Mix: I like a blend of equal parts potting soil, perlite, and coarse sand. Or, for a really airy mix, peat moss with perlite.
- Small Pots or Seed Trays: About 3-4 inches is perfect. Make sure they have drainage holes!
- Labels: To remember what you planted and when.
- Trays or Saucers: To catch excess water.
- Clear Plastic Bag or Dome: For creating a humid environment.
Propagation Methods
I primarily use stem cuttings for Petrocoptis glaucifolia, and it’s quite straightforward.
- Take Your Cuttings: Using your clean shears, snip off stem sections that are about 4-6 inches long. Choose stems that are actively growing but have not yet flowered. Make the cut just below a leaf node (where a leaf attaches to the stem).
- Prepare the Cuttings: Gently remove the lower leaves. You want at least one or two nodes exposed at the bottom, as this is where roots will form. If the leaves are quite large, you can even cut them in half to reduce water loss.
- Apply Rooting Hormone: Dip the cut end of each stem into your rooting hormone, tapping off any excess. This step isn’t strictly necessary, but it can significantly increase your success rate and speed up rooting.
- Pot Them Up: Fill your small pots with your well-draining mix. Moisten the soil lightly. Then, create a small hole in the center of each pot with your finger or a pencil. Insert the cutting into the hole and gently firm the soil around it. Make sure those bare nodes are in contact with the soil!
- Create a Humid Environment: Water them gently from the bottom or with a fine mist. Place a clear plastic bag over the pots (propping it up so it doesn’t touch the leaves) or place them in a propagator with a lid. This humidity barrier is crucial for preventing the cuttings from drying out before they can root.
The “Secret Sauce” (Pro Tips)
Here are a few little tricks I’ve picked up over the years that seem to make all the difference:
- Don’t Overcrowd: Give your cuttings a bit of breathing room in their pots. Too many dense stems in one pot can lead to fungal issues. It’s better to have a few well-rooted plants than a pot full of sad, rotted cuttings.
- Bottom Heat is Your Friend: If you have the option, placing your pots on a gentle heat mat can dramatically speed up root development. This mimics the warmth of spring days and encourages those roots to get growing. Just a slight warmth, nothing too hot!
- Watch for the Wiggle: Patience is key, but after a few weeks, you can give your cuttings a very gentle tug. If there’s resistance, that’s a good sign roots have formed!
Aftercare & Troubleshooting
Once your Petrocoptis cuttings have developed roots (you’ll see them peeking out of the drainage holes or feel that resistance), it’s time to give them a bit more space. Gradually acclimate them to normal room humidity by opening the plastic bag a little more each day for a week. Start watering a bit more directly, letting the top inch of soil dry out between waterings.
The most common issue you might encounter is rot. This usually happens if the soil stays too wet or if there isn’t enough air circulation. If you see a cutting turning black or mushy, sadly, it’s probably a goner. Remove it promptly to prevent it from spreading. Overwatering is the usual culprit, so ease up if you suspect that. Sometimes, a cutting just doesn’t take – that’s part of the process! Don’t get disheartened.
Happy Rooting!
Propagating plants is all about observation and a little bit of hopeful patience. Watch your cuttings, feel the soil moisture, and enjoy the process of bringing new life into your garden. Each successful little plant you coax into being is a testament to your green thumb and a reason to smile. Happy gardening!
Resource:
https://identify.plantnet.org/k-world-flora/species/Petrocoptis%20glaucifolia%20(Lag.)%20Boiss./data