Ah, Hymenaea stigonocarpa! If you’re drawn to its unique charm, you’re in for a treat. I’ve spent years nurturing these beautiful specimens, and the satisfaction of watching a new life sprout from a simple cutting is truly something special. Let’s dive into how you can bring more of Hymenaea stigonocarpa into your garden.
Introduction: The Magic of a New Beginning
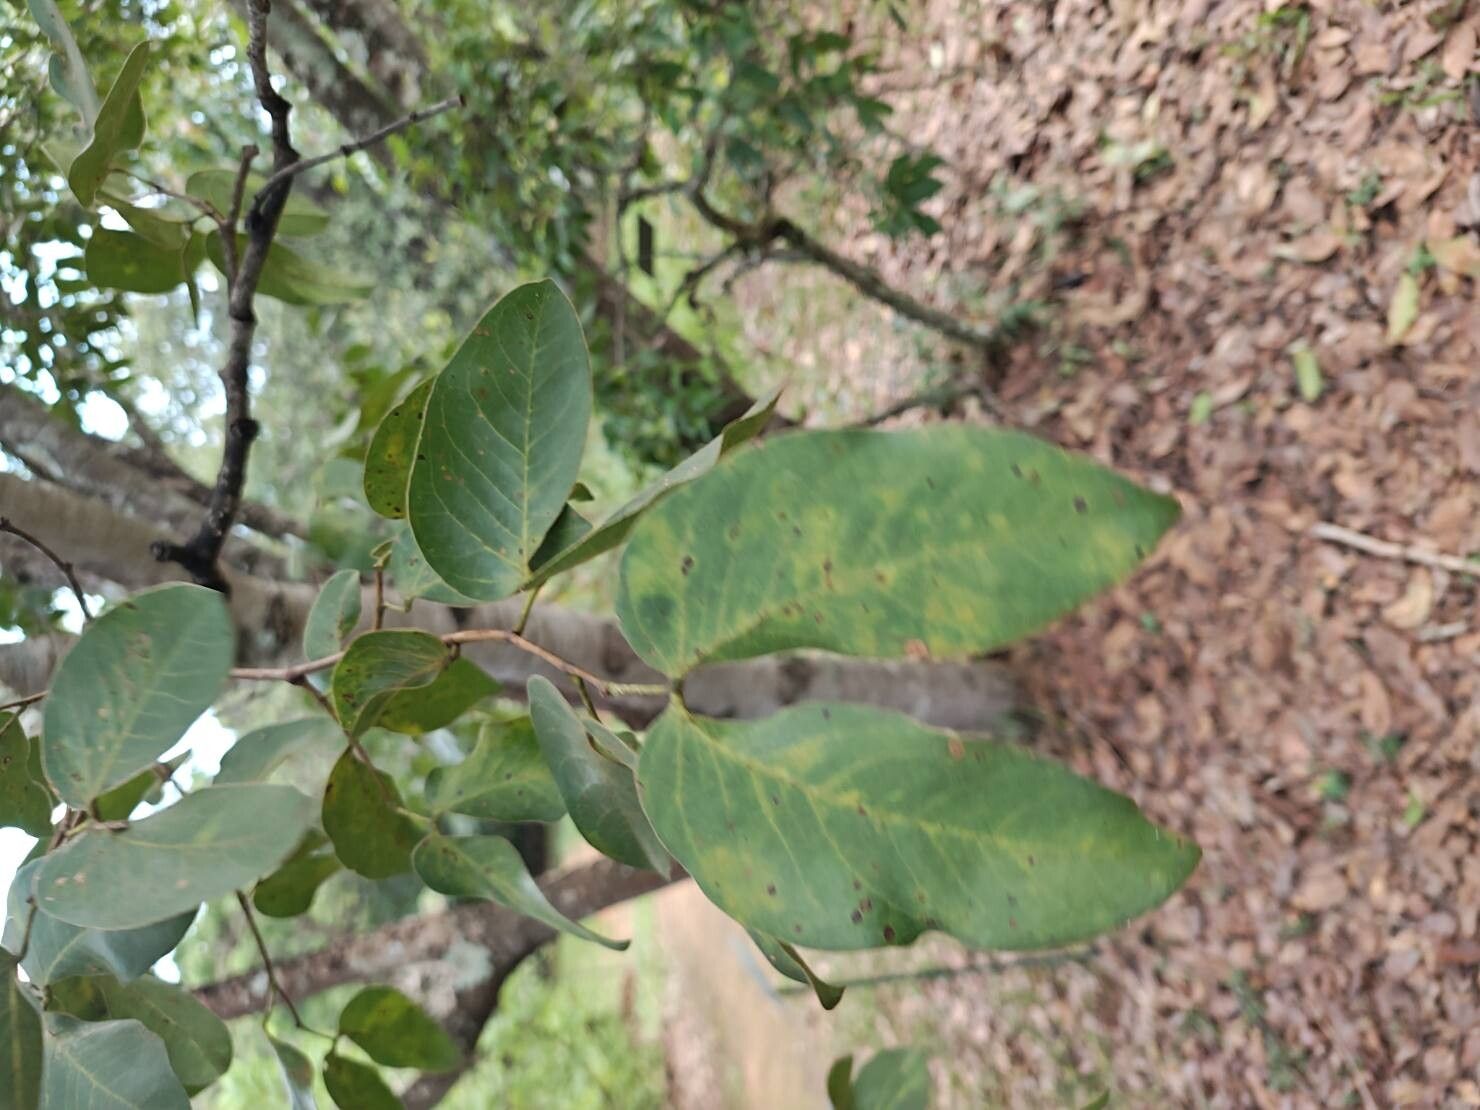
Hymenaea stigonocarpa, often called the Brazilian Carob, has this wonderful, almost sculptural quality. Its glossy leaves and distinctive way of growth make it a stand-out. Propagating it yourself? It’s incredibly rewarding. It’s not the absolute easiest plant for a complete beginner, but with a little patience and attention, you’ll find it quite manageable. Think of it as a rewarding challenge, not an impossible quest!
The Best Time to Start
For the highest chance of success, I always aim to propagate Hymenaea stigonocarpa in late spring or early summer. This is when the plant is in its most vigorous growth phase. New growth is plumper and more responsive to the propagation process. Waiting until the last frost has passed and things are warming up nicely is key.
Supplies You’ll Need
Gathering your supplies before you begin makes the whole process smoother. Here’s what I recommend:
- Sharp Pruning Shears or a Clean Knife: For making clean cuts. Sterilize them with rubbing alcohol to prevent disease.
- Rooting Hormone (Powder or Liquid): This is a big help! It encourages faster and stronger root development.
- Well-Draining Potting Mix: I like a blend of 50% perlite and 50% peat moss or coco coir. This ensures excellent aeration and prevents waterlogging.
- Small Pots or Trays with Drainage Holes: For your cuttings to root in.
- Plastic Bags or a Propagator Lid: To create a humid environment for your cuttings.
- Watering Can with a Fine Rose: For gentle watering.
- Labels and a Marker: Don’t forget to label your cuttings!
Propagation Methods
I’ve found two methods work particularly well for Hymenaea stigonocarpa: stem cuttings and air layering.
Stem Cuttings: Taking a Piece of the Action
This is usually my go-to for bringing new plants into existence.
- Select Your Cutting: Look for healthy, semi-hardwood cuttings. These are shoots that are firm but still have a bit of flexibility – not brand new, soft growth, and not old, woody stems. Aim for cuttings about 4-6 inches long.
- Make the Cut: Using your sterilized shears, make a clean cut just below a leaf node (where a leaf attaches to the stem). This is where the magic of root formation often begins.
- Prepare the Cutting: Gently remove the lower leaves, leaving just a few at the top. If any of the remaining leaves are very large, I sometimes trim them in half to reduce water loss.
- Apply Rooting Hormone: Dip the cut end into your rooting hormone, tapping off any excess.
- Plant Your Cutting: Make a small hole in your prepared potting mix and insert the cutting about 1-2 inches deep. Firm the soil gently around it.
- Provide Humidity: Water gently. Then, cover the pot with a plastic bag or place it under a propagator lid to create a mini-greenhouse. Make sure the plastic doesn’t touch the leaves too much.
- Find a Warm Spot: Place the pot in a bright spot with indirect light. Avoid direct sun, which can scorch the new cuttings.
Air Layering: The Patient Gardener’s Approach
This method takes a bit longer, but it’s fantastic for larger branches and often results in a higher success rate because the parent plant still supports the developing roots.
- Choose a Branch: Select a healthy, mature branch that’s about pencil-thickness or slightly thicker.
- Make the Wound: About 12-18 inches down from the tip of a healthy branch, use your knife to scrape away a thin ring of bark about 1 inch wide. Or, make a shallow upward-slanting slit halfway through the branch and open it slightly with a toothpick.
- Apply Rooting Hormone (Optional but Recommended): Dust the exposed, scraped wood with rooting hormone.
- Wrap It Up: Pack damp sphagnum moss (or your chosen moist potting mix) around the wounded area. Then, wrap this tightly with plastic wrap, securing it at both ends with tape or twist ties. You want to create a moist environment for roots to form within the moss.
- Wait and Watch: You should start to see roots developing within the plastic within several weeks. Be patient! Once you see a good network of roots, you can carefully cut the branch below the root ball and plant it in its own pot.
The “Secret Sauce” (Pro Tips)
Here are a few things I’ve learned over the years that make a real difference:
- Bottom Heat is Your Friend: For stem cuttings, placing the pot on a heating mat specifically designed for propagation can dramatically speed up root development. It mimics the warm soil that roots love.
- Don’t Drown Your Dreams: When watering cuttings in pots, err on the side of slightly dry rather than too wet. Overwatering is the quickest way to invite root rot, the nemesis of propagation.
- Freshness Counts: Use cuttings that are freshly taken. The longer they sit around before being put into soil or water, the less likely they are to root successfully.
Aftercare & Troubleshooting
Once you spot new leaf growth on your cuttings, that’s a fantastic sign roots are forming!
- Gradual Acclimation: If you used plastic bags, gradually introduce your new plants to normal humidity levels by opening the bag a little more each day for a week or so.
- Gentle Watering: Continue to water gently, allowing the soil to dry slightly between waterings.
- Monitor for Rot: The most common sign of trouble is wilting that doesn’t perk up after watering, often accompanied by a mushy, dark stem base. If you see this, unfortunately, the cutting has likely rotted and won’t recover. Remove it from your other cuttings immediately to prevent spread. Yellowing leaves can sometimes be normal initial stress, but if they turn mushy and fall off quickly, it might also indicate overwatering.
A Encouraging Closing
Gardening is all about patience and observation, and propagation is no different. Celebrate each little success, and don’t be discouraged by failures – they’re just learning opportunities! Enjoy the process of nurturing these new lives. Happy propagating!
Resource: