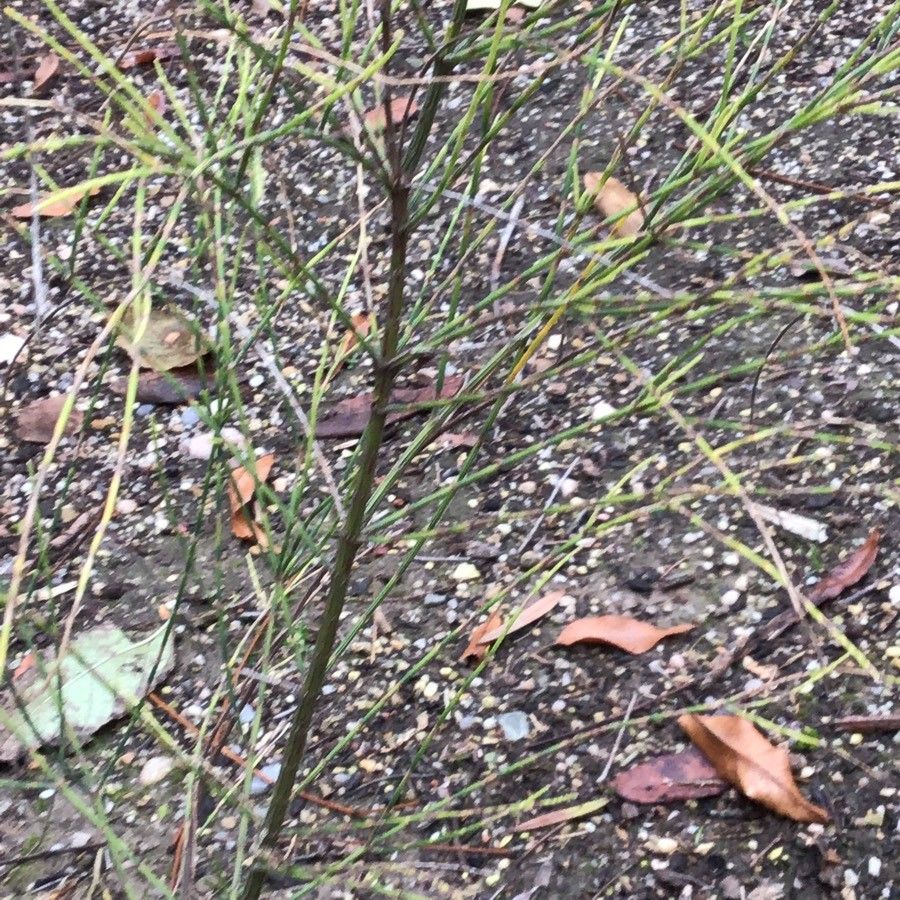
Hello, garden friends! I’m so excited to chat with you today about a really special tree: Allocasuarina verticillata, or the Drooping She-oak. It’s just got this wonderfully airy, almost feathery look to it, with its cascading branches of needle-like foliage. It brings a touch of the wild and a beautiful, natural drama to any landscape. And you know what’s even more rewarding than admiring one? Growing your own!
Now, if you’re new to the gardening game, you might be wondering if this is the project for you. Honestly, propagating Allocasuarina verticillata can be a little bit of a learning curve. It’s not quite as straightforward as sticking a geranium cutting in water, but with a little patience and the right approach, you can absolutely succeed. Think of it as a delightful challenge that will teach you a lot.
The Best Time to Start
For the highest success rates with Allocasuarina verticillata, I always recommend trying to take cuttings in the late spring to early summer. This is when the plant is in active growth, and those new, semi-hardwood stems have just enough flexibility to root, but are also mature enough to hold their own. You want stems that are firm but not woody. Avoid taking cuttings from brand new, very soft growth or from old, hard wood.
Supplies You’ll Need
Gathering your supplies upfront makes the whole process so much smoother. Here’s what I’ve found to be essential:
- Sharp, clean pruning shears or a craft knife: For making clean cuts. Sterilize them with rubbing alcohol to prevent disease.
- Rooting hormone powder (optional, but recommended): Look for one that contains IBA (indole-3-butyric acid). This gives your cuttings a helpful boost.
- Well-draining potting mix: I often use a blend of coarse sand, perlite, and a little peat moss or coco coir. A cactus or succulent mix can also work well. Avoid heavy garden soil.
- Small pots or trays: With drainage holes, of course!
- Plastic bags or a propagator: To create a humid environment around your cuttings.
- Watering can with a fine rose: For gentle watering.
- Labels and a marker: To keep track of what you’ve planted!
Propagation Methods: Stem Cuttings
The most reliable way to propagate Allocasuarina verticillata is through stem cuttings. Here’s how I usually do it:
- Select Your Cuttings: Go outside and find those perfect semi-hardwood stems. Look for branches that are about pencil-thick and have grown in the current season.
- Make the Cut: Using your sterilized shears or knife, take cuttings that are 6 to 8 inches long. Make a clean cut just below a leaf node – that’s where roots are most likely to form.
- Prepare the Cuttings: Gently strip off the “leafy” bits from the bottom 2-3 inches of the cutting. You want to expose those nodes where roots will emerge. Don’t worry if they look stringy; that’s normal for this plant.
- Apply Rooting Hormone (Optional): Dip the cut end of the stem into your rooting hormone powder, tapping off any excess. Follow the product’s instructions carefully.
- Plant Your Cuttings: Fill your pots with your prepared, damp potting mix. Make a small hole with a pencil or your finger, and gently insert the cutting. Firm the soil around it. You can fit several cuttings in one pot, but make sure they aren’t touching each other.
- Water Gently: Water the soil lightly to settle it around the cuttings.
The “Secret Sauce” (Pro Tips)
Over the years, I’ve learned a few tricks that really make a difference.
- Don’t Over-Water: This is a big one for almost any cutting, but it’s especially true for succulents and plants that can be prone to rot. The idea is to keep the potting mix consistently moist, but not soggy. You want it to feel like a wrung-out sponge.
- Bottom Heat is Your Friend: If you have it, using a propagation mat or placing your pots on top of a warm appliance can significantly speed up the rooting process. A little warmth from below encourages root development.
- Patience, Patience, Patience: Allocasuarina verticillata can be a bit of a slow starter when it comes to rooting. Don’t give up too soon! I often leave cuttings for 6-8 weeks, or even longer, before I start to see signs of new growth.
Aftercare & Troubleshooting
Once you start to see new growth on your cuttings – tiny new “leaves” or a bit of upward reach – that’s a good sign roots are forming!
- Gradual Acclimation: Slowly start to introduce your rooted cuttings to normal room humidity. This means opening up your propagator or the plastic bag a little each day over a week or two. Avoid direct sunlight at this stage.
- Move to Individual Pots: Once they seem a bit more robust, carefully pot them into their own small containers using a good quality, well-draining potting mix. Treat them like young, sensitive plants.
- Watch for Rot: The most common sign of failure is rotting at the soil line. This usually indicates too much moisture. If you see a stem turning black and mushy, unfortunately, that cutting is likely lost. You can try to salvage healthy-looking bits if you catch it early. Another sign is wilting and dryness, which suggests the cutting never took and has dried out.
A Encouraging Closing
Growing your own plants is such a fulfilling part of gardening. Propagating Allocasuarina verticillata might take a bit of effort, but the reward of watching a new, beautiful tree-dweller emerge from a simple cutting is truly wonderful. Be patient with the process, learn from each attempt, and most importantly, enjoy the journey. Happy growing!
Resource: