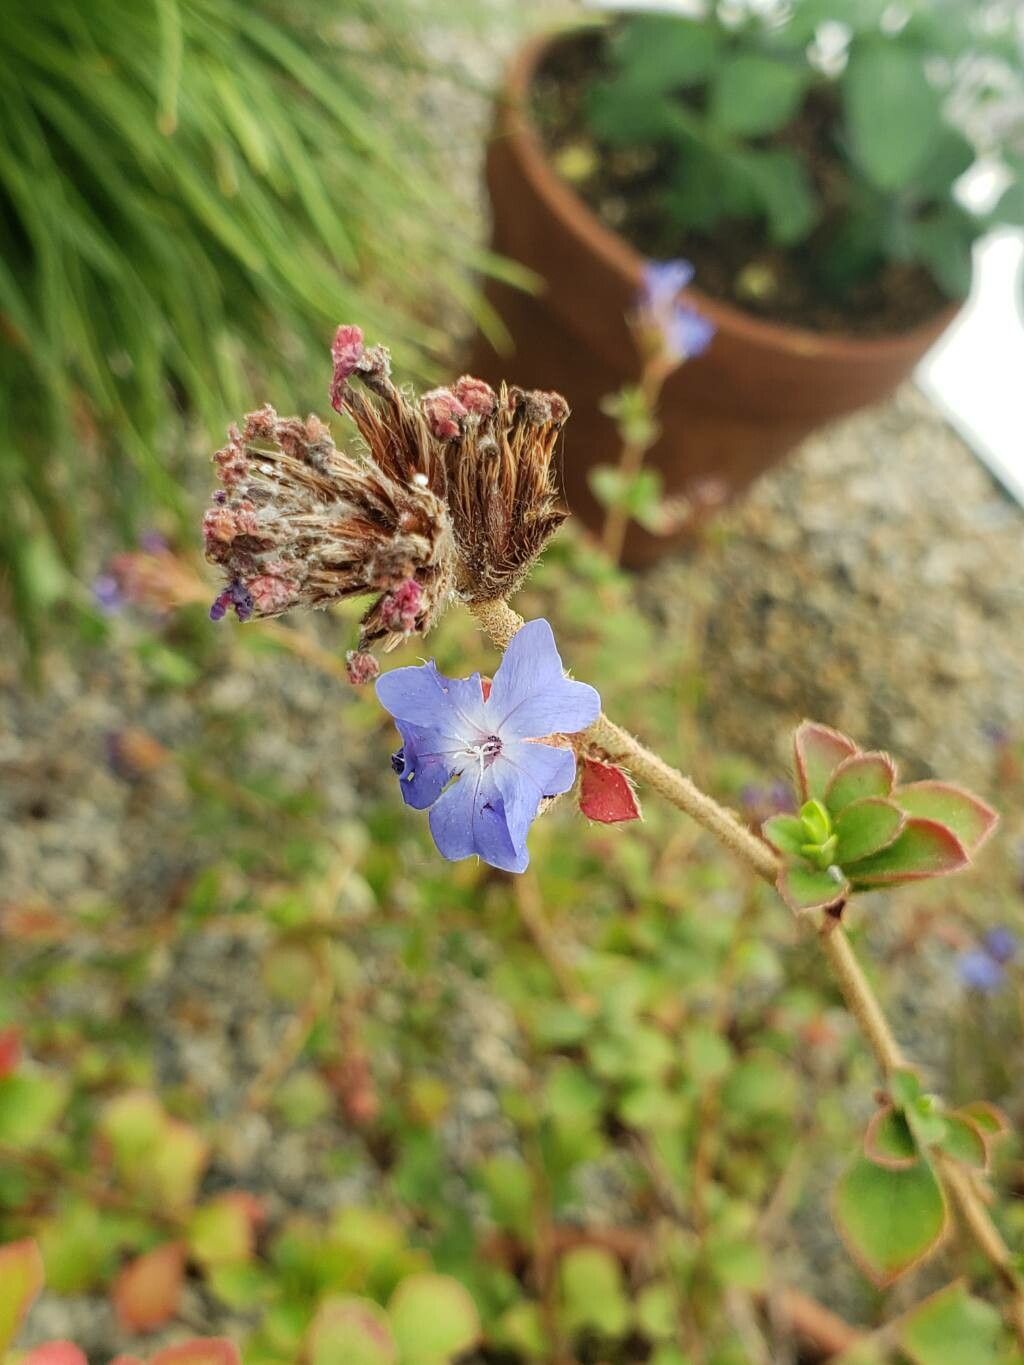
Oh, hello there! Pull up a chair. Let’s talk about Ceratostigma griffithii, or as some of us affectionately call it, Himalayan Plumbago. If you’re looking for a plant that offers a splash of vibrant cobalt blue, even in some cooler weather, this is it. Its charming little blossoms are a real treat, and honestly, getting more of them for free is one of the most satisfying gardening achievements. Don’t let the slightly exotic name fool you; propagating Ceratostigma griffithii is quite achievable, even for those just starting to dip their toes into the world of plant propagation.
The Best Time to Start
For these beauties, I’ve found late spring to early summer is your sweet spot. This is when the plant is actively growing, meaning it has that good energy to put into developing new roots. You’ll be looking for stems that are somewhat firm but still a bit flexible – not the brand new, super-soft shoots, but not the old, woody growth either. Think of it as the “just right” stage.
Supplies You’ll Need
Here’s a little toolkit to get you going:
- Sharp pruning shears or a clean knife: For making clean cuts.
- Rooting hormone (optional but recommended): This is like a little confidence boost for your cuttings.
- Small pots or seed trays: With drainage holes, of course!
- Well-draining potting mix: A good seed-starting mix or a blend of peat moss and perlite works wonders.
- Plastic bags or a propagation dome: To create a humid environment.
- Watering can or spray bottle: For gentle watering.
Propagation Methods
We’ll focus on the easiest and most effective way to get more Ceratostigma: stem cuttings.
- Select Your Cuttings: Gently examine your existing Ceratostigma griffithii plant. Look for healthy, non-flowering shoots. You want pieces that are about 4-6 inches long.
- Make the Cut: Using your sharp shears or knife, make a clean cut just below a leaf node (where a leaf joins the stem). This is where roots are most likely to form. Remove any lower leaves from the cutting.
- Apply Rooting Hormone (Optional): Dip the cut end of the stem into your rooting hormone powder. Tap off any excess.
- Plant the Cuttings: Fill your pots or trays with your chosen potting mix. Make a small hole with your finger or a pencil, then gently insert the cut end of your Ceratostigma cutting. Firm the soil around the base to ensure good contact.
- Water Gently: Water the soil thoroughly but gently. You don’t want to wash the cuttings away.
- Create Humidity: Cover the pots loosely with a plastic bag, or place them inside a propagation dome. This keeps the humidity high, which is crucial for preventing the cuttings from drying out before they can root.
The “Secret Sauce” (Pro Tips)
Now, for a couple of little tricks that have made a real difference for me over the years:
- Don’t let the leaves touch the water (if you decide to try water propagation, which I find less reliable for this plant): If any leaves dip into the water, they’ll just rot and can take the whole cutting down with them. For stem cuttings in soil, though, this isn’t an issue.
- Bottom heat is your friend: If you have a heating mat designed for plants, placing your pots on it can significantly speed up root development. It mimics the warmth of the soil from spring sunshine. Keep it set to a gentle warmth, not hot!
- Be patient with pruning: Sometimes, a cutting might look a little sad for a while. Don’t give up too soon! As long as the stem is firm and green, there’s still hope. You can gently tug on a cutting after a few weeks; if you feel resistance, it means roots are forming.
Aftercare & Troubleshooting
Once you see signs of new growth, like tiny leaves or a bit of upward stretch, it’s a good sign that roots are developing.
- Gradually Acclimate: As your cuttings start to root, begin slowly decreasing the humidity. This means opening the plastic bag or propagation dome a little bit each day for a week or so, allowing the new plant to adjust to normal air.
- Watering: Keep the soil consistently moist but not waterlogged. Overwatering is the quickest way to invite problems.
- Troubleshooting: The most common issue you’ll encounter is rot. If a cutting turns black and mushy, it’s usually a sign of too much moisture and not enough air circulation. This is why a well-draining mix is so important. If you see mold on the soil surface, you might need to improve air circulation or gently scrape off the top layer.
A Encouraging Closing
Propagating Ceratostigma griffithii is a wonderful way to expand your garden and share the beauty of these lovely blue flowers. Don’t get discouraged if your first few attempts aren’t perfect. Each plant, and each cutting, is a little lesson. Enjoy the process, celebrate the tiny rootlings you create, and happy gardening!
Resource:
https://identify.plantnet.org/k-world-flora/species/Ceratostigma%20griffithii%20C.B.Clarke/data