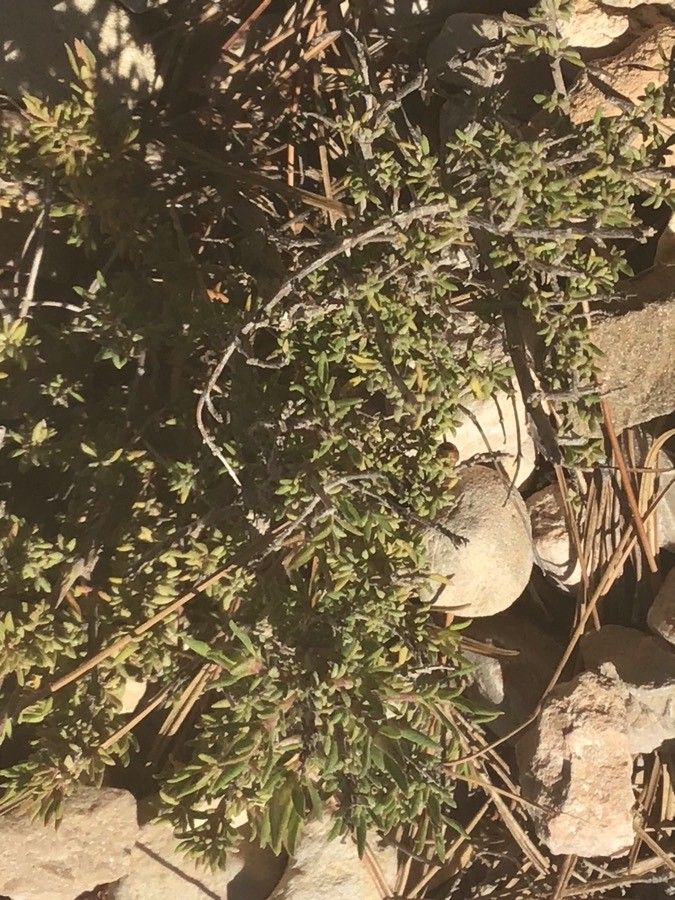
Oh, Thymus membranaceus, what a delightful plant! It’s that beautiful Spanish thyme with its delicate white, papery bracts that look like tiny butterflies. It’s got a lovely, subtle fragrance and a gorgeous, airy habit that just makes any garden feel a little more special. If you’ve ever admired this plant and wished you could have more of it, I’ve got good news: propagating it is absolutely doable, and seeing those tiny cuttings take root is incredibly rewarding. It’s not the absolute easiest plant to start from scratch for a complete beginner, but with a little patience and this guide, you’ll be well on your way!
The Best Time to Start
For Thymus membranaceus, I find the sweet spot is late spring to early summer. This is when the plant is actively growing, meaning those stems have plenty of energy to put into developing roots. You want to be taking cuttings from current season’s growth that is no longer soft and floppy but has started to firm up and become a bit woody at the base. Think of it as semi-ripe – not too young, not too old.
Supplies You’ll Need
Here’s what you’ll want to gather:
- Sharp Pruning Shears or a Craft Knife: For clean cuts that heal quickly.
- Rooting Hormone (Optional but recommended): A little boost can really help. I prefer powder.
- Small Pots or Trays: With good drainage holes.
- Well-Draining Potting Mix: A good choice is a mix of equal parts potting soil, perlite, and coarse sand. Or, you can buy a specialized seed starting or cactus/succulent mix.
- Watering Can or Spray Bottle: For gentle watering.
- A Clear Plastic Bag or Propagator Lid: To create a humid environment.
- Labels: To keep track of what you’ve planted!
Propagation Methods
My go-to method for Thymus membranaceus is stem cuttings. It’s reliable and gives you a great chance of success.
Stem Cuttings:
- Take Your Cuttings: Look for healthy stems on your mother plant. Using your sharp shears or knife, cut pieces that are about 3-5 inches long. Make your cut just below a leaf node (where the leaves attach to the stem). This is where the magic really happens for root development.
- Prepare the Cuttings: Gently remove the leaves from the bottom half of each cutting. You don’t want any foliage submerged when you plant them, as this can lead to rot.
- Apply Rooting Hormone (Optional): Dip the cut end of each stem into your rooting hormone powder, tapping off any excess.
- Plant Your Cuttings: Fill your small pots or trays with your prepared potting mix. Moisten the soil thoroughly. Then, using a pencil or your finger, make a small hole in the soil and insert the cut end of your thyme cutting. Gently firm the soil around the base of the cutting. You can plant several cuttings in one pot, spacing them a couple of inches apart.
- Create a Humid Environment: This is crucial! Water the soil again very gently. Then, cover the pot with a clear plastic bag, making sure the leaves don’t touch it, or use a propagator lid. Stick the pot in a bright spot, but avoid direct, scorching sunlight.
The “Secret Sauce” (Pro Tips)
Here are a couple of things I’ve learned over the years that can make a big difference:
- Don’t Let Leaves Touch the Water (if water propagating): While I prefer soil for thyme, if you’re tempted by water propagation (which I find less successful for this particular variety), ensure absolutely no leaves are submerged. They will rot and contaminate the water, killing your cutting before it has a chance to root.
- Bottom Heat is Your Friend: For really speedy root development, especially if your greenhouse or home is a bit cool, place your pots on a heat mat. This provides gentle warmth to the soil, encouraging the roots to start forming from below. It’s like a little spa for your cuttings!
- A Gentle Mist is Better Than a Drenching: When you water your cuttings, be gentle. A spray bottle set to a fine mist is often best for the initial watering and for keeping the humidity up within the propagator. You don’t want to dislodge those delicate new roots once they start to form.
Aftercare & Troubleshooting
Once your cuttings are planted, keep the soil consistently moist but not waterlogged. You should see signs of new growth within a few weeks. The real test, though, is when you gently tug on a cutting. If there’s resistance, congratulations – you have roots! At this point, you can gradually introduce them to more light and air by removing the plastic bag or opening the propagator lid a little each day. Once they have a good root system and are showing healthy top growth, you can pot them up into their own small pots with regular potting mix.
The most common sign of failure is rot. If your cuttings turn black and mushy, the soil was likely too wet, or they didn’t have enough air circulation. Overwatering is the main culprit, so always ensure that free-draining mix and that you’re not keeping them sodden. If you see a bit of wilting, don’t panic – check the soil moisture first. Sometimes they just need a drink, or the humidity needs to be increased.
A Bit of Patience Goes a Long Way
Propagating any plant takes a bit of patience, and Thymus membranaceus is no exception. Don’t get discouraged if not every single cutting takes. It’s all part of the learning process! Enjoy watching those tiny sprigs transform into new plants, and soon you’ll have a whole garden full of this charming thyme. Happy growing!
Resource:
https://identify.plantnet.org/k-world-flora/species/Thymus%20membranaceus%20Boiss./data