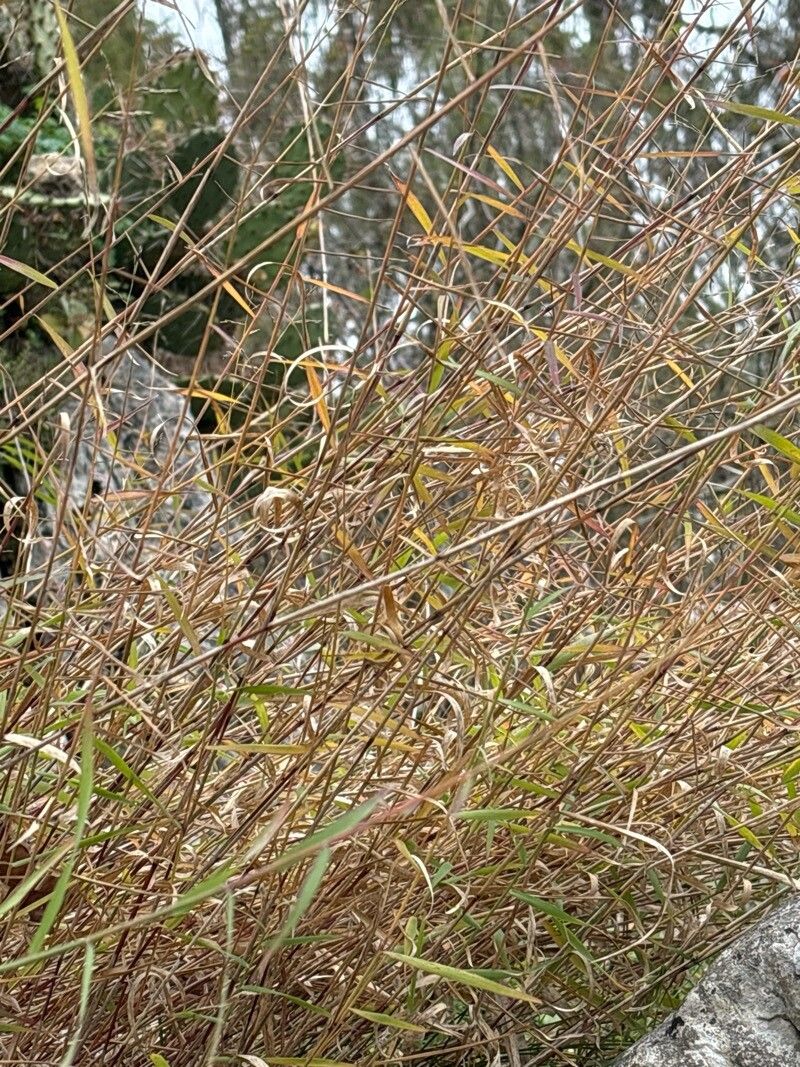
Oh, hello there! I’m so happy you’re curious about Cleistogenes serotina. This gorgeous grass, with its delicate, wispy plumes, is just one of those plants that brings a whisper of wild beauty to any garden. It’s not a flashy bloomer, but its texture and movement in the breeze are simply enchanting. And propagating it? Well, it’s a wonderfully satisfying way to expand your collection or share these beauties with friends.
Let me be upfront: propagating Cleistogenes serotina isn’t quite as straightforward as, say, a basil cutting, but it’s definitely doable with a little care and patience. It’s a rewarding challenge that will make you feel like a true plant magician when you succeed!
The Best Time to Start
The sweet spot for propagating Cleistogenes serotina is definitely during its active growing season, which generally runs from late spring through early summer. This is when the plant has plenty of energy stored to put into developing new roots. Trying to propagate when it’s dormant is like trying to get a sleepyhead to run a marathon – it just won’t work!
Supplies You’ll Need
Gathering your tools beforehand makes the whole process so much smoother. Here’s what I always have on hand:
- Sharp Pruning Shears or a Knife: Clean cuts are crucial to prevent disease.
- Rooting Hormone (Optional but Recommended): A good quality rooting hormone powder can significantly boost your success rate.
- Well-Draining Potting Mix: I often use a mix of equal parts seed-starting mix, perlite, and a bit of horticultural sand. You want something that doesn’t hold onto excess moisture.
- Small Pots or Trays: Clean containers with drainage holes are essential.
- Plastic Bags or a Propagator: To create a mini-greenhouse effect.
- Watering Can with a Fine Rose: For gentle watering.
- Labels and a Pen: To keep track of your little beauties!
Propagation Methods
While Cleistogenes serotina can be tricky, division is often the most successful method for home gardeners.
Division: The Surest Bet
This is best done in early spring as new growth begins to emerge.
- Gently Excavate: Carefully dig up the entire Cleistogenes serotina clump. You can either lift it out with a garden fork or, if it’s small enough, gently tease it out of its pot.
- Clean the Roots: Gently shake off excess soil so you can clearly see the root structure and where the plant is naturally dividing.
- Find the Natural Breaks: Look for natural divisions where the plant is already starting to separate into smaller sections. You want to see healthy roots attached to each section.
- Separate Gently: Using your hands or a clean, sharp knife, carefully separate the clump into smaller divisions. Aim for divisions that have at least a few healthy roots and a couple of shoots. Don’t be tempted to break off tiny pieces with no roots – they likely won’t survive.
- Pot Them Up: Plant each division into its own pot filled with your well-draining potting mix. Ensure the crown of the plant (where the leaves meet the roots) is at soil level.
- Water Thoroughly: Water the newly potted divisions well, ensuring the soil is evenly moist but not waterlogged.
The “Secret Sauce” (Pro Tips)
Here are a couple of things I’ve learned over the years that really make a difference:
- Don’t Over-Water the Cuttings: This is the most common mistake! Cleistogenes serotina, like many grasses, is very susceptible to rot. Keep the soil consistently moist but not soggy. The plastic bag or propagator helps maintain humidity without constant watering.
- Think About Bottom Heat: If you can, place your pots on a heat mat. This subtle warmth encourages root development from below, mimicking the ideal soil temperatures the plant craves in spring. It’s like giving them a cozy little foot massage as they get started!
Aftercare & Troubleshooting
Once your divisions are potted, here’s how to mother them:
- Provide Indirect Light: Place the pots in a bright spot that receives indirect sunlight. Direct sun can scorch delicate new growth.
- Maintain Humidity: Keep that plastic bag or propagator on. You can also lift the bag for a few minutes each day to allow for some air circulation.
- Be Patient! It can take several weeks for new growth to appear, signaling that roots are establishing.
- Watch for Rot: The biggest enemy is rot. If your divisions look mushy, yellow, or have a foul smell, it’s a sign of overwatering. Try to gently ease back on the water and improve air circulation. Remove any diseased parts immediately.
A Rewarding Journey
Propagating Cleistogenes serotina might require a bit more finesse than some, but the payoff is immense. Seeing those tiny new plants take root and grow is a truly special feeling. Be patient with yourself and enjoy the process. Happy gardening!
Resource:
https://identify.plantnet.org/k-world-flora/species/Cleistogenes%20serotina%20(L.)%20Keng/data