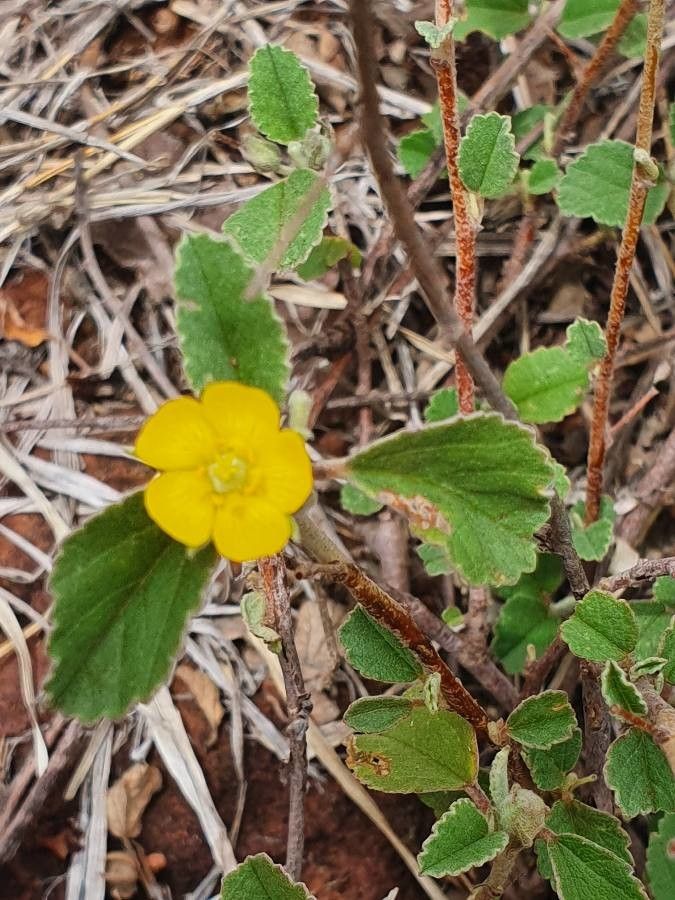
Well hello there, fellow plant enthusiast! If you’ve ever admired the delicate, cheerful beauty of Sida ovata and wished you could have more of them gracing your garden, you’re in the right place. Sometimes known as Mexican Hemp (though it’s not related to actual hemp!), this lovely plant offers vibrant flowers and a pleasing texture that truly brightens any sunny spot. And the best part? Growing more of them yourself is actually quite accessible, even for those just starting out on their plant propagation journey. It’s incredibly satisfying to see a tiny cutting transform into a thriving plant, isn’t it?
The Best Time to Start
For Sida ovata, the absolute sweet spot for propagation is generally in the late spring or early summer. This is when the plant is actively growing and has plenty of energy to put into developing new roots. You’ll want to take cuttings from healthy, non-flowering stems. Think of it as harvesting from a plant that’s bursting with life!
Supplies You’ll Need
Gathering your tools before you begin makes the whole process much smoother. Here’s what I usually have on hand:
- Sharp Pruning Shears or a Craft Knife: Clean cuts are crucial for healthy root development.
- Rooting Hormone (Optional but Recommended): This little powder or gel can give your cuttings a significant boost.
- Small Pots or Seed Starting Trays: Anything that can hold your potting mix.
- Well-Draining Potting Mix: A good blend is key. I often use a mix of equal parts peat moss, perlite, and coarse sand.
- Plastic Bags or Clear Domes: For creating a humid environment for your cuttings.
- Watering Can with a Fine Rose: Gentle watering prevents disturbing your new charges.
- Labels and a Marker: Trust me, you’ll thank yourself later!
Propagation Methods
I find that stem cuttings are usually the most successful and straightforward way to propagate Sida ovata. Here’s how I do it:
- Select Your Cuttings: On a healthy, actively growing Sida ovata plant, look for stems that are about 4-6 inches long. Make sure they have several leaves, but no flowers or flower buds. Using your clean snips or knife, take a cut just below a leaf node (where a leaf attaches to the stem).
- Prepare the Cuttings: Gently remove the lower leaves from the cutting, leaving only two or three leaves at the very top. This prevents them from rotting in the soil and encourages the plant to send its energy to root formation.
- Apply Rooting Hormone (Optional): Dip the cut end of the stem into your rooting hormone powder or gel. Tap off any excess.
- Plant Your Cuttings: Fill your small pots or trays with your dampened, well-draining potting mix. Make a small hole in the center of the soil with your finger or a pencil. Insert the cut end of the stem into the hole, ensuring the leaf nodes where you removed leaves are below the soil surface. Gently firm the soil around the cutting.
- Create a Humid Environment: This is important! Water the soil lightly. Then, either cover the pots with a clear plastic bag (propping it up with stakes so it doesn’t touch the leaves) or place them under a clear plastic dome. This traps moisture and humidity, which is vital for cuttings to root.
- Provide Light and Warmth: Place your pots in a bright location but out of direct, harsh sunlight. A warm windowsill is often perfect.
The “Secret Sauce”
Here are a couple of little tricks I’ve picked up over the years that really help:
- Don’t Let Leaves Touch the Water: If you happen to choose water propagation for a few cuttings (which is also an option, though I find soil easier for this plant), make sure absolutely none of the leaves are submerged in the water. Any submerged leaves are a fast track to rot. Only the stem should be in contact with the water.
- Consider Bottom Heat: If you’re doing this in a cooler part of your house, or if your spring is a bit sluggish, placing your pots on a seedling heat mat can make a world of difference. That gentle warmth from below really encourages those roots to get going!
Aftercare & Troubleshooting
Once you’ve potted up your cuttings, be patient! It can take anywhere from 3 to 6 weeks to see noticeable root growth. You can gently tug on a cutting; if there’s resistance, it’s a good sign roots are forming. Once they’ve developed a good root system, you can transplant them into larger pots or their permanent garden location. Continue to water them consistently, but avoid waterlogging the soil.
The most common issue you might encounter is rot. This usually happens if the cuttings are kept too wet or don’t have enough air circulation. If you see your cutting turning black and mushy, it’s unfortunately a sign it hasn’t made it. Don’t be discouraged! Just clean out the pot and try again, perhaps adjusting your watering schedule or ensuring better drainage.
A Warm Encouragement
Propagating plants is a wonderful way to connect with nature and fill your life with more green beauty. Be patient with your Sida ovata cuttings. Some will take off immediately, others might take their sweet time, and yes, sometimes one won’t make it. That’s all part of the gardening adventure! Enjoy the process, celebrate every little success, and soon you’ll have a whole new collection of these delightful flowering plants to share and admire. Happy propagating!
Resource:
https://identify.plantnet.org/k-world-flora/species/Sida%20ovata%20Forssk./data