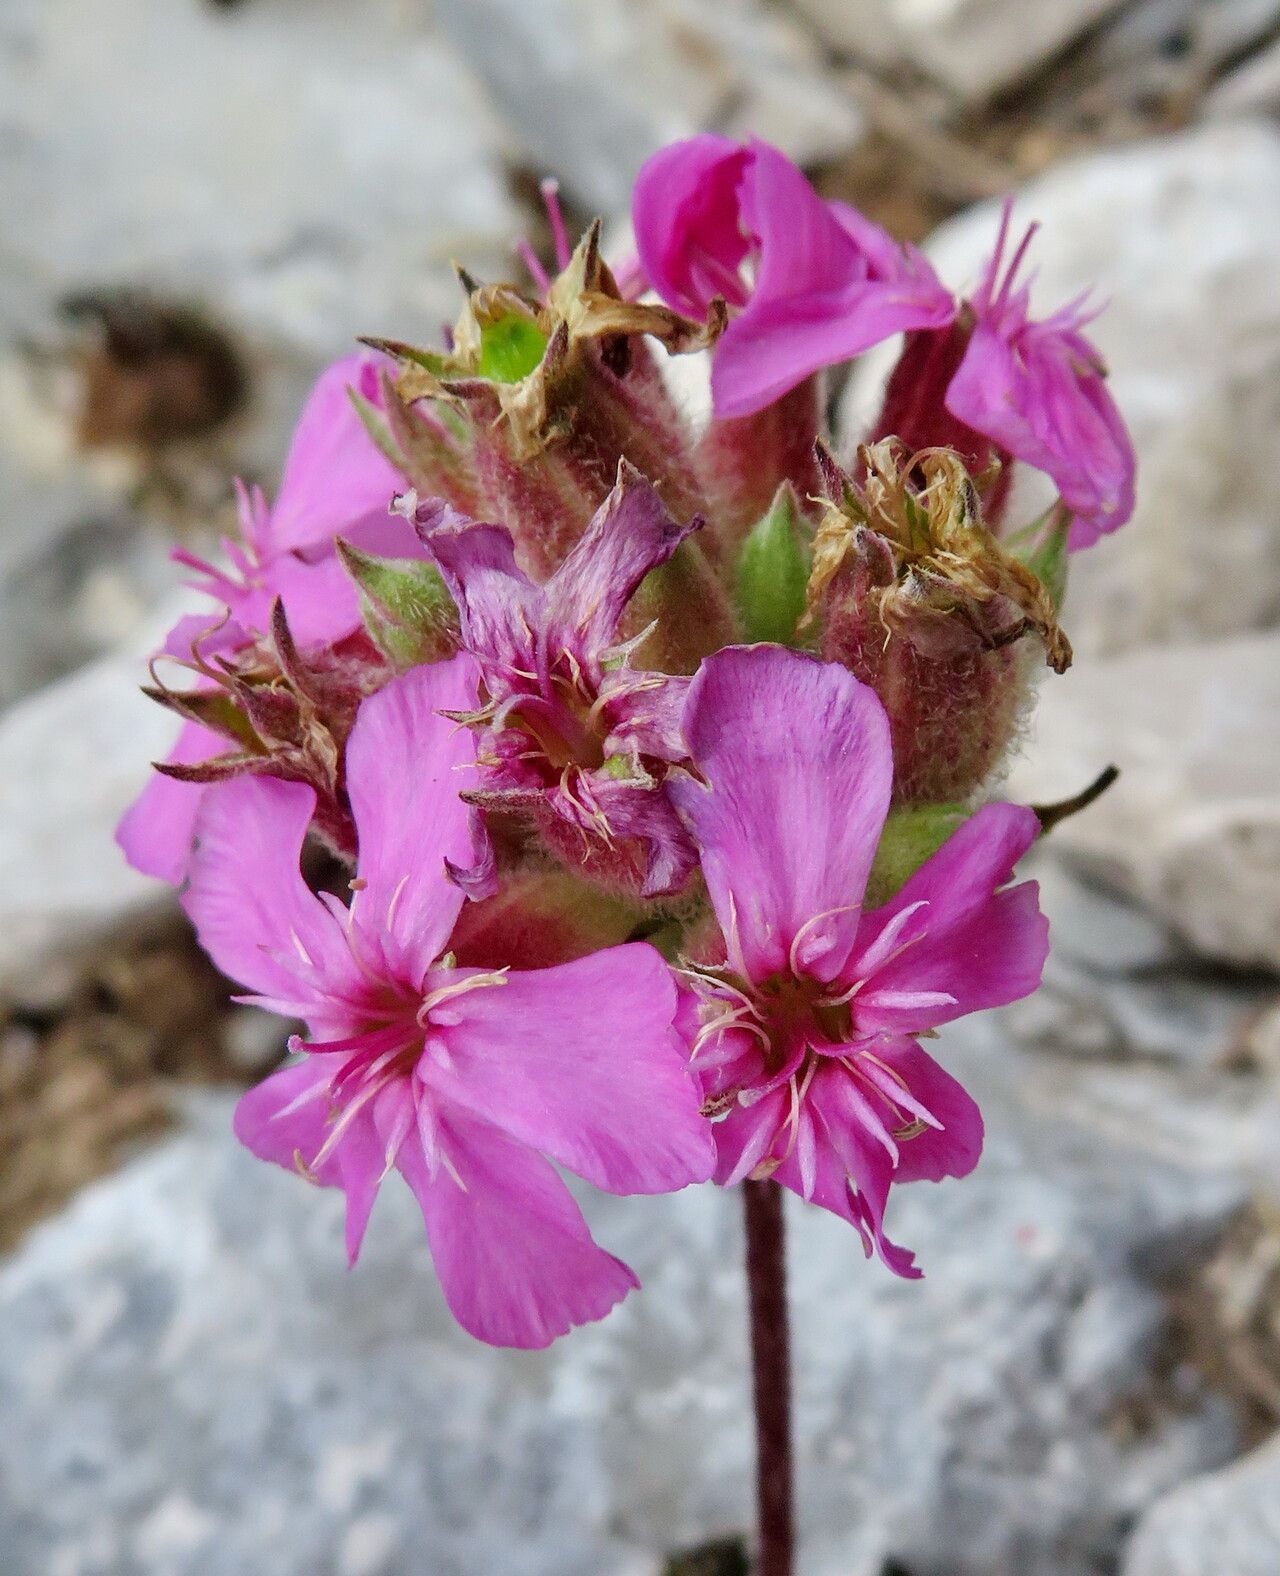
Hello fellow garden enthusiasts! Today, let’s dive into the wonderful world of Saponaria caespitosa. You know, that charming little cushion plant that just begs for a sunny spot? It’s a delight to have in the garden, forming those beautiful, low-growing mounds often adorned with a profusion of pink flowers. And let me tell you, propagating it yourself is incredibly rewarding. It’s not the absolute easiest plant to get started with for a complete beginner, but with a little careful attention, you’ll be clipping off new babies in no time.
The Best Time to Start
For Saponaria caespitosa, your best bet is to start in late spring or early summer. This is when the plant is actively growing and has plenty of energy to put into rooting new growth. Aim for soft, new shoots that haven’t started to get woody yet. You want material that’s pliable and full of life.
Supplies You’ll Need
Gathering your tools beforehand makes the whole process smoother. Here’s what I usually have on hand:
- Sharp, clean pruning shears or a sharp knife: Sanitation is key to preventing disease.
- A well-draining potting mix: I like a blend of perlite, peat moss, and a little coarse sand. You can also find commercial succulent or cactus mixes.
- Small pots or seed trays: Yogurt cups with drainage holes work in a pinch!
- Rooting hormone (optional but recommended for cuttings): Look for one with IBA.
- A spray bottle for misting: For keeping things humid.
- Labels or plant markers: To remember what you’ve planted and when!
- A plastic bag or propagation dome: To create a humid environment.
Propagation Methods
Let’s get our hands dirty! For Saponaria caespitosa, stem cuttings are usually the most successful and straightforward method.
Stem Cuttings:
- Take your cuttings: Using your clean shears, snip off 4-6 inch lengths of healthy, non-flowering stem tips. Make sure each cutting has at least a couple of leaf nodes.
- Prepare the cuttings: Gently remove the lower leaves from the bottom half of each cutting. This prevents them from rotting once they’re in the soil.
- Dip in rooting hormone (optional): If you’re using rooting hormone, dip the cut end into the powder or gel. Tap off any excess.
- Plant the cuttings: Fill your pots or trays with your well-draining mix. Make small holes in the soil with a pencil or your finger. Insert the cut end of each Saponaria cutting into the holes, ensuring the lower leaf nodes are buried.
- Water gently: Water the soil lightly to settle it around the cuttings.
- Create a humid environment: Cover the pots with a clear plastic bag, securing it with a rubber band, or place them under a propagation dome. This traps moisture and helps prevent the cuttings from drying out. Place them in a bright spot, but out of direct, harsh sunlight.
The “Secret Sauce” (Pro Tips)
Here are a couple of tricks I’ve picked up over the years that can really boost your success rates:
- Bottom Heat is Your Friend: While not strictly necessary, placing your pots on a gentle heat mat can significantly speed up root development. It mimics the warmth they’d experience in their natural habitat. Just make sure the heat isn’t too intense; warm to the touch is perfect.
- Don’t Drown Them: The biggest mistake I see people make is overwatering. The soil should be consistently moist but never soggy. If you can stick your finger about an inch into the soil and it feels dry, it’s time to water lightly. Too much water is the quickest way to invite rot.
Aftercare & Troubleshooting
Once you’ve got your cuttings planted, patience is key! Check your cuttings periodically. You’ll know they’re rooting when you see new leaf growth or feel a slight resistance when you gently tug on a cutting. This usually takes anywhere from 3 to 6 weeks.
Once roots have formed, you can gradually acclimate them to drier air by opening the plastic bag or dome for a few hours each day before removing it completely. Water them as you would a mature plant, allowing the soil to dry out slightly between waterings.
Troubleshooting: If your cuttings look limp and withered, they may have dried out too much. If they turn black and mushy at the base, that’s a sure sign of rot, usually caused by too much moisture. Don’t be discouraged if a few don’t make it; it’s part of the learning process for any gardener!
A Encouraging Closing
Propagating Saponaria caespitosa is such a fulfilling way to expand your garden or share these lovely plants with friends. Remember to be patient, observe your cuttings closely, and don’t be afraid to experiment a little. The joy of watching those tiny roots emerge and seeing your new plants thrive is truly a special feeling. Happy propagating!
Resource:
https://identify.plantnet.org/k-world-flora/species/Saponaria%20caespitosa%20DC./data