Hey there, fellow plant lovers! It’s your garden buddy, here with a guide to something truly special: propagating Agave ‘Demeesteriana’. I’ve spent two decades getting my hands dirty, and I have to tell you, coaxing new life from an existing plant is one of the most satisfying things you can do.
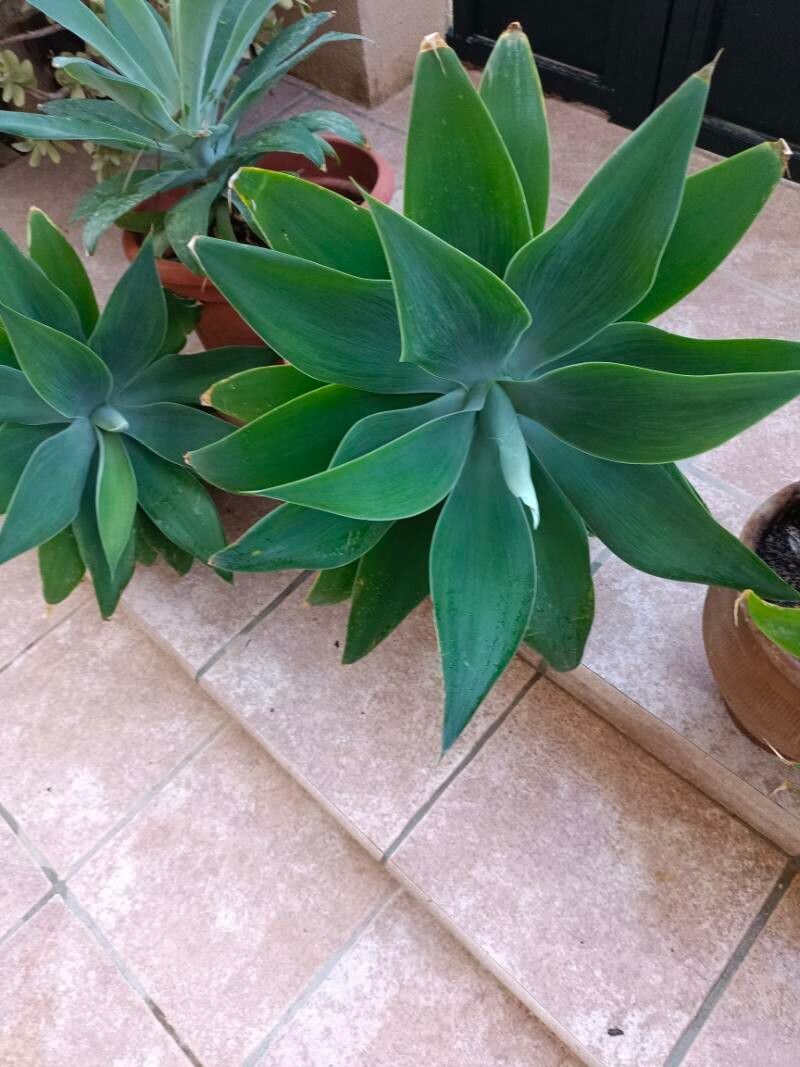
Agave ‘Demeesteriana’ is a stunner, isn’t it? Those striking blue-green leaves with their signature serrated edges just command attention. And the best part? You can create more of these beauties yourself! While it might seem a little daunting at first, I find Agave ‘Demeesteriana’ to be quite forgiving once you understand its needs. It’s a great plant for beginners looking to dip their toes into propagation.
The Best Time to Start
Honestly, the absolute sweet spot for propagating most agaves, including ‘Demeesteriana’, is spring and early summer. This is when the plant is actively growing and buzzing with energy. It has the best chance of recovering from the “surgery” and putting out strong roots. If you miss this window, late summer can also work, but you’ll want to give your new babies plenty of time to establish before cooler weather sets in.
Supplies You’ll Need
Before we get our hands messy, let’s gather our tools. This isn’t complicated, but having the right gear makes all the difference:
- Sharp, clean pruning shears or a sharp knife: For clean cuts.
- Rooting hormone powder (optional but helpful): I like to use one with a fungicide in it for extra protection.
- Well-draining potting mix: This is crucial! A cactus and succulent mix is perfect – you can even add a little extra perlite or pumice for even better aeration.
- Pots or trays: Ensure they have drainage holes. Small nursery pots or even shallow trays work well.
- Gloves: Agave spines can be vicious!
- A small trowel or dibber: For making holes in the soil.
- Spray bottle: For misting.
Propagation Methods
Agave ‘Demeesteriana’ primarily propagates through pups (also called offsets or baby plants) that grow at the base of the mother plant. This is by far the easiest and most successful method for this particular agave.
Method: Dividing Pups
- Gently unpot the mother plant: Carefully remove the entire agave from its pot. If it’s in the ground, you might need to clear away some surrounding soil. This is where those gloves come in super handy!
- Locate the pups: Look for smaller agaves emerging from the base of the main plant. They’ll typically have their own root structure.
- Detach the pups: Using your sharp knife or pruners, carefully cut the pup away from the mother plant. Try to sever the pup’s root system from the parent. If a pup has a good chunk of roots already attached, that’s a huge bonus!
- Let them callous: This is a super important step! Place the separated pups in a cool, dry, and well-ventilated spot, away from direct sunlight, for 2-5 days. You want the cut surface to dry out and form a callus. This prevents rot when you plant them.
- Plant the pups: Once calloused, you can plant them. Fill your small pots with your well-draining mix. Make a small indentation in the soil with your finger or a dibber and place the base of the pup into it. You don’t need to bury it too deep, just enough for it to stand upright.
- Water sparingly: Do not water immediately after planting. Wait a few days, and then water very lightly. The goal is to encourage the pup to search for moisture with its roots, not to drown it.
The “Secret Sauce” (Pro Tips)
Here are a few little tricks I’ve learned over the years that can really boost your success:
- Don’t rush the drying process: That callous is your best friend against rot. Seriously, give it enough time to form properly. I’ve seen people get impatient and pay the price!
- Consider bottom heat: If you’re propagating in cooler spring weather, placing your pots on a heat mat designed for seedlings can really speed up root development. Agaves love a little warmth.
- Sharp and sterile is key: Always use clean tools. Any lingering bacteria or fungi can spell disaster for a young plant trying to establish itself. Wipe down your blades with rubbing alcohol before and after each use.
Aftercare & Troubleshooting
Once your pup is planted, patience is your best virtue. Keep it in a bright spot, but avoid intense, direct sun for the first few weeks. Water only when the soil is completely dry, and even then, do so sparingly. You’ll know roots are forming when you gently tug on the pup and feel resistance.
The biggest threat to newly propagated agaves is rot. If you see mushy, blackening tissue at the base, especially if accompanied by a foul smell, you’ve likely got rot. Sadly, this often means the plant is lost. To prevent it, focus on that excellent drainage and never overwater. Yellowing leaves can also be a sign of overwatering, while thin, shriveled leaves might indicate it’s a bit too dry, but usually, the rot is the more immediate concern.
A Encouraging Closing
And there you have it! Propagating Agave ‘Demeesteriana’ is a rewarding journey that allows you to expand your collection for pennies. Don’t get discouraged if your first attempt isn’t perfect. Every gardener has had a few casualties along the way. Just keep experimenting, enjoy the process, and soon you’ll have a whole brigade of gorgeous agaves! Happy propagating!
Resource:
https://identify.plantnet.org/k-world-flora/species/Agave%20demeesteriana%20Jacobi/data