Hey there, fellow plant lovers!
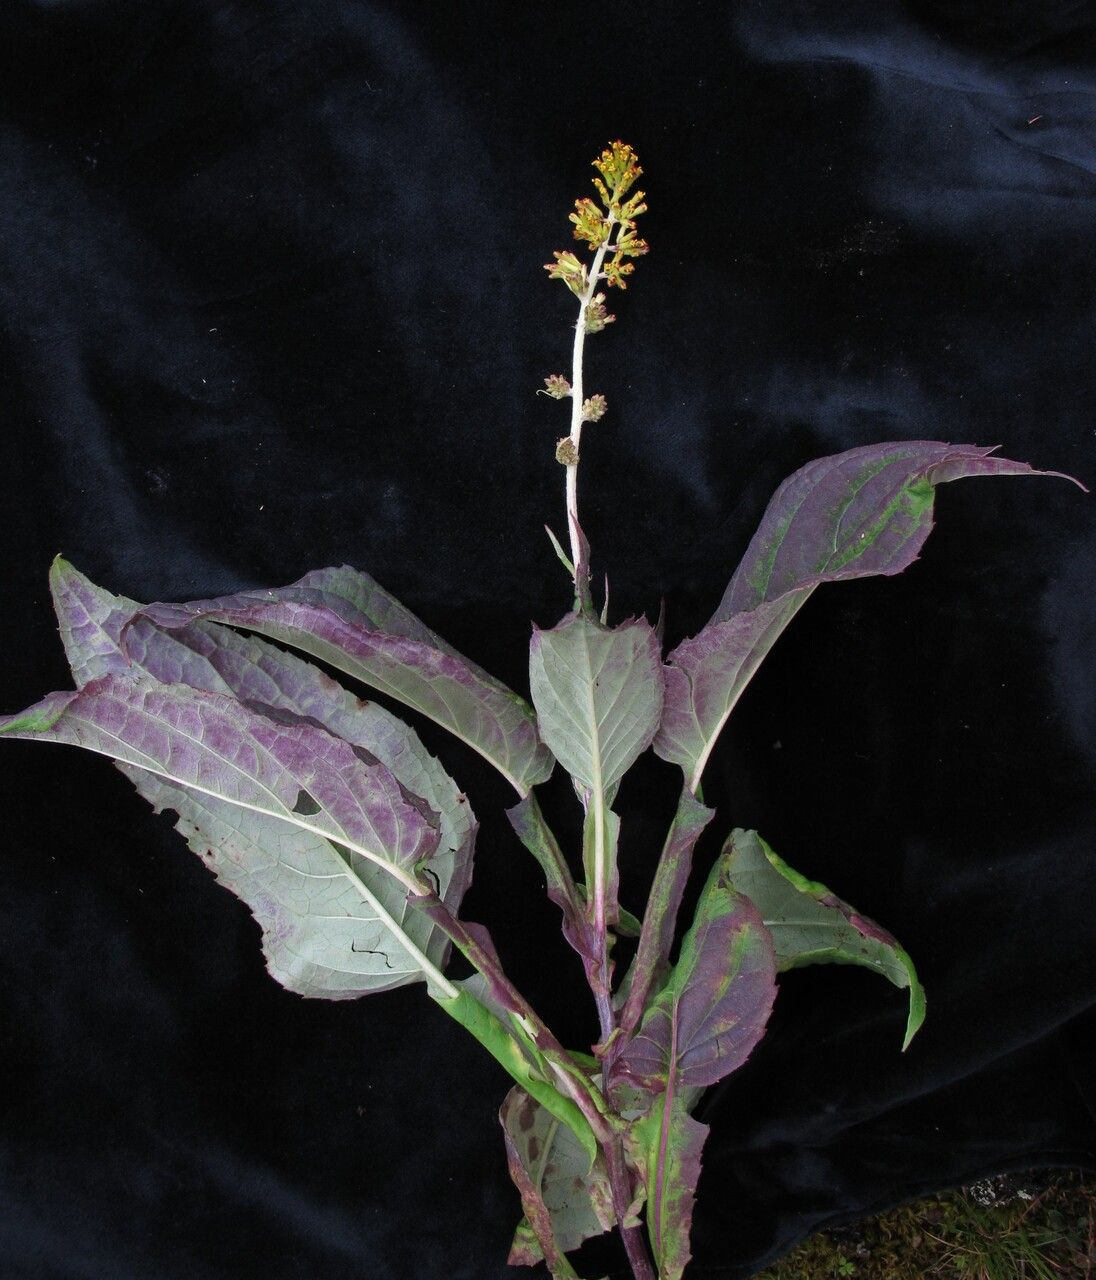
It’s so nice to connect with you today. I’m really excited to chat about Synotis alata, a plant that’s really captured my heart over the years. You know, the kind that just glows with life, with those gorgeous, often uniquely shaped leaves that add so much character to a space. If you’ve ever admired its beauty and thought, “I wish I had more of those!”, then you’re in the right place. Propagating plants is one of the most rewarding parts of gardening for me. It’s like magic, really, watching a tiny piece of a plant transform into something new. Now, is Synotis alata an easy peasy project for a brand new gardener? I’d say it’s moderately easy. It requires a little attention, but it’s far from impossible, and the payoff is well worth the effort.
The Best Time to Start
My favorite time to get my hands dirty with propagating Synotis alata is when it’s really hitting its stride – that’s late spring to early summer. The plant is actively growing, full of energy, and just bursting with life. It’s like the plant is saying, “Let’s do this!” This active growth phase means your cuttings will have the best chance of rooting quickly and successfully. You can also do it during its active growth phase in early autumn, but I find spring gives you a bit more time for that new plant to establish before winter.
Supplies You’ll Need
Let’s get our toolkit ready! Having everything on hand makes the whole process so much smoother.
- Sharp Pruning Shears or a Clean Knife: For making clean cuts. Dull tools can damage the stems and invite disease.
- Well-Draining Potting Mix: I prefer a blend specifically for houseplants or a mix of peat moss, perlite, and a little bit of compost. Something that won’t stay waterlogged is key.
- Small Pots or Propagation Trays: Clean ones, of course! Terracotta pots are great because they breathe.
- Rooting Hormone (Optional but Recommended): This isn’t strictly necessary for Synotis alata, but it gives your cuttings a real boost and speeds up the rooting process significantly. Look for a powder or gel.
- Clear Plastic Bag or Dome: For creating a humid environment for your cuttings.
- Water: Clean, room-temperature water is best.
- Spray Bottle: For misting.
Propagation Methods
Synotis alata is quite versatile, and I’ve had great success with a couple of methods.
1. Stem Cuttings (My Go-To!)
This is probably the most common and effective way to propagate Synotis alata.
- Select a Healthy Stem: Look for a healthy, mature stem on your plant. It should be firm but not woody. You’re aiming for a section that has at least two to three sets of leaves.
- Make the Cut: Using your clean shears or knife, make a clean cut just below a leaf node. A leaf node is where the leaf meets the stem – that’s where the magic happens for root development!
- Prepare the Cutting: Gently remove the lower leaves. We want to expose the node where roots will emerge. You can leave the top one or two sets of leaves intact. If they are very large, you can even cut them in half horizontally to reduce water loss.
- Apply Rooting Hormone (If Using): Dip the cut end of the stem into your rooting hormone, tapping off any excess.
- Pot it Up: Fill your small pot with your well-draining potting mix. Make a small hole with your finger or a pencil and gently insert the cutting, ensuring that the leaf nodes are below the soil surface. Firm the soil gently around the stem.
- Water Gently: Water thoroughly but gently until water drains from the bottom of the pot.
2. Water Propagation (For the Patient Observer)
This method is wonderfully visual, allowing you to watch the roots grow!
- Select and Prepare your Cutting: Follow the same steps as above for selecting and preparing your stem cutting.
- Place in Water: Fill a clean jar or glass with room-temperature water. Place your cutting in the water, making sure that at least one leaf node is submerged.
- Important Note: Crucially, do not let the leaves touch the water. This can lead to rot. If your leaves are large and tend to droop, consider propping the jar up or trimming them.
- Find a Spot: Place the jar in a spot with bright, indirect light.
- Change the Water: Change the water every few days, or whenever it starts to look cloudy. This keeps it fresh and prevents bacterial growth.
- Watch for Roots: You should start to see tiny white roots emerging from the submerged nodes within a few weeks. Once the roots are about an inch or two long, it’s time to transplant!
The “Secret Sauce” (Pro Tips)
Here are a few tricks I’ve learned over the years that have really helped me boost my propagation success.
- Bottom Heat is Your Friend: If you’re struggling with rooting or want to speed things up, consider using a seedling heat mat. Synotis alata loves a little warmth at its base. It mimics the warmer soil temperatures of its natural environment and really encourages root development. Just place the potted cutting on the mat.
- Humidity is Key, But Be Smart: While a plastic bag or dome creates that lovely humid environment, daily ventilation is crucial. Open it up for a few minutes each day to let fresh air circulate. This prevents fungal diseases from taking hold. You’ll notice condensation on the inside of the bag or dome – that’s a good sign!
- Cleanliness is Next to Godliness: Seriously, thoroughly clean all your tools and pots before you start. A tiny bit of old soil or sap can carry diseases that can quickly ruin your efforts. A dilute bleach solution or a good scrub with hot, soapy water works wonders.
Aftercare & Troubleshooting
Once you see those beautiful little roots (or if you’ve transplanted from water), it’s time for a little extra TLC.
- Transplanting from Water: Gently transplant your rooted cuttings into a small pot filled with your well-draining potting mix. Water thoroughly. Keep the soil consistently moist but not soggy for the first few weeks as it adjusts to its new environment.
- Caring for New Cuttings: For stem cuttings that have rooted in soil, continue to water them when the top inch of soil feels dry. They will start to produce new leaf growth, which is your signal that they are happily rooting!
- Signs of Trouble: The most common issue you might face is rot. If the stem turns black and mushy, or the leaves start to yellow and fall off rapidly, it’s usually a sign of overwatering or poor drainage. Unfortunately, rot is tough to come back from, so it’s best to discard affected cuttings and start again, paying closer attention to watering and soil. Another sign of stress can be wilting, but this can also be due to being too dry, so always check the soil moisture first before panicking.
A Little Patience Goes a Long Way
Propagating plants is a journey, and like any good journey, it requires a bit of patience. Don’t get discouraged if your first attempt isn’t perfect. Observe your plant, learn from each step, and most importantly, enjoy the process. There’s a deep satisfaction in watching your propagation efforts flourish. Happy growing!
Resource: