Hello there, fellow garden enthusiasts! It’s me, your friendly neighborhood plant lover, back with another dive into the wonderful world of making more plants. Today, we’re going to talk about a real charmer: Commelina latifolia, often known as the broadleaf commelina or, as I affectionately call it, the “trailing beauty.”
Why You’ll Love Propagating This Plant
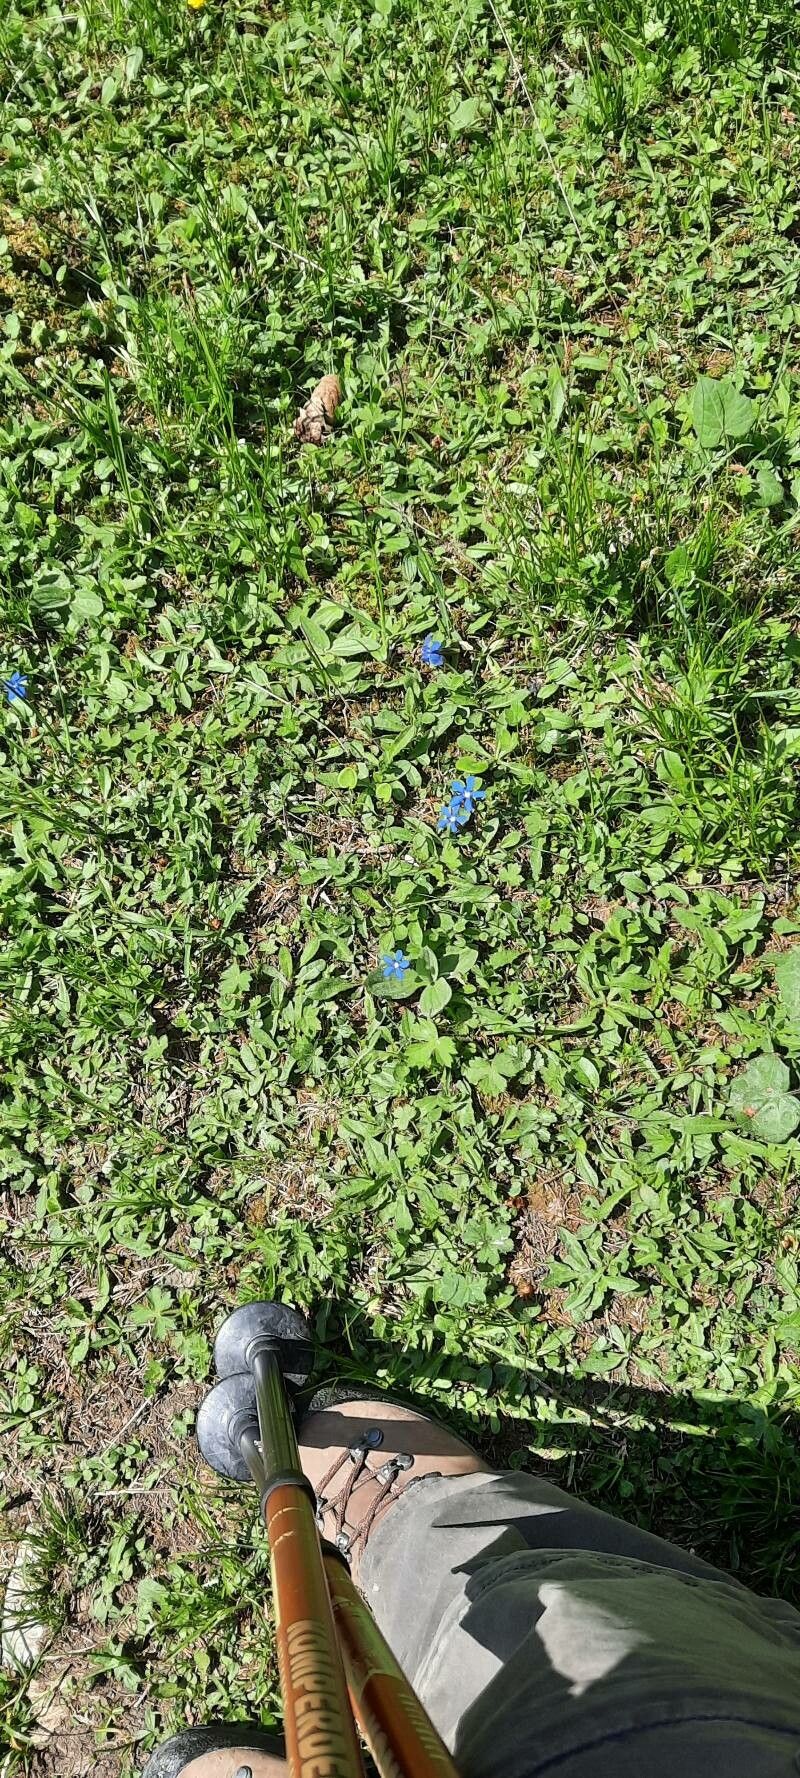
This plant is just a delight. It’s got these gorgeous, glossy leaves that bring a lovely texture to any garden bed or container. Plus, it produces these delicate, often blue or violet flowers that pop up like little surprises. More than that, though, is the sheer joy of multiplying your greenery. Seeing a tiny cutting transform into a flourishing new plant is incredibly rewarding, and with Commelina latifolia, it’s surprisingly achievable! Don’t let the fancy botanical name fool you; this is a fantastic plant for beginners looking to dip their toes into propagation.
When to Get Your Hands Dirty
The absolute best time to propagate Commelina latifolia is during its active growing season. For most of us, this means late spring through summer. This is when the plant is putting on its best growth, and cuttings taken now will have plenty of energy to root. You can also get away with early autumn, but you might find the rooting process a little slower.
Gathering Your Toolkit
Before we get started, let’s make sure you have everything you need. It’s like baking a cake – having the right ingredients makes all the difference!
- Sharp Pruning Shears or Scissors: Clean cuts are crucial for healthy propagation.
- Small Pots or Seed Starting Trays: Whatever you have handy will do.
- Well-Draining Potting Mix: A good all-purpose potting soil mixed with some perlite or vermiculite is perfect.
- Rooting Hormone (Optional but Recommended): This can give your cuttings a little boost.
- Plastic Bag or Humidity Dome: To keep things nice and moist.
- Water: For some methods, of course!
Making More Trailing Beauties: Propagation Methods
Commelina latifolia is pretty happy taking cuttings, which is my go-to method. It’s straightforward and yields great results.
Method 1: Stem Cuttings
- Take a Cutting: With your clean shears, snip a healthy stem about 4-6 inches long. Look for a stem that has at least a couple of sets of leaves. It’s best to cut just below a leaf node (where the leaf attaches to the stem).
- Prepare the Cutting: Gently remove the lower leaves, leaving the top two or three. This prevents them from rotting in the soil or water.
- Apply Rooting Hormone (Optional): If you’re using rooting hormone, dip the cut end into the powder or liquid. Tap off any excess.
- Plant Your Cutting: Make a small hole in your prepared potting mix with a pencil or your finger. Insert the cut end of the stem into the hole, ensuring the leaf nodes you’ve exposed are below the soil line. Gently firm the soil around the stem.
- Water and Cover: Water your pot gently. Then, cover the pot with a clear plastic bag or place it under a humidity dome. This creates a mini-greenhouse effect, keeping the humidity high, which is essential for the cutting to root before it dries out.
Method 2: Water Propagation (My Personal Favorite for Beginners!)
- Take Your Cutting: Follow step 1 from the stem cutting method.
- Prepare the Cutting: Follow step 2 from the stem cutting method.
- Place in Water: Find a clean glass jar or container and fill it with fresh water. Place your cutting in the water, making sure the leaf nodes you removed the leaves from are submerged.
- Location, Location, Location: Place your jar in a spot that receives bright, indirect light. Avoid direct sun, which can cook your delicate cuttings.
- Change the Water: Change the water every few days to keep it fresh and prevent bacterial growth. You’ll start to see tiny white roots emerge from the nodes within a few weeks.
The “Secret Sauce”: Insider Tips
Here are a couple of tricks I’ve picked up over the years that really make a difference:
- Don’t Let Leaves Touch the Water (in Water Propagation): This is a big one. If the leaves are submerged, they’re more prone to rotting, which can take down your whole cutting. Aim to have only the bare stem submerged.
- Bottom Heat is Your Friend: If you’re struggling with cuttings rooting, consider using a gentle heat mat under your pots (especially for the soil method). This warmth mimics spring conditions and can significantly speed up root development. Just be sure it’s a gentle heat, not scorching hot!
Nurturing Your New Sprouts & What to Watch For
Once you see roots appearing – and this is the magical moment! – it’s time for a little extra attention.
- For Cuttings in Soil: Keep the soil consistently moist but not soggy. Continue to keep them in the humidity dome or covered bag for another week or two. Then, gradually introduce them to lower humidity by opening the bag or dome for a bit longer each day.
- For Cuttings in Water: Once the roots are about an inch long, you can plant them in pots with well-draining soil, just as you would for the stem cuttings. Keep them nicely watered initially.
Troubleshooting: The most common issue you might encounter is rot. If you see your cutting turning mushy or black, it’s likely rot. This is often caused by too much water, poor air circulation, or dirty water (in the case of water propagation). Don’t despair! Just discard the rotted cutting and try again, paying close attention to those details. Sometimes, a cutting just doesn’t take, and that’s part of the gardening dance.
Go Forth and Multiply!
Propagating Commelina latifolia is a wonderful way to fill your garden or share with friends. Be patient with the process, observe your little cuttings closely, and most importantly, enjoy the journey. Happy planting!
Resource: