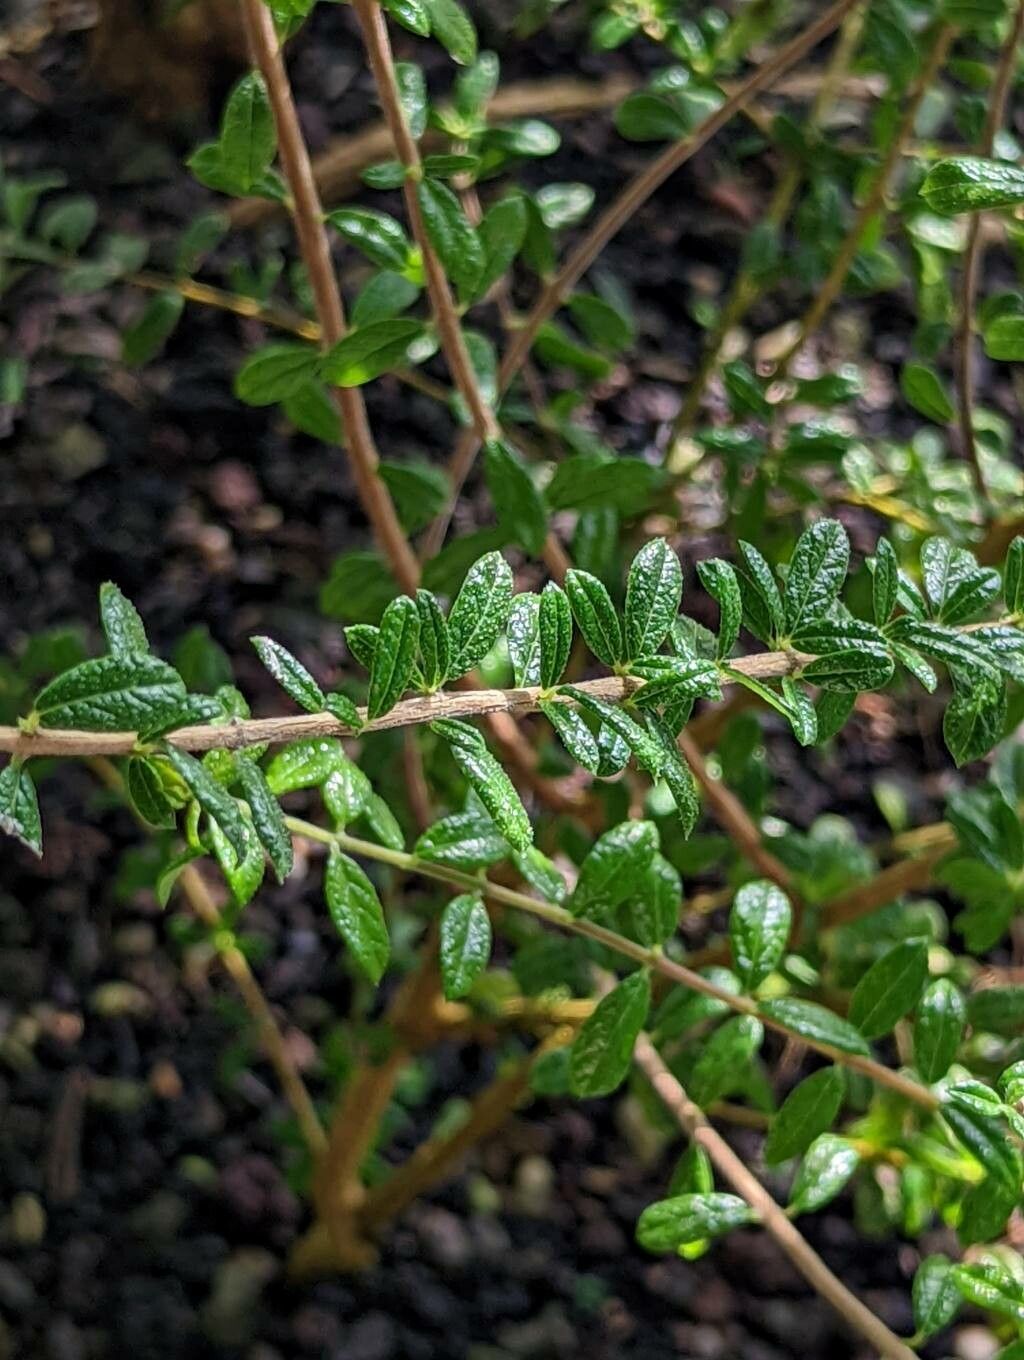
Hello fellow plant enthusiasts! Today, I want to chat about a real gem: Nashia inaguensis, sometimes called Mule-tail or Ninebark. This lovely shrub is a favorite for its delicate, star-shaped white flowers that bloom generously, attracting pollinators, and its handsome, often silvery foliage. Growing them from scratch is incredibly satisfying, and I’m here to guide you through it. Is it a breeze for complete novices? Honestly, it’s a little more forgiving than some, but it rewards a bit of attention. Let’s get those cuttings going!
The Best Time to Start
For the highest success rate with Nashia inaguensis, I find that late spring through early summer is your sweet spot. This is when the plant is actively growing, meaning it has plenty of energy to put into forming new roots. You want to take cuttings from healthy, vigorous stems that aren’t flowering.
Supplies You’ll Need
Here’s a handy list of what you’ll want to have on hand:
- Sharp, clean pruning shears or a knife: Essential for making clean cuts.
- Rooting hormone powder or gel: This isn’t strictly mandatory, but it gives your cuttings a significant boost.
- A well-draining potting mix: I often use a blend of equal parts peat moss, perlite, and a bit of sand. You could also use a commercial seed-starting or cactus/succulent mix.
- Small pots or seed trays: Clean ones, please!
- Plastic bags or a propagation dome: To maintain humidity around your cuttings.
- Watering can or spray bottle: For gentle watering.
Propagation Methods
Let’s dive into how we’ll bring more of these beauties into your garden.
Stem Cuttings (My Favorite!)
This is where I have the most success.
- Select your stem: Look for a healthy stem that’s about 4-6 inches long. It should be firm, not woody.
- Make the cut: Using your sharp shears, make a clean cut just below a leaf node (where a leaf attaches to the stem). This is a crucial spot for root development.
- Prepare the cutting: Gently remove the lower leaves, leaving just a couple at the very top. If any leaves are quite large, I’ll often snip them in half to reduce water loss.
- Dip in rooting hormone: Lightly dip the cut end of the stem into your rooting hormone. Tap off any excess.
- Plant your cutting: Make a small hole in your prepared potting mix with a pencil or your finger. Insert the cutting into the hole, ensuring the leaf nodes that you removed leaves from are below the soil surface. Firm the soil gently around the stem.
- Water and cover: Water the pot thoroughly but gently. Then, cover the pot with a plastic bag or place it under a propagation dome to create a humid environment. It’s like a mini greenhouse!
Water Propagation (Another Option)
If you’re feeling adventurous or short on soil, you can try this.
- Prepare the cutting: Follow steps 1-3 from the stem cutting method.
- Place in water: Put your prepared cutting in a clean jar or glass of fresh water. Make sure no leaves are submerged below the waterline.
- Find a good spot: Place the jar in a bright location, but out of direct sunlight.
- Monitor and change water: Change the water every few days to keep it fresh and prevent stagnation.
The “Secret Sauce” (Pro Tips)
Here are a couple of tricks I’ve learned over the years that really help:
- Bottom Heat: If you have the option, placing your potted cuttings on a gentle heat mat can dramatically speed up root formation. It mimics the warmth of spring soil.
- Air Circulation: While you want humidity for rooting, you don’t want stagnant, damp air which can lead to fungal issues. If using a plastic bag, open it for a few minutes each day to allow for some air exchange.
Aftercare & Troubleshooting
Once you start seeing new leaf growth or gentle tugging resistance on your cutting, that’s a good sign roots are forming!
- Gradual Acclimatization: If you covered your cuttings with a bag, slowly start to introduce them to drier air by opening the bag a little more each day over a week.
- Watering: Keep the soil consistently moist but not waterlogged. Let the top inch of soil dry out slightly between waterings.
- Trouble Signs: The most common issue is rot. If your cutting turns black and mushy, or the leaves start to yellow and drop dramatically, you might have a problem. This is usually due to too much moisture, poor drainage, or lack of air circulation. If you see rot, it’s usually best to discard the affected cutting and learn for next time.
A Little Patience Goes a Long Way
Propagating plants is a journey, and it’s rarely a perfectly straight line. Some cuttings will take off with gusto, while others might be a bit shy. The most important thing is to be patient, observe your plants, and enjoy the rewarding process of bringing new life into your garden. Happy propagating!
Resource:
https://identify.plantnet.org/k-world-flora/species/Nashia%20inaguensis%20Millsp./data