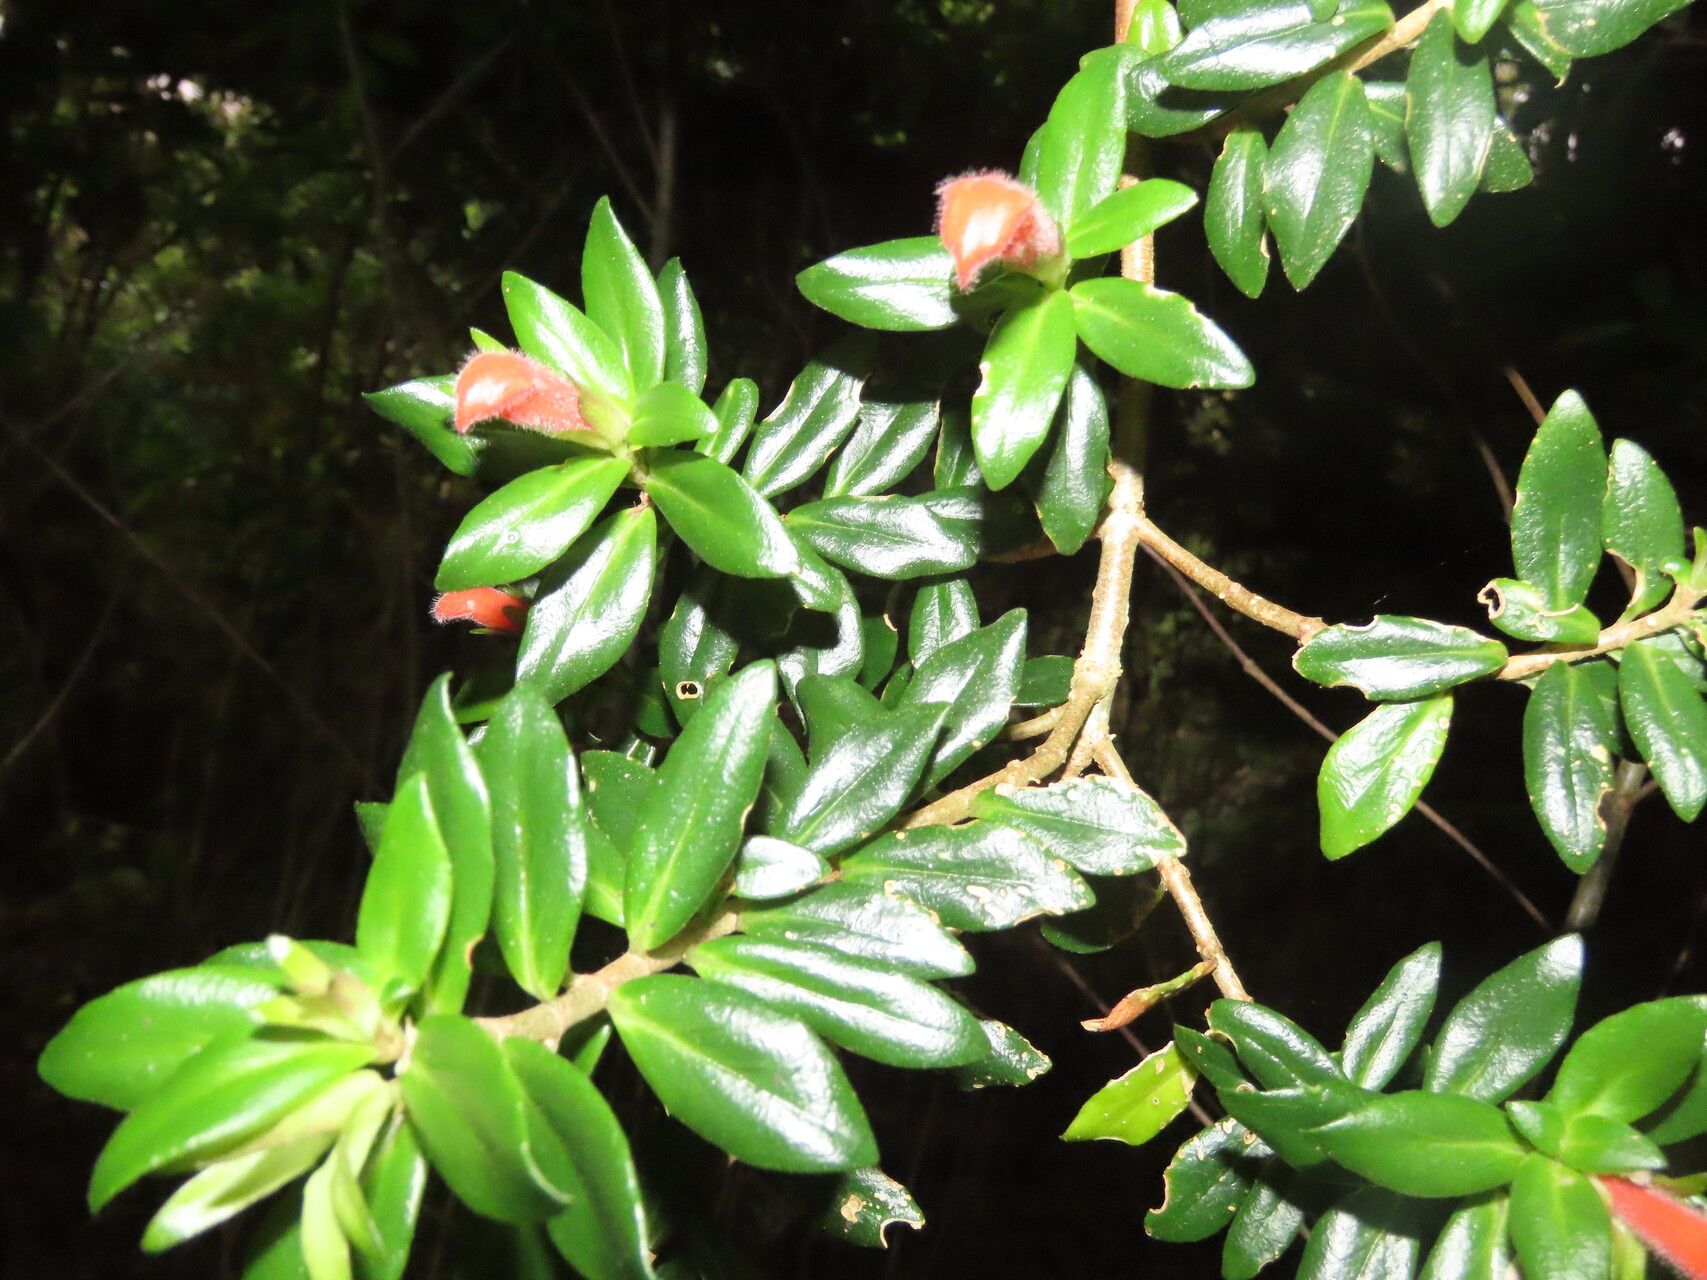
Hello, fellow plant lovers! Today, I want to talk about a truly delightful plant – the Columnea glabra, often called the goldfish plant. With its cascading vines and vibrant, tubular flowers that really do resemble little leaping goldfish, it’s a stunner. And the best part? You can easily fill your home with more of these beauties by propagating them yourself!
Propagation can feel a bit intimidating at first, but I promise, the goldfish plant is a wonderfully forgiving subject. Even if you’re new to the plant world, you’ll find this process quite rewarding. Watching a tiny cutting transform into a thriving plant is a special joy.
The Best Time to Start
Like most flowering plants, Columnea glabra really thrives when you take cuttings in the spring or early summer. This is when the plant is actively growing, and cuttings tend to root much faster. Think of it as giving your new little plants the best possible start with the most abundant energy.
Supplies You’ll Need
Gathering your supplies beforehand makes the whole process much smoother. Here’s what you’ll want in your toolkit:
- Sharp pruning shears or a clean knife: For making clean cuts, which are crucial.
- Rooting hormone powder (optional, but helpful): This really speeds up root development, though many Columneas root without it.
- Well-draining potting mix: A good blend is crucial. I usually mix peat moss or coco coir with perlite or coarse sand. A standard African violet mix also works beautifully.
- Small pots or propagation trays: Clean ones, please!
- Clear plastic bags or a propagation dome: To create a humid environment.
- Water: For moisture, of course!
- Labels: So you don’t forget what you’ve propagated!
Propagation Methods
There are a couple of ways to get new Columnea plants, but my go-to is stem cuttings. It’s straightforward and often has the highest success rate.
1. Taking Stem Cuttings:
First, locate a healthy, non-flowering stem on your mature Columnea.
- Using your sharp shears or knife, take a cutting that is about 4-6 inches long. Make the cut just below a leaf node (that little bump where leaves emerge).
- Gently remove the lower leaves from the cutting. You want to expose a few nodes, as this is where the roots will emerge. Pinch off any flower buds too, as they’re energy drains.
- If you’re using rooting hormone, dip the cut end into the powder, tapping off any excess.
- Now, fill your small pots with your prepared potting mix. Make a little hole in the center with your finger or a pencil.
- Insert the cut end of the Columnea cutting into the hole, ensuring at least one or two leaf nodes are buried beneath the soil line. Gently firm the soil around it.
- Water the soil thoroughly until it’s evenly moist.
- Cover the pot with a clear plastic bag or place it under a propagation dome. This creates that essential humid microclimate. I usually secure the bag loosely with a rubber band or twist tie.
- Place your cuttings in bright, indirect light. Avoid direct sun, as it can scorch those delicate new cuttings.
2. Water Propagation (An Alternative):
While I prefer soil propagation for Columneas, you can root them in water.
- Take your 4-6 inch cuttings, remove lower leaves as described above.
- Place the cuttings in a jar or glass of water, ensuring the nodes are submerged but no leaves are touching the water.
- Change the water every few days to keep it fresh and prevent rot.
- Place in bright, indirect light.
- Once you see small white roots developing, typically after a few weeks, you can carefully pot them into your well-draining potting mix. They’ll be a bit more delicate at this stage, so handle with care.
The “Secret Sauce” (Pro Tips)
Now, for a few little tricks I’ve picked up over the years that can really boost your success:
- Bottom Heat is Your Friend: If you have a heated propagator mat, using it is a game-changer. Warm soil temperatures encourage root formation much faster. Just place your pots on top of it.
- Humidity is Key, But Not Too Much: Those plastic bags are great, but every few days, “air out” your cuttings for about 15-30 minutes. This helps prevent fungal issues while still maintaining that crucial humidity.
- Don’t Be Impatient with Water Cuttings: When propagating in water, it’s easy to get excited and pot them up too soon. Wait until you see a good network of roots, at least an inch long, before transplanting to soil. This gives them a stronger start.
Aftercare & Troubleshooting
Once your cuttings have rooted – you’ll know because you’ll feel a gentle tug when you lightly tug the stem, or you might see new leaf growth – it’s time for a little extra TLC.
- Gradually introduce them to less humidity. Start by taking the plastic bag off for longer periods, eventually removing it completely.
- Continue with bright, indirect light. As they grow, you can slowly acclimate them to slightly more light, but always avoid harsh, direct sun.
- Water when the top inch of soil feels dry. It’s tempting to overwater, but remember, these are young plants and are prone to root rot if kept too soggy.
- Watch for signs of trouble. The most common issue is rot, which often looks like mushy, black stems, especially at the soil line. This is usually a sign of too much moisture and not enough air circulation. If you see this, it’s usually best to discard the affected cutting and assess your watering and humidity levels for the remaining ones. Yellowing leaves can sometimes indicate too much water or not enough light.
A Little Patience Goes a Long Way
So there you have it – propagating your Columnea glabra is a wonderfully achievable project. Don’t get discouraged if your first few attempts aren’t perfect. Gardening is all about learning and experimenting. Enjoy the process, celebrate each tiny root that appears, and soon you’ll have a whole collection of cascading goldfish plants to brighten your home. Happy propagating!
Resource:
https://identify.plantnet.org/k-world-flora/species/Columnea%20glabra%20Oerst./data