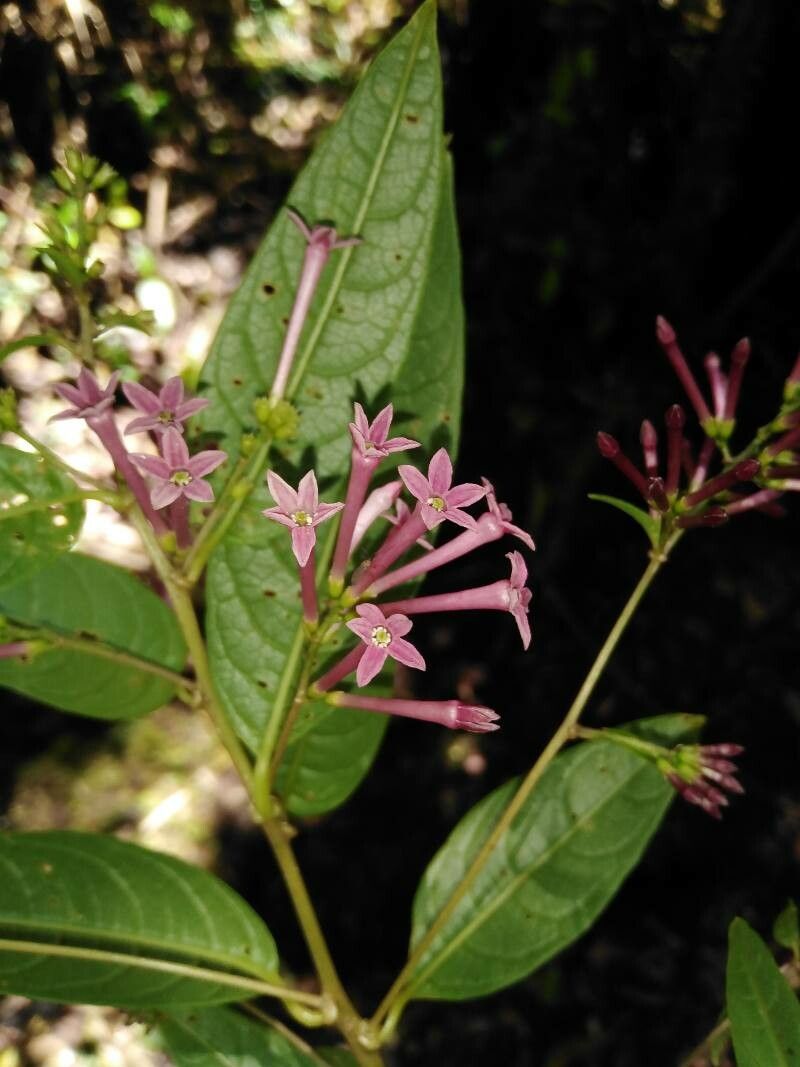
Oh, Cestrum poasanum! If you’ve ever seen one of these beauties grace a garden, you’ll know why their delicate, often fragrant, flowers are so captivating. They’re like little bursts of sunshine, aren’t they? And the best part? You can multiply that sunshine yourself! Propagating Cestrum poasanum might sound a bit daunting at first glance, but trust me, once you get the hang of it, it’s incredibly rewarding. It’s moderately easy, so if you’ve dabbled in cuttings before, you’ll find yourself right at home.
The Best Time to Start
When it comes to Cestrum poasanum, late spring to early summer is your golden window. Think of it as when the plant is really hitting its stride, putting out plenty of new, semi-hardwood growth. This is the juicy stuff that’s pliable enough to root easily but firm enough to resist rot. Waiting until the plant has finished its main flush of spring flowering is also a good cue.
Supplies You’ll Need
Before we get our hands dirty, let’s gather our little helpers:
- Sharp Pruning Shears or a Clean Knife: For making clean cuts. Dull tools can crush stems, making rooting much harder.
- Potting Mix: A well-draining, sterile seed-starting mix is ideal. You can also use a blend of equal parts peat moss and perlite.
- Small Pots or Propagation Trays: Clean ones are important to prevent disease.
- Rooting Hormone (Optional but Recommended): A powder or gel formulated for stem cuttings can give your new plants a significant boost.
- Clear Plastic Bag or Dome: To create a humid microclimate.
- Watering Can with a Fine Rose: For gentle watering.
- Trowel or Fork: For gently loosening the soil.
Propagation Methods
For Cestrum poasanum, stem cuttings are my go-to method. They’re tried and true, and usually give the best results.
- Take Your Cuttings: When you’ve identified that perfect semi-hardwood growth, use your clean shears to take cuttings that are roughly 4-6 inches long. Look for stems that are still a bit flexible but not floppy. Remove the lower leaves and any flowers or buds – these just drain energy. You want to leave just a couple of leaves at the very top. If the remaining leaves are large, you can even cut them in half to reduce water loss through transpiration.
- Prepare the Cuttings: Dipping the cut end of the stem into a bit of rooting hormone can really speed things up. Gently tap off any excess.
- Plant Your Cuttings: Tamp down your pot with the potting mix leaving about an inch at the top. Poke a hole in the soil with a pencil or your finger – this prevents you from scraping off the rooting hormone. Insert the cutting into the hole, making sure it’s snug. Gently firm the soil around the base.
- Create Humidity: Water your cuttings gently. Then, cover the pot with a clear plastic bag (you can secure it with a rubber band around the pot rim) or a propagation dome. This traps moisture, creating that crucial humid environment for rooting.
The “Secret Sauce” (Pro Tips)
- Bottom Heat is Your Friend: If you have a seedling heating mat, pop your pots on it. This gently warms the soil and encourages root development from below, which can make aworld of difference. While not strictly necessary, it’s a real game-changer for faster results.
- The “Scratch Test”: Before you even insert a cutting, you can do a tiny scratch test. Gently scrape a sliver of bark off the bottom inch or so of the stem. If you see green underneath, it’s a good sign of healthy, living tissue. If it’s brown and brittle, it’s best to try a different stem.
- Don’t Overcrowd Your Pots: Give each cutting its own space. Packing them too tightly can lead to fungal issues and make it harder to tell which ones are actually rooting.
Aftercare & Troubleshooting
Once your cuttings are snug in their pots, place them in a bright spot with indirect light. Avoid direct, hot sun, which can scorch them. Keep the soil consistently moist but not waterlogged. You can check for moisture by gently poking your finger into the soil.
You’ll know your cuttings are rooting when you see new growth appearing at the top, or when you gently tug on a cutting and feel some resistance. This can take anywhere from four to eight weeks, or sometimes a bit longer.
The most common problem you’ll face is rot. If you notice a cutting turning black and mushy at the base, or the leaves wilting excessively and not perking up, it’s likely too wet, or a fungal issue. Sadly, once that happens, it’s usually too late for that particular cutting. Ensure good air circulation and don’t let the leaves of the cuttings touch the inside of the plastic bag, as this can encourage mold.
A Encouraging Closing
Be patient with your little Cestrum poasanum babies. Gardening is a journey, and propagation is a beautiful way to learn and connect with your plants. Celebrate each tiny success, and don’t be discouraged by the occasional setback. Happy propagating, and may your gardens be filled with even more of these charming blooms!
Resource:
https://identify.plantnet.org/k-world-flora/species/Cestrum%20poasanum%20Donn.Sm./data