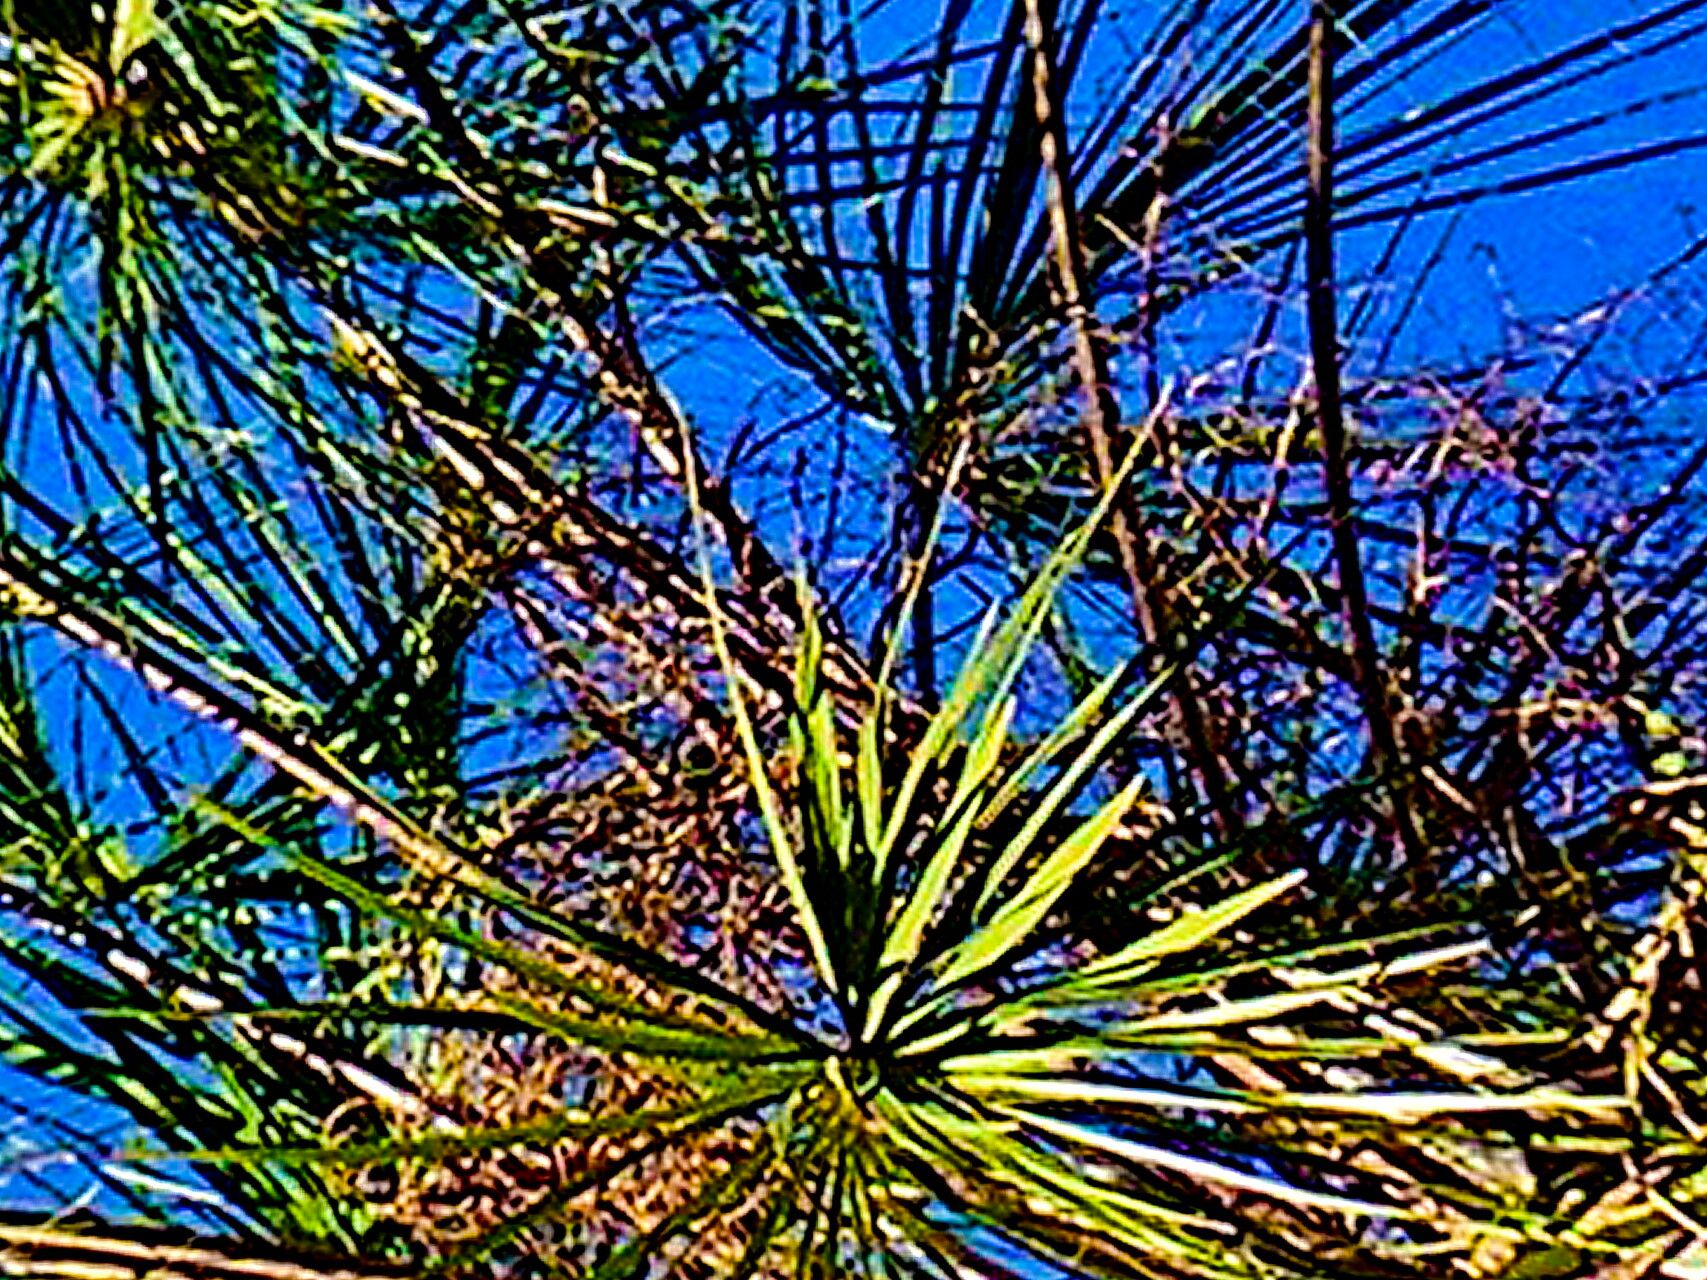
Oh, hello there! Grab a mug, settle in, and let’s chat about one of my favorite palms to talk about: Livistona inermis. If you’ve ever admired these elegant palms, with their gracefully arching fronds and slender trunks, you know they bring such a touch of the tropics to any garden. Propagating them is a wonderful way to expand your collection, share with friends, or simply feel that deep satisfaction of nurturing a new life from a tiny beginning. Now, a little honesty upfront: Livistona inermis isn’t the absolute easiest palm to start from scratch, but with a bit of patience and these tips, you absolutely can succeed. Think of it as a rewarding challenge!
The Sweet Spot for Starting
When it comes to coaxing new life from your Livistona inermis, timing is everything. The absolute best time to embark on this green adventure is during the warmer, active growing months, typically from late spring through summer. You’re looking for healthy, vigorous growth. The plant needs plenty of energy to put into root development, and those warmer temperatures are like a cozy blanket for new roots. Try to avoid propagating in the deep chill of winter or during periods of severe heat stress.
Your Propagation Toolkit
Don’t worry, you don’t need a fancy greenhouse for this! Here’s a simple list of what you’ll want to have on hand:
- Sharp, clean pruning shears or a knife: For making neat cuts.
- A well-draining seed-starting or potting mix: I usually go for a blend of coco coir, perlite, and a little bit of coarse sand. It needs to breathe!
- Small pots or trays with drainage holes: Cleanliness is key here to prevent fungal issues.
- Rooting hormone (optional, but recommended): A powder or gel can give your cuttings a helpful boost.
- A clear plastic bag or propagation dome: To create a humid environment.
- Watering can with a fine rose: For gentle watering.
- Sterilizing solution (like rubbing alcohol): To clean your tools between cuts.
Bringing New Palmettes to Life
For Livistona inermis, the most reliable method for propagation I’ve found is by division. These palms often produce little offsets, or “pups,” from the base of the parent plant. This is where the magic happens!
- Locate the offsets: Gently brush away any soil around the base of your mature Livistona inermis. You’re looking for those smaller, new shoots that are emerging close to the main trunk. They’ll already have a few leaves.
- Prepare your tools: Make sure your pruning shears or knife are sparkling clean. This is non-negotiable to prevent introducing disease.
- Make the cut: Carefully, using your sharp tool, slice through the root connection between the offset and the parent plant. Try to get below where the offset is emerging, to ensure you have some of its own roots attached, if possible. The cleaner the slice, the less shock to both plants.
- Potting up your new baby: Fill a small pot with your prepared, well-draining mix. Make a small hole in the center and gently place the offset in, ensuring its base is covered by soil.
- Water and cover: Water thoroughly but gently so the soil is moist but not waterlogged. Then, place the pot inside a clear plastic bag or cover it with a propagation dome. This will trap humidity, which is crucial while the new plant establishes itself.
My “Secret Sauce” for Success
After years of playing with plants, you pick up a few tricks! Here are a couple of things I’ve learned that really make a difference with palms like Livistona inermis:
- Don’t Overwater the Parent! When you’re digging around the base to find offsets, be careful not to over-saturate the soil of the mother plant. Excess moisture can lead to rot in the parent plant’s roots as well as the offsets you’re trying to separate. Let the soil dry out a bit before you start.
- Give Them a Gentle Head Start: If you can, place your newly potted offsets in a spot that receives bright, indirect light and, ideally, a touch of bottom heat. A seedling heat mat can absolutely speed up root development. Think of it as a warm spa day for your new palm!
Nurturing the New Growth
Once you’ve potted up your offset, the real patient gardening begins. Keep the soil consistently moist, but never soggy. That humid environment created by the plastic bag is vital; check it daily for condensation. You can even give the leaves a light misting if they look a bit dry.
The biggest sign of trouble is usually rot. If you see the base of your offset turning mushy and black, or if the leaves start to yellow and droop severely, it’s a sign things aren’t going well, likely due to too much moisture or a fungal issue. In this case, it might be best to gently remove the affected plant and discard it to prevent any spread.
Don’t be discouraged if you don’t see immediate growth! It can take weeks, even months, for an offset to really establish roots. You’ll know it’s happy when you see new leaf development peeking out. Once it’s showing clear signs of new growth, you can gradually remove the plastic bag over a few days to acclimate it to normal humidity.
The Joy of Growing
Propagating Livistona inermis is a journey, and like any good journey, it’s about the process. Be patient with your new palm and yourself. Celebrate every tiny success – a new leaf unfurling, a bit more green in the fronds. With a little care and these tried-and-true methods, you’ll be rewarded with beautiful new palms to cherish. Happy gardening!
Resource:
https://identify.plantnet.org/k-world-flora/species/Livistona%20inermis%20R.Br./data