Oh, hello there! Pull up a chair and let’s chat about ferns. Specifically, let’s dive into the lovely world of Thelypteris mauritiana.
Why You’ll Love Propagating Thelypteris mauritiana
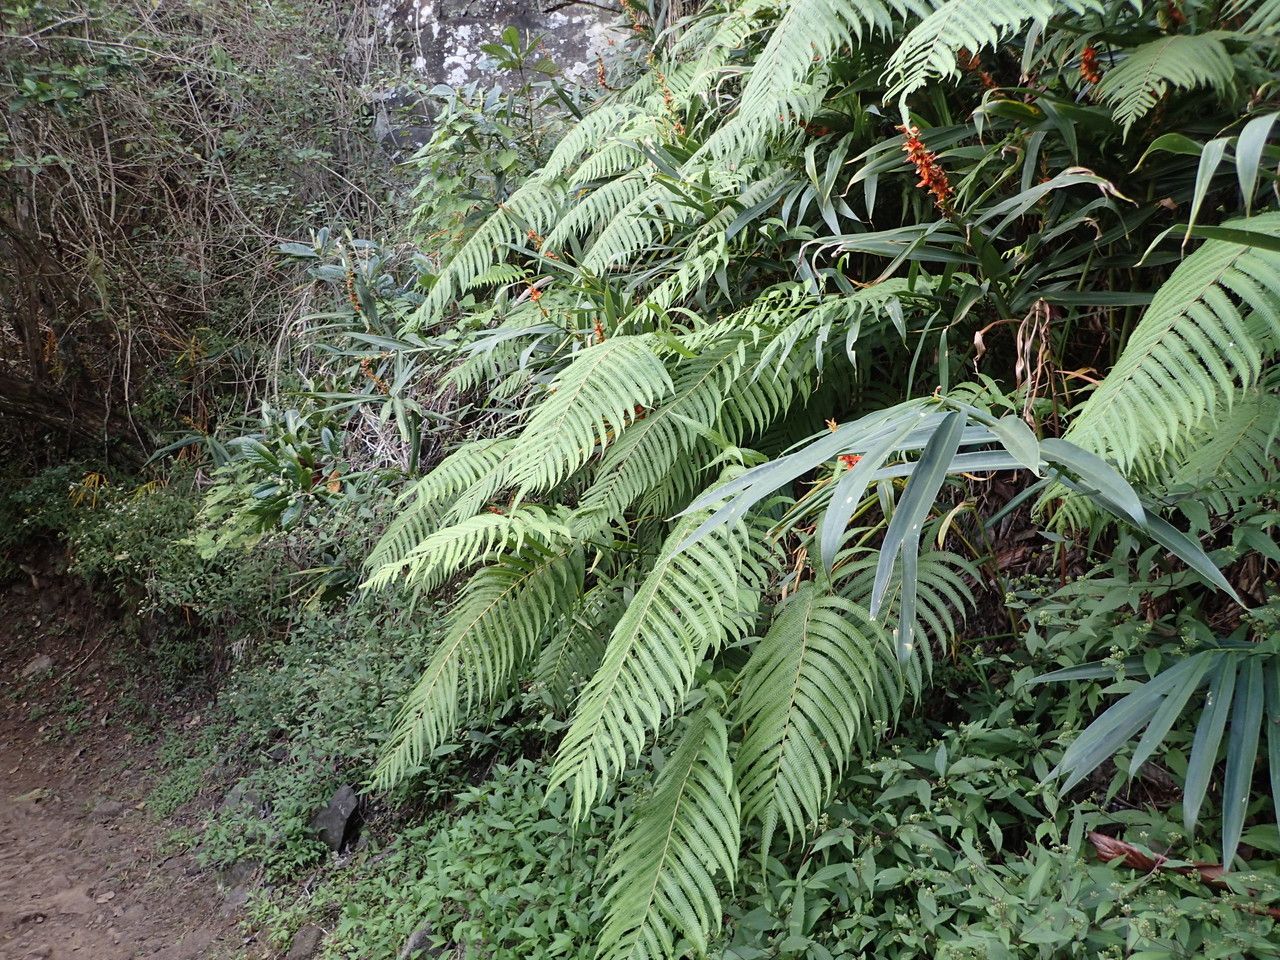
You know, there’s something truly special about coaxing a new plant to life from a piece of an old one. Thelypteris mauritiana, with its elegant fronds and lush, tropical feel, is a fern that really brings a touch of the exotic to any shady corner of your garden or home. Propagating it isn’t just about getting more plants – though that’s wonderful! It’s about understanding the plant’s life cycle, experimenting, and ultimately, building your confidence as a gardener.
Now, for the nitty-gritty: Is this a beginner-friendly fern to propagate? I’d say it’s moderately easy. It’s not quite as hands-off as some succulents, but with a little attention, you’ll be rewarded with success. Don’t let that sway you; the joy of seeing those tiny roots unfurl is absolutely worth the effort.
When to Get Your Hands Dirty
The best time to embark on this propagation adventure is during the active growing season. Think late spring through summer. This is when the plant is full of vigor, meaning the energy reserves are high, and it’s more likely to enthusiastically put out new roots. Late spring, when things are warming up consistently, is often my go-to.
Your Propagator’s Toolkit
Before we begin, let’s gather our supplies. Having everything ready just makes the process smoother:
- Sharp Pruning Shears or Scissors: Cleanliness is key to preventing disease.
- Well-Draining Potting Mix: I like a blend of peat moss, perlite, and a bit of compost. For ferns, that extra aeration is crucial.
- Small Pots or Containers: Yogurt cups with drainage holes poked in work perfectly!
- Rooting Hormone (Optional but Recommended): This gives your cuttings a little boost.
- Watering Can with a Fine Rose: For gentle watering.
- A Plastic Bag or Small Greenhouse: To create a humid environment.
Bringing New Life: Propagation Methods
Thelypteris mauritiana is most commonly propagated by division and spore propagation. While spores might seem daunting, division is wonderfully straightforward.
Method 1: Division (My Favorite for This Fern!)
This is like giving your fern a haircut and getting free plants in the process.
- Gently Excavate: Carefully unpot your Thelypteris mauritiana. You want to disturb the roots as little as possible.
- Inspect the Crown: Look for natural divisions. You’ll often see where the rhizome (the thick, creeping stem) has branched out. Sometimes, you can even see where new frond buds are forming.
- Separate with Care: Using your clean pruning shears, or even just your hands if the division is loose enough, carefully cut or pull the rhizome apart. Ensure each section has at least one healthy frond and a good bit of root attached. Don’t be afraid to use those shears; a clean cut is better than tearing.
- Pot Up Your New Treasures: Plant each division in its own pot filled with your prepared potting mix. The top of the rhizome should be just at or slightly below the soil surface.
- Water and Mist: Water them gently, and then give the foliage a good misting.
Method 2: Spore Propagation (For the Patient Gardener)
This one takes more time and a bit of patience, but it’s incredibly rewarding!
- Harvesting Spores: Look on the undersides of mature fronds. You’ll see brown clusters called “sori.” When those sori look dry and dusty, carefully snip off the affected frond. Let it dry further in a paper bag for a few days; the spores will fall out. Gently sieve them to get a fine powder.
- Prepare Your Nursery: Fill a shallow, sterilized tray or pot with a thin layer of sterilized, peat-based seed-starting mix. Moisten it thoroughly.
- Sowing the Seeds of Future Ferns: Lightly sprinkle the spores over the surface of the moist soil. They are tiny, so don’t overdo it.
- Create a Humid Environment: Cover the tray tightly with a clear lid or plastic wrap. Place it in a bright, indirect light location.
- Patience is Key: This is where the waiting game begins. It can take weeks, even months, for tiny green prothallia (the fern’s gametophyte generation) to appear. They look like little heart-shaped patches.
- Pricking Out: Once the prothallia are well-established and you see tiny new fronds emerging, you can carefully “prick out” these little ferns into separate pots with your regular fern mix.
The “Secret Sauce” – My Insider Tips
Here are a couple of things I’ve learned over the years that can really make a difference:
- Humidity is King (Especially for Spores): Ferns love humidity. When propagating, whether it’s divisions or spores, keeping the air moist around them is crucial. That plastic bag over the pot or tray acts like a mini-greenhouse. Avoid letting the leaves directly touch the sides of the plastic bag if possible, as this can encourage rot. Aim for condensation on the inside, but not dripping wet.
- Bottom Heat for Divisions: If you’re propagating divisions and want to speed things up, popping them onto a gentle seedling heat mat can work wonders. It encourages root formation without drying out the delicate new growth. Just a low, consistent warmth is all they need.
Aftercare and When to Worry
Once your divisions have established roots (you’ll see new frond growth and feel resistance when you gently tug), you can treat them like a mature plant, keeping them consistently moist but not waterlogged.
For spore-propagated ferns, once they’re in their own pots, continue to keep them in a humid environment and provide bright, indirect light. Gradually acclimate them to less humidity by opening the cover a little each day over a week or two.
Signs of Trouble:
- Yellowing Fronds: This can be a sign of too much or too little water, or not enough light.
- Mushy Base (Rhizome): This is classic rot, usually from overwatering or poor drainage. If you see this on a division, unfortunately, that piece might be lost. Discard it to prevent the rot from spreading.
- Wilting: Can be dehydration, but also a sign of root rot if the soil is wet.
Go Forth and Green!
Propagating Thelypteris mauritiana is a journey. There might be a few bumps along the way, but each experience teaches you something new. Don’t get discouraged if your first attempt isn’t perfect. Be patient, observe your plants, and enjoy the magical process of bringing new life into your world. Happy gardening!
Resource: