Oh, hello there! Come on in, pull up a chair. I’ve got a fresh pot of coffee brewing, and I’m so excited to chat about one of my absolute favorite flowering plants: the Peacock Flower, or Caesalpinia pulcherrima.
Why You’ll Love Propagating the Peacock Flower
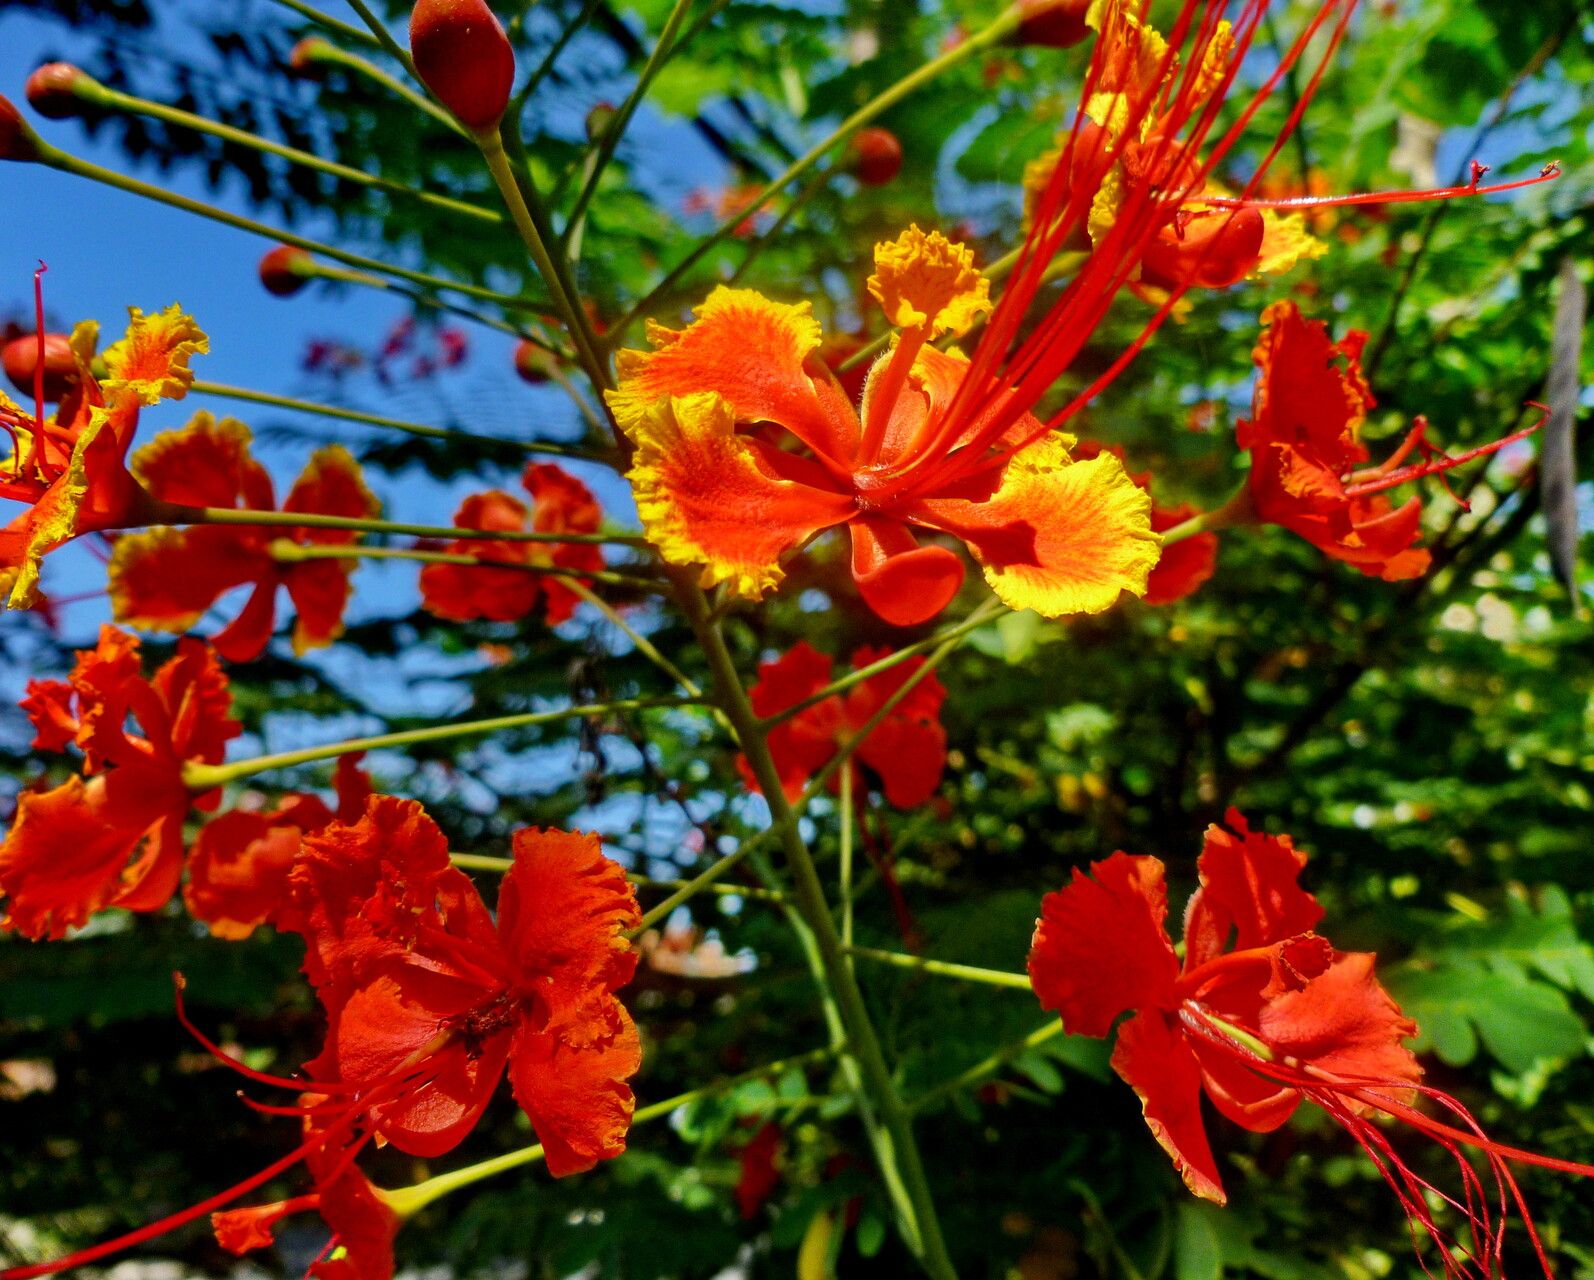
Honestly, this plant is a showstopper. Its vibrant, often fiery, blooms are a magnet for hummingbirds and butterflies, and the foliage itself has this delicate, fern-like beauty. Plus, bringing a new one to life from a tiny cutting or seed? There’s just something incredibly rewarding about that process. It’s like giving the gift of life to your garden! Now, is it tricky for beginners? I’d say it’s a solid medium challenge. It’s not quite as forgiving as a pothos, but with a little attention to detail, you’ll be celebrating success in no time.
When to Get Your Hands Dirty
The sweet spot for propagating Peacock Flowers is generally when the plant is actively growing. For most of us, that means late spring and through the summer months. This is when the plant has plenty of energy to put into root development. You can also try with seeds in early spring, but cuttings tend to be a bit quicker.
Your Propagation Toolkit
Here’s what you’ll want to have ready before you start. Think of this as your starter pack for creating more garden magic:
- Sharp Pruning Shears or a Clean Knife: For making clean cuts.
- Rooting Hormone: A little powdered help goes a long way! Look for one containing indole-3-butyric acid (IBA).
- Well-Draining Potting Mix: I love a mix of equal parts peat moss or coco coir and perlite. You can also use a commercial seed-starting mix.
- Small Pots or Seed Trays: For starting your new plants. Make sure they have drainage holes!
- Plastic Bags or a Propagator: To create a humid environment for cuttings.
- Watering Can with a Fine Rose: For gentle watering.
- Optional: Heat Mat: This is a game-changer for encouraging root growth.
Bringing New Life: Your Propagation Methods
There are a couple of great ways to multiply your Peacock Flowers.
1. Stem Cuttings: My Go-To Method
This is how I get the most success with Caesalpinia pulcherrima.
- Select Your Material: Look for healthy, non-flowering shoots on your mature plant. Aim for stems that are about 4-6 inches long. You want sideshoots that are firm but not old and woody.
- Make the Cut: Using your sharp shears, make a clean cut just below a leaf node (where a leaf meets the stem). This is where the magic happens for rooting.
- Prepare the Cutting: Strip off the lower leaves, leaving just a few at the top. This helps the cutting focus its energy on forming roots, not supporting unnecessary foliage.
- Dip in Rooting Hormone: Lightly moisten the cut end and then dip it into your rooting hormone powder. Tap off any excess.
- Pot Them Up: Fill your small pots with your well-draining potting mix. Make a little hole with your finger and gently insert the cutting.
- Firm and Water: Firm the soil gently around the cutting to ensure good contact, then water lightly.
- Create a Humid Environment: Cover the pot with a plastic bag, securing it with a rubber band, or place it in a propagator. This keeps the humidity high, which is crucial for cuttings.
- Find the Right Spot: Place the pots in a warm location with bright, indirect light.
2. Seeds (A Bit More Patience Required!)
If you find seed pods, you can try starting from seed, but they can be a bit slower and sometimes have lower germination rates.
- Collect and Scarify: Allow seed pods to dry on the plant until they start to split. Collect the seeds. Because these seeds have a hard coat, they benefit from scarification (nicking or abrading the seed coat) or soaking them in warm water for 24 hours. This helps water penetrate.
- Sow: Sow the seeds about 1/4 inch deep in your seed-starting mix.
- Water and Cover: Water gently and cover the tray with a plastic lid or propagator.
- Warmth is Key: Place the tray in a warm spot, ideally with bottom heat.
The “Secret Sauce” – My Insider Tips
Here are a few things I’ve learned over the years that really boost success:
- Don’t Drown Your Cuttings (Even in Water): If you’re tempted to try water propagation (which I generally find less reliable for this specific plant), make absolutely sure no leaves are submerged in the water. Leaves sitting in water will rot, and that’s the kiss of death for your cutting.
- Bottom Heat is Your Best Friend: Seriously, if you can invest in a small heat mat, do it. Placing your pots on a heat mat provides consistent, gentle warmth to the roots, which significantly speeds up the rooting process and increases your success rate, especially with cuttings.
- Air Circulation Matters: While you want to maintain humidity, don’t let the covering stay completely sealed all the time. I like to “vent” my cuttings daily by lifting the plastic bag for a few minutes. This prevents fungal issues and allows for some air exchange.
Aftercare and Troubleshooting
Once you see signs of new growth – tiny leaves emerging from your cuttings or seedlings sprouting – that’s a good indicator roots are forming!
- Gradual Acclimation: Slowly start to remove the plastic cover over a few days, allowing the new plant to get used to the ambient humidity.
- Consistent Moisture: Keep the soil consistently moist but not waterlogged.
- Transplanting: Once your new plants have a good root system (you can gently check by tugging on them – if there’s resistance, they’re rooted!), you can transplant them into slightly larger pots with a good quality potting mix.
- Watch for Rot: The most common problem you’ll encounter is rot. If your cutting suddenly turns mushy and black, it’s likely rotted. This is often due to too much moisture, poor drainage, or lack of air circulation. Don’t be discouraged! Just start fresh with a new cutting.
Happy Planting!
Propagating plants is a journey, and every single success is a little victory. Be patient with your Peacock Flowers. Some will root quickly, others might take their sweet time. The most important thing is to enjoy the process, learn as you go, and before you know it, you’ll have a whole garden filled with these gorgeous blooms. Happy gardening!
Resource:
https://identify.plantnet.org/k-world-flora/species/Caesalpinia%20pulcherrima%20(L.)%20Sw./data