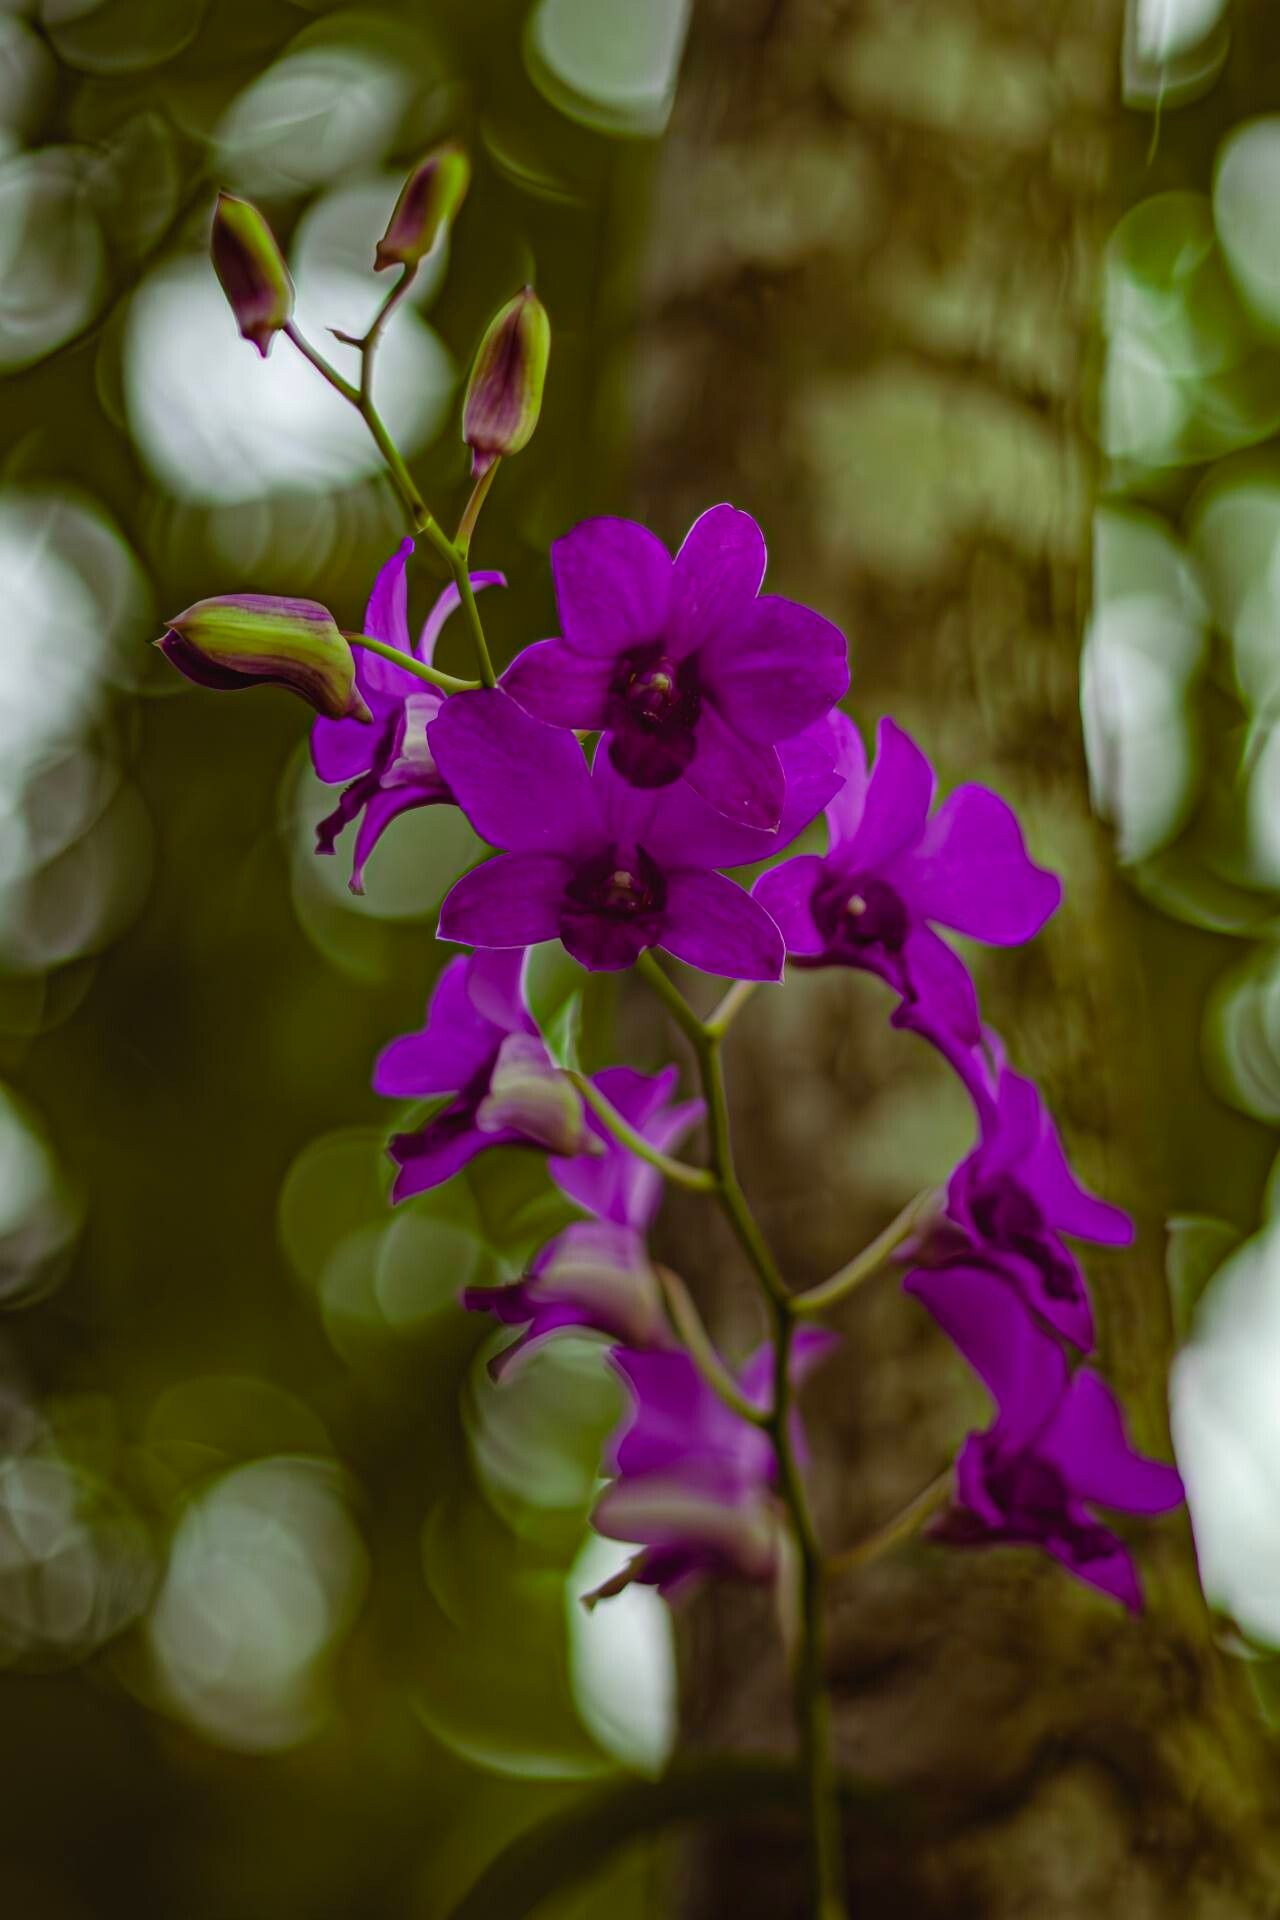
Hello fellow plant lovers! If you’ve ever admired the vibrant, cascading blooms of a Dendrobium bigibbum orchid, you know its charm. These Australian natives bring such a burst of color, and trust me, multiplying them is incredibly satisfying. Now, for the honest truth: Dendrobium bigibbum isn’t the absolute easiest orchid to propagate for a complete newbie, but with a little patience and these tried-and-true methods, you’ll be well on your way to success. Think of it as a rewarding challenge that, once mastered, opens up a whole new world of orchid abundance.
The Best Time to Start
My favorite time to tackle propagation for Dendrobium bigibbum is late spring or early summer. This is when the plant is typically in its active growth phase, pushing out new shoots and roots. Nature is cooperating, providing longer days and warmer temperatures – perfect conditions for new beginnings. Trying to propagate when the plant is dormant or stressed just makes things harder on everyone, including your future orchids!
Supplies You’ll Need
To get started, gather these essentials:
- Sharp, sterile pruning shears or a clean knife: For making clean cuts. Sterilize with rubbing alcohol or a flame between cuts.
- Cinnamon or a fungicide powder (optional but recommended): To help prevent fungal infections on cut surfaces.
- Clean pots or containers: Small orchid pots or even shallow trays work well.
- Well-draining potting mix: A coarse bark-based orchid mix is ideal. You can also use sphagnum moss mixed with perlite for a lighter blend.
- Rooting hormone powder (optional): Can give cuttings a helpful boost.
- Spray bottle: For misting.
- Clear plastic bags or a small propagation box/terrarium: To maintain humidity.
Propagation Methods
Let’s get our hands dirty! The most reliable ways to multiply Dendrobium bigibbum are through division and stem cuttings.
Division: The Classic Approach
This is best done when your orchid is mature and has produced multiple pseudobulbs (those swollen stem-like structures).
- Gently remove the orchid from its pot. If it’s been in there a while, you might need to gently loosen the root ball with your fingers or a blunt tool.
- Inspect the root system. Look for natural divisions where pseudobulbs are connected by rhizomes (these are the creeping stems that connect the pseudobulbs).
- Using your sterile shears or knife, carefully cut through the rhizome to separate the pseudobulbs into smaller sections. Aim for sections with at least two or three healthy pseudobulbs and some viable roots.
- Dust any cut surfaces with cinnamon or fungicide powder. This is your insurance policy against rot!
- Pot up each division. Place them in new, clean pots with your orchid mix. Ensure the pseudobulbs are sitting at the same level they were before. Don’t plant them too deep.
- Water lightly. You want the potting medium to be slightly moist, not soggy.
Stem Cuttings: For When You Have Lots of Growth
This method is great for using the keikis (baby plantlets) that sometimes form on the stems, or even separate stem sections that have started to develop roots.
- Identify a healthy stem segment that has at least two nodes (the small bumps where leaves emerge) and preferably some aerial roots already forming. If you’re using a keiki, it’s usually attached by a small stem and might already have roots.
- Carefully cut the stem segment using your sterile shears, leaving a bit of space around the node. If it’s a keiki, cut the stem connecting it to the mother plant.
- Dust the cut end with rooting hormone powder (optional).
- Plant the cutting. You can either:
- Pot it up: Place the cut end into your orchid mix, burying the lower nodes.
- Water propagation: Submerge the cut end of the stem in a jar of distilled or rainwater, making sure no leaves touch the water.
- Cover with a plastic bag or place in a propagator. This is crucial for maintaining high humidity.
The “Secret Sauce” (Pro Tips)
Here are a couple of things I’ve learned that make a real difference:
- Bottom Heat is Your Friend: Especially for stem cuttings, placing your propagation pot or jar on a gentle heat mat can significantly speed up root development. Orchids love warmth, and this mimics the conditions they’d find in their native climate. Just a few degrees above room temperature is usually enough.
- Air Movement is Key (Once Roots Appear): While you want to keep humidity high initially, once you see definite root growth, it’s important to allow for some air circulation. Gently vent your propagation bag or propagator for a few hours each day. This helps prevent fungal issues and strengthens the new roots, preparing them for drier air.
Aftercare & Troubleshooting
Once your divisions or cuttings show signs of new roots – you’ll see them peeking out or starting to grow – it’s time to transition them.
- Gradually reduce humidity. Open the propagator more, or remove the plastic bag for longer periods.
- Water more regularly, but still avoid waterlogging. Let the potting medium dry out slightly between waterings.
- Keep them in bright, indirect light. Avoid direct sun, which can scorch delicate new growth.
The most common problem you’ll encounter is rot. Mushy, brown stems or blackening roots are sure signs of too much moisture and not enough air. If you spot this, act quickly. Remove the affected part with your sterile tool, dust with fungicide, and try to provide better air circulation. Sometimes, a cutting is just a lost cause, and that’s okay. Don’t get discouraged!
A Little Patience Goes a Long Way
Propagating orchids is a journey, not a race. Enjoy the process, celebrate each new root and leaf, and remember that every experienced gardener has had their share of failures. You’ve got this! Happy growing!
Resource:
https://identify.plantnet.org/k-world-flora/species/Dendrobium%20bigibbum%20Lindl./data