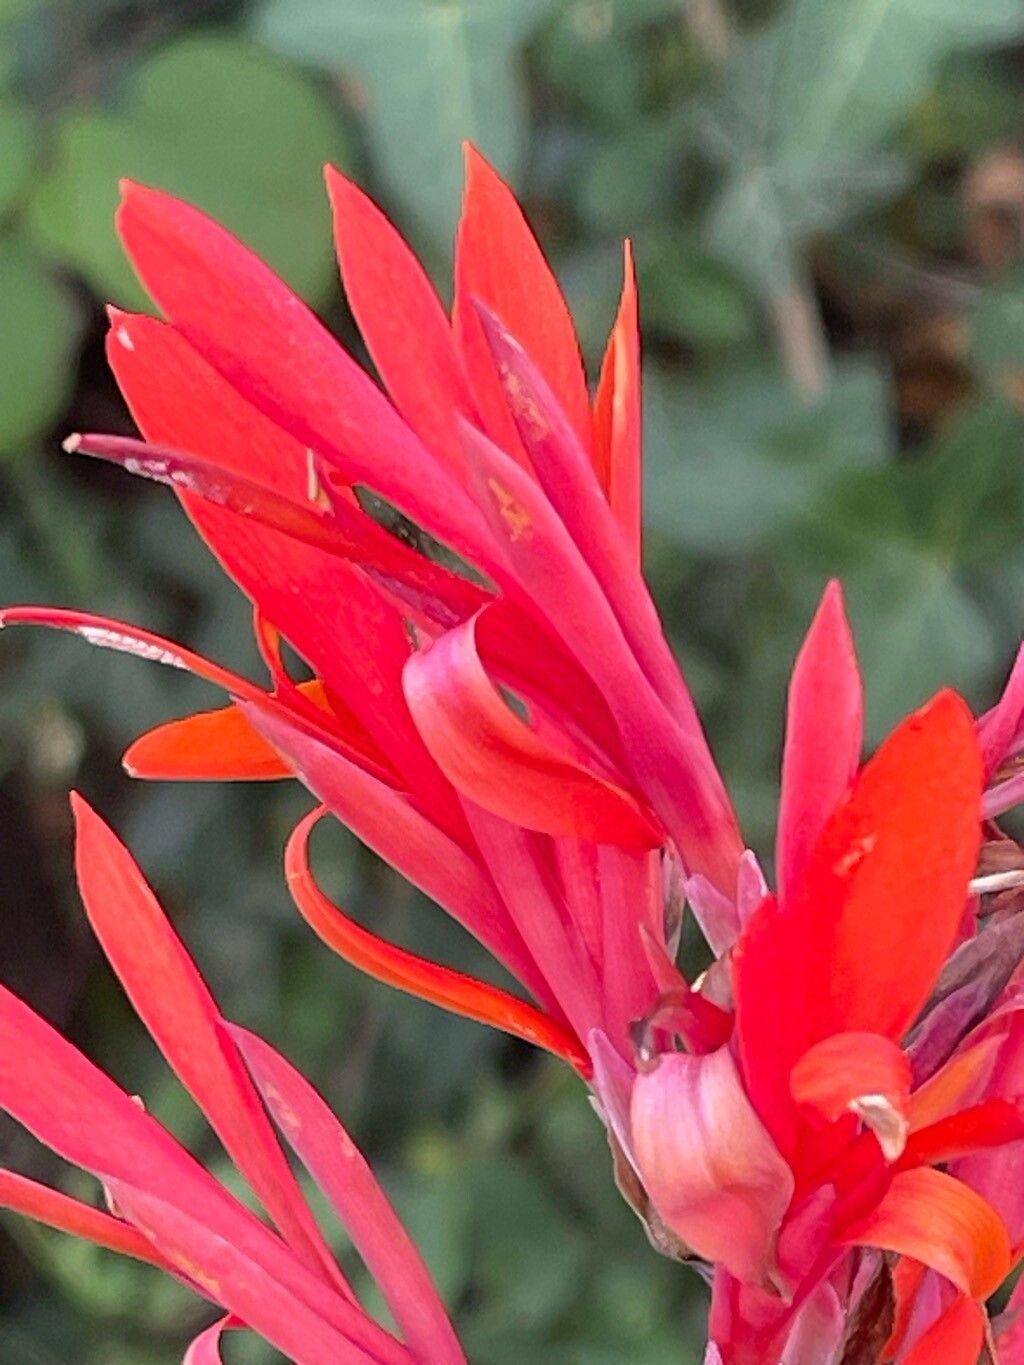
Oh, Cannas! Aren’t they just showstoppers? With their bold, tropical foliage and vibrant blooms, they bring a burst of color and drama to any garden. I remember my first Canna, a flamboyant scarlet beauty that made me feel like I was on a permanent vacation. And the best part? Growing more of them is surprisingly straightforward, even for those just dipping their toes into the gardening world. Propagating Cannas is incredibly satisfying – imagine filling your whole yard with those magnificent blooms! I find it to be a truly rewarding endeavor.
The Best Time to Start
For Canna lilies, the sweet spot for propagation is right after they’ve finished flowering and before the first hard frost. This often means late summer or early fall. It’s also a fantastic time to divide them. Alternatively, if you’re looking to start from rhizomes, the dormancy period in late winter or early spring, just as they’re about to wake up, is perfect. You want to catch them when they’re full of life and ready to grow.
Supplies You’ll Need
Gathering your tools is half the fun! Here’s what you’ll want to have on hand:
- Sharp pruning shears or a clean knife: For dividing rhizomes.
- Well-draining potting mix: I like a blend of equal parts peat moss, perlite, and compost.
- Small pots or trays: For starting your new plants.
- Rooting hormone (optional but helpful): A powder or gel can encourage faster root development.
- Watering can or spray bottle: For gentle watering.
- Labels and a marker: So you don’t forget what you planted where!
- A warm, bright location: With indirect sunlight.
Propagation Methods
I’ve found the most reliable way to multiply Cannas is through dividing their rhizomes. This is how they naturally spread underground anyway.
- Gently excavate the rhizomes: Carefully dig up the Canna clump. You can do this after the foliage has died back, or even while they’re still green if you need to relocate them. Brush off as much soil as you can.
- Inspect the rhizomes: Look for the plump, fleshy sections. You’ll see “eyes” or buds on them – these are essential for new growth. They look a bit like small bumps or points.
- Divide the rhizomes: Using your sharp pruning shears or a clean knife, cut the rhizome into sections. Each section should have at least one healthy eye or bud. If one part looks soft or rotten, discard it.
- Let them dry (optional but recommended): I like to let the cut ends air dry for a day or two. This helps them callus over, which can prevent rot.
- Plant your divisions: Pot each section individually in your well-draining potting mix. Plant them about 2-3 inches deep with the eye pointing upwards. Water gently.
While division is my go-to, some folks have success with stem cuttings, though it’s a bit more hit-or-miss for me with Canna lilies themselves, as they tend to favor division. If you’re feeling adventurous:
- Take a healthy stem cutting that includes at least two nodes (where leaves emerge).
- Remove the lower leaves.
- Dip the cut end in rooting hormone.
- Place it in water, ensuring the nodes are submerged but the leaves are not touching the water. Change the water every few days.
- Once roots appear (which can take a few weeks), carefully plant it into potting mix.
The “Secret Sauce”
Now, for a couple of little tricks I’ve learned over the years:
- Don’t drown your divisions! While they need moisture to root, soggy soil is the enemy. Water thoroughly after planting, then let the soil dry out slightly between waterings. This balance is key to preventing rot.
- Bottom heat is a game-changer: If you’re starting divisions early or dealing with cooler temperatures, placing your pots on a seedling heat mat can dramatically speed up root development. It mimics the warmth of spring wonderfully.
Aftercare & Troubleshooting
Once you see new shoots emerging, that’s a great sign! Keep your new Canna babies in a bright spot with indirect sunlight. Water consistently, but again, avoid waterlogged soil. As they grow, you can gradually introduce them to more direct sun.
The most common problem you’ll encounter is rotting rhizomes. This is almost always due to overwatering or using a soil mix that doesn’t drain well. If a division looks mushy and brown, it’s likely a goner. Don’t be discouraged; learn from it and adjust your watering or soil for the next attempt.
A Little Bit of Patience Goes a Long Way
So there you have it! Propagating Canna lilies through division is a rewarding process that brings the joy of gardening full circle. Be patient with your new little plants, give them good conditions, and you’ll be rewarded with a whole new collection of these magnificent beauties. Happy growing!
Resource:
https://identify.plantnet.org/k-world-flora/species/Canna%20indica%20L./data