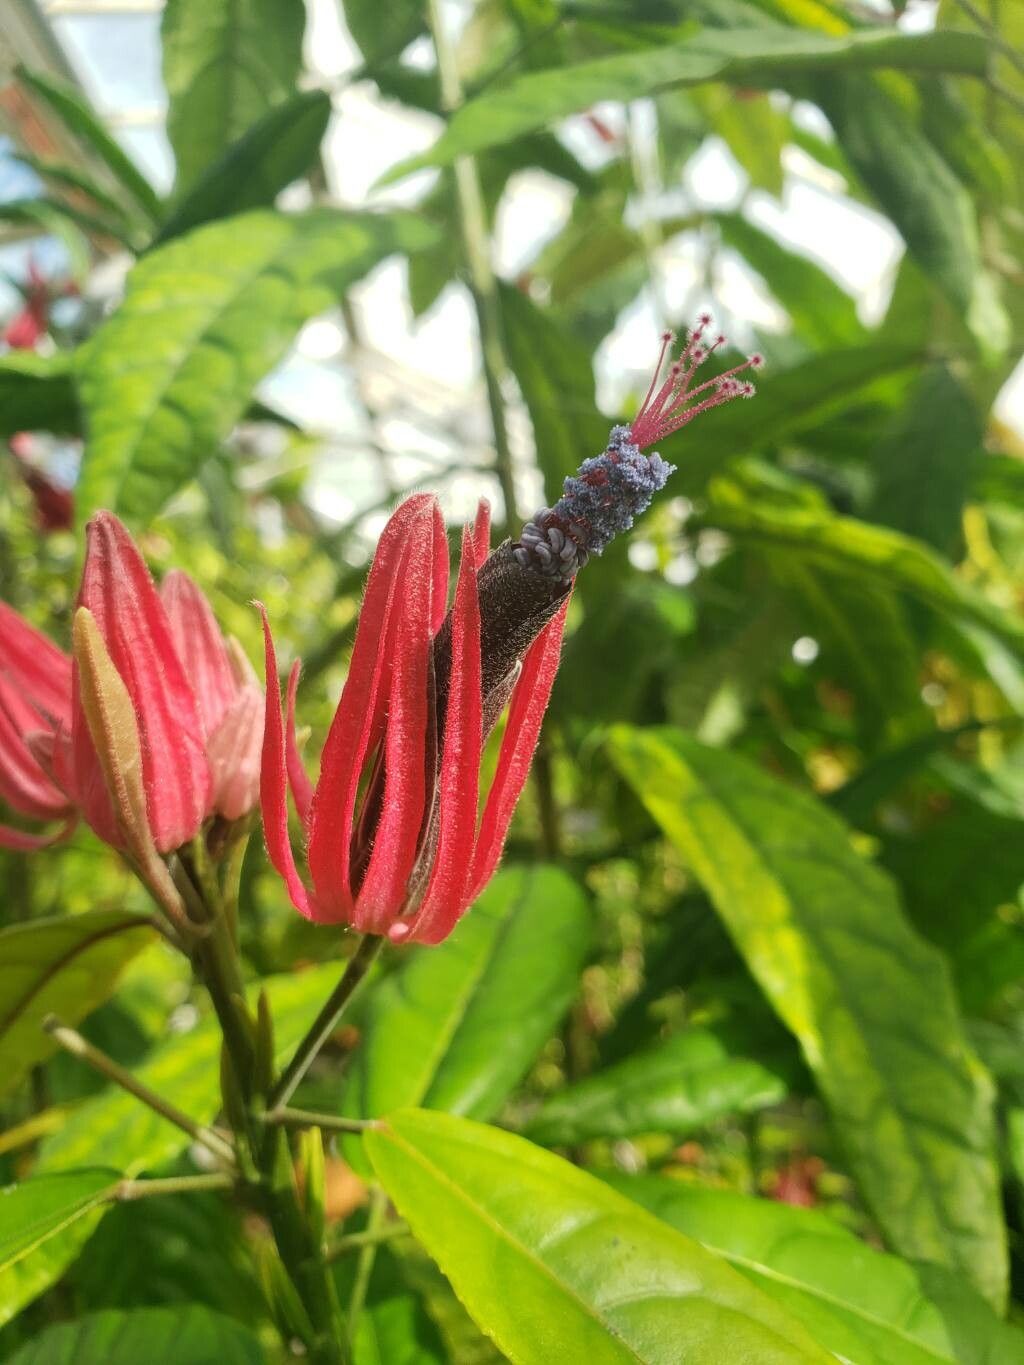
Oh, hello there! Come on in, grab a cuppa. Today we’re going to talk about a truly charming plant: Pavonia multiflora. If you’ve ever seen one of these beauties with its delicate, bell-shaped flowers that seem to just keep on blooming, you know why it’s such a joy to have around. And the best part? You can easily make more of them! Propagating Pavonia multiflora is such a rewarding experience, kind of like giving a gift that keeps on giving. For those of you just starting out, I’d say Pavonia multiflora is moderately easy to propagate. It’s not fiddly, but it does appreciate a little attention to detail.
The Best Time to Start
Timing is everything in the garden, isn’t it? For Pavonia multiflora, the sweet spot for propagation is really during its active growing season. Think late spring through early summer. This is when the plant is energized, producing new growth, and generally in a robust state, making it much more likely to root successfully. Waiting until you see new, tender shoots emerging is usually a good indicator.
Supplies You’ll Need
Gathering your supplies beforehand makes the whole process smoother. You don’t need anything too fancy, just a few essentials:
- Sharp pruning shears or a clean knife: For making clean cuts.
- Rooting hormone: This is a big help, especially for cuttings. I like to use a powder form.
- Well-draining potting mix: A good blend of peat moss, perlite, and a little bit of compost works wonders. You can also buy specialized seedling mixes.
- Small pots or seed trays: Clean ones, of course!
- Plastic bags or a clear propagator lid: To create a humid environment.
- Watering can with a fine rose: For gentle watering.
Propagation Methods
There are a couple of fantastic ways to get more Pavonia multiflora plants. I find either stem cuttings or growing from seeds to be the most reliable.
Stem Cuttings: This is my go-to method for Pavonia multiflora.
- Select your cutting: Look for healthy, semi-hardwood stems. You want a piece that has some new growth on it, but isn’t too soft and floppy. Aim for stems about 4-6 inches long.
- Make the cut: Using your clean shears or knife, make a clean cut just below a leaf node. This is the little bump where a leaf or branch emerges.
- Prepare the cutting: Gently remove the lower leaves, leaving just a few at the top. This prevents them from rotting in the soil. If you see any flowers or buds, pinch those off too.
- Apply rooting hormone: Dip the cut end into your rooting hormone, tapping off any excess.
- Pot it up: Fill your small pots with your moistened, well-draining potting mix. Make a little hole in the center with your finger or a pencil.
- Insert the cutting: Gently place the cut end of the stem into the hole and firm the soil around it.
- Create humidity: Water gently and then cover the pot with a plastic bag or place it in a propagator. You want a nice, humid environment to keep the cutting from drying out.
From Seed: While cuttings are my favorite, you can also grow Pavonia multiflora from seed, though it can be a little more hit-or-miss and takes longer.
- Sourcing seeds: If you can find fresh seeds, that’s ideal.
- Sowing: Fill small pots or trays with seed-starting mix. Sow the seeds thinly on the surface and lightly cover them with mix.
- Water and cover: Water gently and keep the surface consistently moist. Cover the container with a clear lid or plastic wrap to maintain humidity.
- Provide warmth: Seeds usually germinate when kept warm, ideally around 70-75°F (21-24°C).
The “Secret Sauce” (Pro Tips)
Here are a couple of little tricks I’ve learned over the years that really boost success rates:
- Give them bottom heat: This is a game-changer for cuttings. Placing your pots on a heat mat that’s designed for seedlings can significantly speed up root formation. It mimics the warmth of spring soil perfectly.
- Don’t let leaves touch the water (if water propagating): While I primarily use soil for Pavonia, if you ever try water propagation with other plants, remember this crucial point. Any leaves submerged in water will rot and introduce disease. Only the stem should be in the water. This applies less directly to soil, but it’s a good general principle for minimizing rot.
Aftercare & Troubleshooting
Once your cuttings have rooted (you’ll see new growth, and they’ll feel a bit resistant when gently tugged), it’s time for a little more attention.
- Acclimate gradually: If you’ve been using a plastic bag, start by opening it for a few hours each day before removing it completely. This helps the new plant adjust to normal humidity.
- Light and watering: Move the new plants to a bright spot with indirect light. Water them when the top inch of soil feels dry. They’re still a bit delicate, so avoid overwatering.
- Troubleshooting rot: The most common issue you’ll face is rot. If your cutting turns black and mushy, it’s likely succumbed to rot. This usually happens from too much moisture or poor air circulation. Prevention is key: use well-draining soil, don’t overwater, and ensure good airflow. If you catch a bit of rot early, you can sometimes cut away the affected part and try to root the healthy portion, but often it’s best to start with a fresh cutting.
A Encouraging Closing
Taking cuttings or starting seeds can feel a bit like magic. Be patient; some plants are faster than others. Don’t get discouraged if your first try isn’t perfect. Gardening is all about learning, experimenting, and enjoying the process. Soon enough, you’ll have a whole collection of these cheerful Pavonia multiflora to brighten your home and garden! Happy propagating!
Resource:
https://identify.plantnet.org/k-world-flora/species/Pavonia%20multiflora%20A.St.-Hil./data