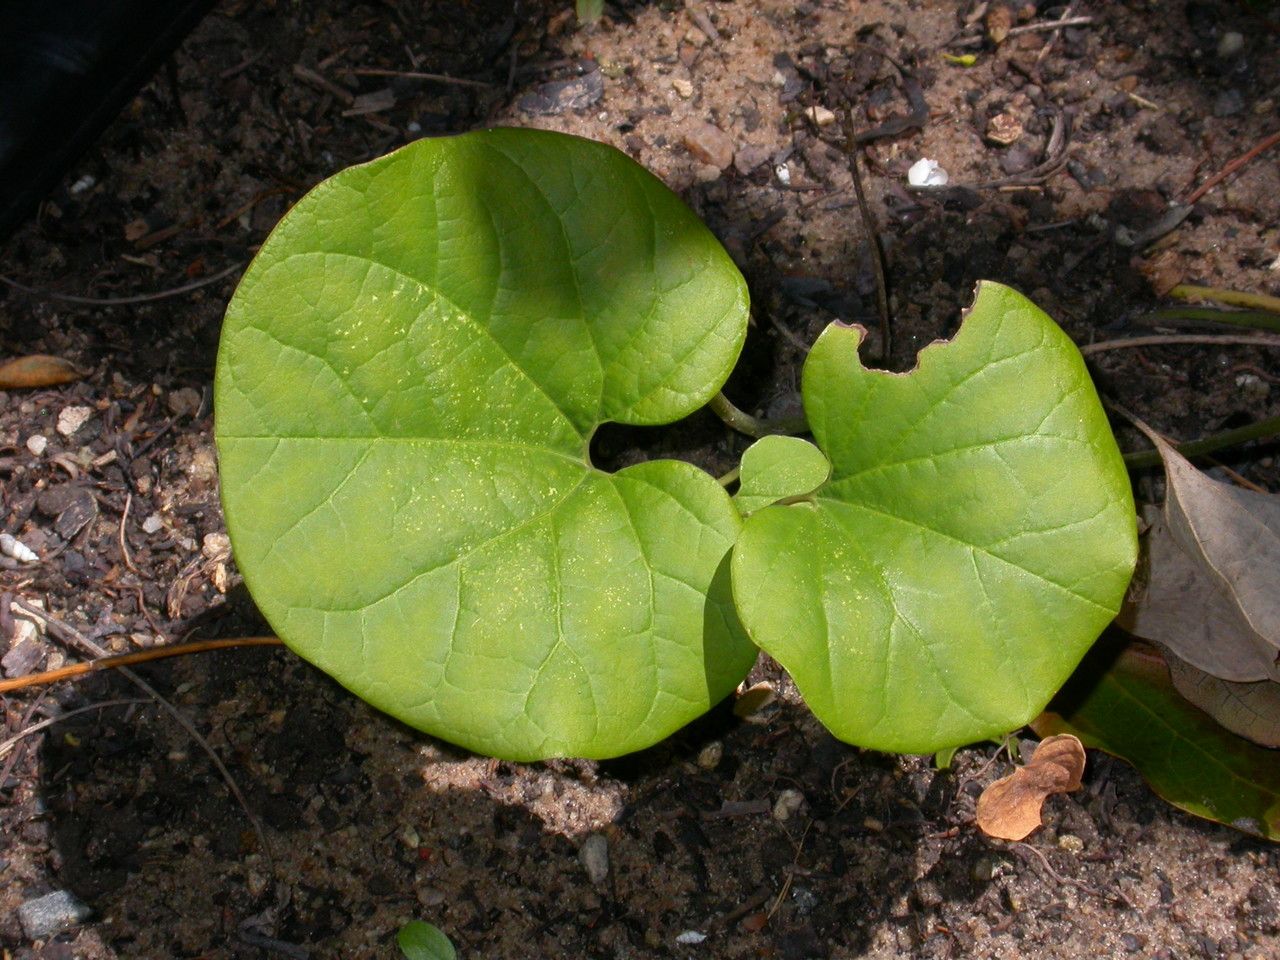
Hello fellow plant lovers! I’m so excited to dive into the world of Aristolochia holostylis, a plant that truly captures my heart. Its unique, often dramatic blooms are like little woodland treasures, and the foliage can be just as captivating. For me, successfully propagating these beauties feels like unlocking a special garden secret. While some Aristolochia can be a bit finicky, I’ve found holostylis to be a wonderfully rewarding plant to multiply. If you’re curious to expand your collection, or share this magic with friends, let’s get our hands dirty!
The Best Time to Start
For Aristolochia holostylis, the sweet spot for taking cuttings is during its active growing season. Think of late spring through early to mid-summer. This is when the plant is energetically pushing out new growth, meaning those fresh stems have the best chance of readily developing roots. You’re essentially tapping into its peak vitality. Trying to propagate when the plant is dormant or stressed rarely yields the same enthusiastic results.
Supplies You’ll Need
Getting your supplies ready beforehand makes the whole process much smoother. Here’s what I always have on hand:
- Sharp, sterile pruning shears or a clean knife: Essential for making clean cuts that heal well. A quick wipe with rubbing alcohol between cuts is a good habit.
- Rooting hormone (optional, but recommended): A powder or gel that encourages faster and more robust root development.
- Well-draining potting mix: I usually use a blend of perlite and peat moss or coco coir. A good commercial seed starting mix can also work wonderfully. You want something airy that won’t hold too much moisture.
- Small pots or propagation trays: Clean, with drainage holes, of course!
- Clear plastic bag or propagation dome: This creates a humid microclimate that new cuttings adore.
- Water: For watering your cuttings.
- Labels and a permanent marker: Trust me, you’ll thank yourself later.
Propagation Methods
I find stem cuttings to be the most reliable and accessible method for Aristolochia holostylis. It’s a tried-and-true technique that gives us plenty of opportunities to succeed.
Stem Cuttings:
- Select your stem: Look for a healthy, non-flowering stem that’s about 4-6 inches long. You want to choose a stem that’s firm but not woody. This is often referred to as a “semi-hardwood” cutting.
- Make the cut: Just below a leaf node (the point where a leaf grows from the stem), make a clean cut with your sterile shears. This node is where the magic of root formation often begins.
- Prepare the cutting: Gently remove the lower leaves from the stem, leaving just a couple of leaves at the very top. If the remaining leaves are very large, I sometimes snip them in half to reduce water loss.
- Apply rooting hormone (if using): Dip the cut end of the stem into your rooting hormone, tapping off any excess.
- Plant the cutting: Fill your small pots or trays with your prepared, moistened potting mix. Make a small hole in the center with your finger or a pencil.
- Insert the cutting: Gently place the cut end of the stem into the hole, ensuring that at least one leaf node is below the soil surface. Firm the soil gently around the base of the cutting.
- Create humidity: Water the soil lightly to settle it around the cutting. Then, cover the pot with a clear plastic bag, or place it inside a propagation dome. Make sure the leaves don’t touch the plastic if possible, as this can encourage rot.
- Provide warmth and light: Place your cuttings in a bright, indirect light location. A spot on a windowsill away from direct scorching sun is ideal. If you have a heat mat, placing the pots on it can significantly speed up root development. This is a game-changer!
The “Secret Sauce” (Pro Tips)
Here are a couple of things I’ve learned over the years that really seem to give Aristolochia holostylis cuttings a boost:
- Don’t rush the watering: While you want the potting mix to be moist, avoid soggy conditions. It’s better to let the very top of the soil dry out slightly between waterings than to constantly drench it. Overwatering is the quickest way to invite rot.
- Bottom heat is your best friend: As I mentioned, a gentle bottom heat from a heat mat does wonders. It encourages the roots to form from the bottom up, making your cuttings much more vigorous once they take. It mimics the warmth of summer soil.
- Patience with leaf drop: If a cutting drops all its leaves, don’t despair immediately! Sometimes they go through a dormant phase before putting out new growth. As long as the stem is still firm and not mushy, there’s still hope.
Aftercare & Troubleshooting
Once you start seeing new leaf growth or a gentle tug on the cutting reveals some resistance (signifying roots!), it’s time for a little tender loving care.
Carefully remove the plastic bag or dome for increasing periods each day over a week or two to acclimate the young plant to normal room humidity. Continue to keep the soil consistently moist but not waterlogged. When the new plant is large enough to handle, you can pot it up into a slightly larger container.
The most common sign of failure is rot. If your cutting turns mushy and black, or develops mold, it’s usually a sign of too much moisture and not enough air circulation. Unfortunately, in these cases, it’s best to discard the affected cutting and start anew, perhaps with a slightly drier mix or thinner plastic cover.
A Encouraging Closing
Growing plants from cuttings is such a rewarding way to connect with nature and expand your garden. Don’t be discouraged if your first few attempts aren’t perfect. Each cutting is a learning experience! Celebrate the successes, learn from the challenges, and most importantly, enjoy the journey of nurturing these beautiful Aristolochia holostylis from tiny stems into flourishing plants. Happy propagating!
Resource:
https://identify.plantnet.org/k-world-flora/species/Aristolochia%20holostylis%20F.González/data