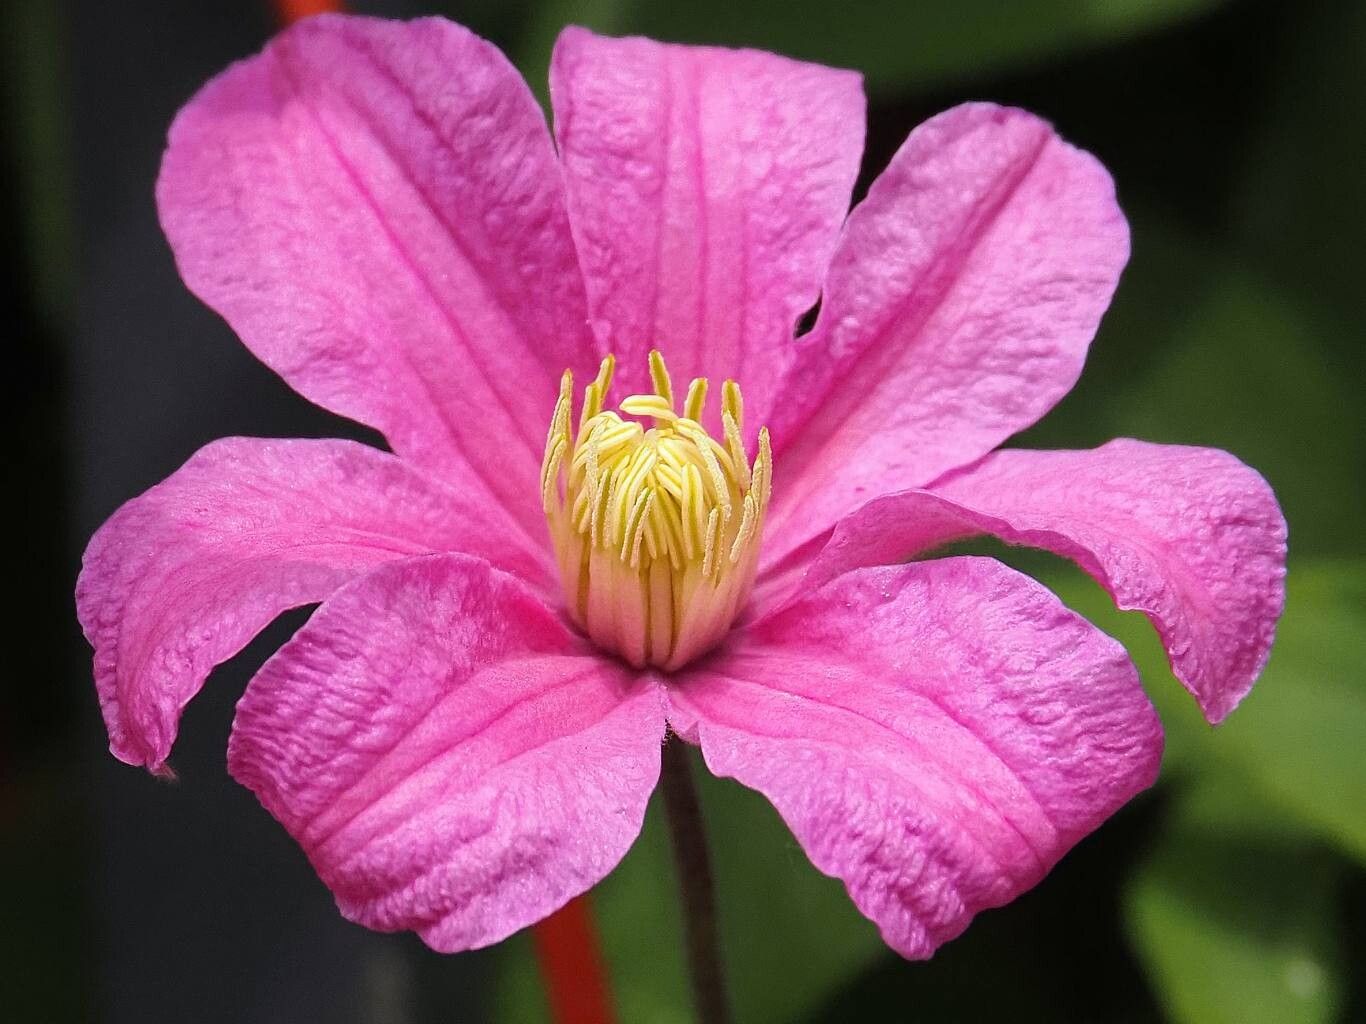
Hello, fellow garden lovers! Today, we’re talking about a plant that truly captivates me: Clematis integrifolia. You know those charming, bell-shaped blossoms that tumble so beautifully? That’s the magic of this variety. It’s a bit of a stunner, and the thought of getting more of these beauties into my garden, or even sharing them with friends, always brings a smile to my face.
For those of you just starting out with propagation, I’ll be honest, Clematis integrifolia can be a little on the trickier side. It’s not impossible, but it does require a bit more attention than, say, a simple succulent cutting. But don’t let that deter you! The satisfaction of watching a new plant unfurl its first true leaves after you’ve nurtured it from a bit of stem is absolutely unparalleled. We’ll take it step-by-step, and I’m confident you can do it.
The Best Time to Start
For Clematis integrifolia, your best bet is to get started in late spring or early summer. This is when the plant is actively growing and has plenty of energy. Look for semi-ripe or softwood cuttings. These are stems that have started to firm up from the current season’s growth but are still a bit flexible. You can tell they’re ready when the tip is still soft and bendy, but the base of the stem is starting to feel a bit woody. Avoid old, woody stems from last year, as they tend to be much harder to root.
Supplies You’ll Need
Gathering your tools beforehand makes the whole process much smoother. Here’s what I usually have on hand:
- Sharp Pruning Shears or a Clean Knife: For making clean cuts. Dull tools can crush the stem and hinder rooting.
- Rooting Hormone: This is especially helpful for Clematis, as it encourages faster and more robust root development. I prefer a powdered form, but liquid works too.
- A Gritty, Well-Draining Potting Mix: A good quality seed starting mix is a great base, but I often add extra perlite and a bit of coarse sand to ensure excellent drainage. Clematis really hates sitting in wet soil.
- Small Pots or Trays: Clean, small pots (around 3-4 inches) are ideal for cuttings. If you’re using trays, make sure they have drainage holes.
- Plastic Bags or a Propagator: To create a humid environment around your cuttings.
- Watering Can or Spray Bottle: For gentle watering.
- Labels and a Waterproof Marker: You’ll thank yourself later!
Propagation Methods
Let’s dive into the methods that work best for Clematis integrifolia. We’ll focus on stem cuttings, as it’s the most common and effective way to propagate this beauty.
Stem Cuttings (Softwood/Semi-Ripe)
This is where the magic happens!
- Take Your Cuttings: In late spring or early summer, select healthy, non-flowering shoots. Using your sharp shears, make a cut just below a leaf node (the point where a leaf attaches to the stem). You want cuttings that are about 4-6 inches long. Remove any flowers or flower buds immediately – they take energy away from rooting.
- Prepare the Cuttings: Gently remove the lower leaves, leaving just the top two or three leaves. If the remaining leaves are very large, you can snip them in half to reduce water loss through transpiration.
- Apply Rooting Hormone: Dip the cut end of the stem into your rooting hormone. Gently tap off any excess. The hormone helps stimulate root growth.
- Pot Them Up: Fill your small pots with your well-draining potting mix. Make a hole in the center of the mix with your finger or a pencil.
- Insert the Cuttings: Gently push the prepared cutting into the hole, ensuring the rooting hormone-coated end makes good contact with the soil. Firm the soil gently around the stem. Make sure no leaves are touching the soil surface.
- Water Gently: Water the pot thoroughly but gently. You want the soil to be moist, not waterlogged.
- Create Humidity: This is crucial. Place the potted cuttings into a propagator or cover the pot with a clear plastic bag, ensuring the bag doesn’t touch the leaves. If using a bag, you might need to support it with stakes. Place the pots in a bright spot, but out of direct, scorching sunlight.
Water Propagation (With Caution)
While some clematis can be rooted in water, it’s generally less successful for Clematis integrifolia than propagation in soil. If you want to try it, follow the same preparation steps for the cuttings as above, but instead of planting them, place the cut ends in a clean jar of water. Crucially, ensure no leaves are submerged in the water. Change the water every few days to keep it fresh and prevent rot. You’re looking for tiny nubs of roots to form. Once you see them, you’ll need to carefully pot them into soil, which can be a delicate transition. I generally steer people towards the soil method for this particular clematis.
The “Secret Sauce” (Pro Tips)
Here are a couple of tricks I’ve picked up over the years that really seem to boost the success rate:
- Bottom Heat is Your Friend! Clematis roots love a bit of warmth. If you have a heat mat designed for seedlings or propagators, placing your pots on it can make a world of difference. It encourages root formation from below without frying your cuttings from above.
- Don’t Rush the Watering: While you want the soil to be consistently moist, never let your cuttings sit in soggy conditions. Overwatering is the quickest way to invite rot, which is the nemesis of propagation. If the soil surface looks dry, give it a light watering, but always check first.
- Air Them Out: Even with a plastic bag, it’s a good idea to open the bag or propagator for a few minutes each day to allow for some air circulation. This helps prevent fungal issues from building up.
Aftercare & Troubleshooting
Once you start seeing new leaf growth on your cuttings, that’s a fantastic sign! It means roots are forming. You can gently tug on a cutting – if there’s resistance, you’ve got roots!
- Gradual Introduction: Once roots are established (usually after 4-8 weeks, sometimes longer), gradually acclimatize your new plant to normal conditions. If it was under a bag, start by opening the bag for longer periods each day.
- Potting Up: When the new plant is strong enough and has filled its small pot with roots, you can pot it up into a slightly larger container with fresh potting mix. Keep it in a shaded or dappled light spot for a week or two before moving it to its final location.
- Signs of Trouble: The most common issue you’ll encounter is rot. If a cutting turns black and mushy, it’s sadly gone too far. This is usually a sign of too much moisture and not enough air circulation. Another sign of failure is if the cutting simply wilts and never recovers, which could indicate it didn’t root or dried out too quickly. Don’t be discouraged by a few failures; it’s all part of the learning curve!
A Encouraging Closing
So there you have it! Propagating Clematis integrifolia is a journey, and like any good garden project, it rewards patience and a little bit of know-how. Don’t be afraid to get your hands dirty and experiment. Even if your first few attempts aren’t perfect, you’ll learn so much along the way. Enjoy the process of nurturing new life, and soon you’ll have more of these beloved beauties to admire and share. Happy propagating!
Resource:
https://identify.plantnet.org/k-world-flora/species/Clematis%20integrifolia%20L./data