Hey there, fellow garden enthusiasts!
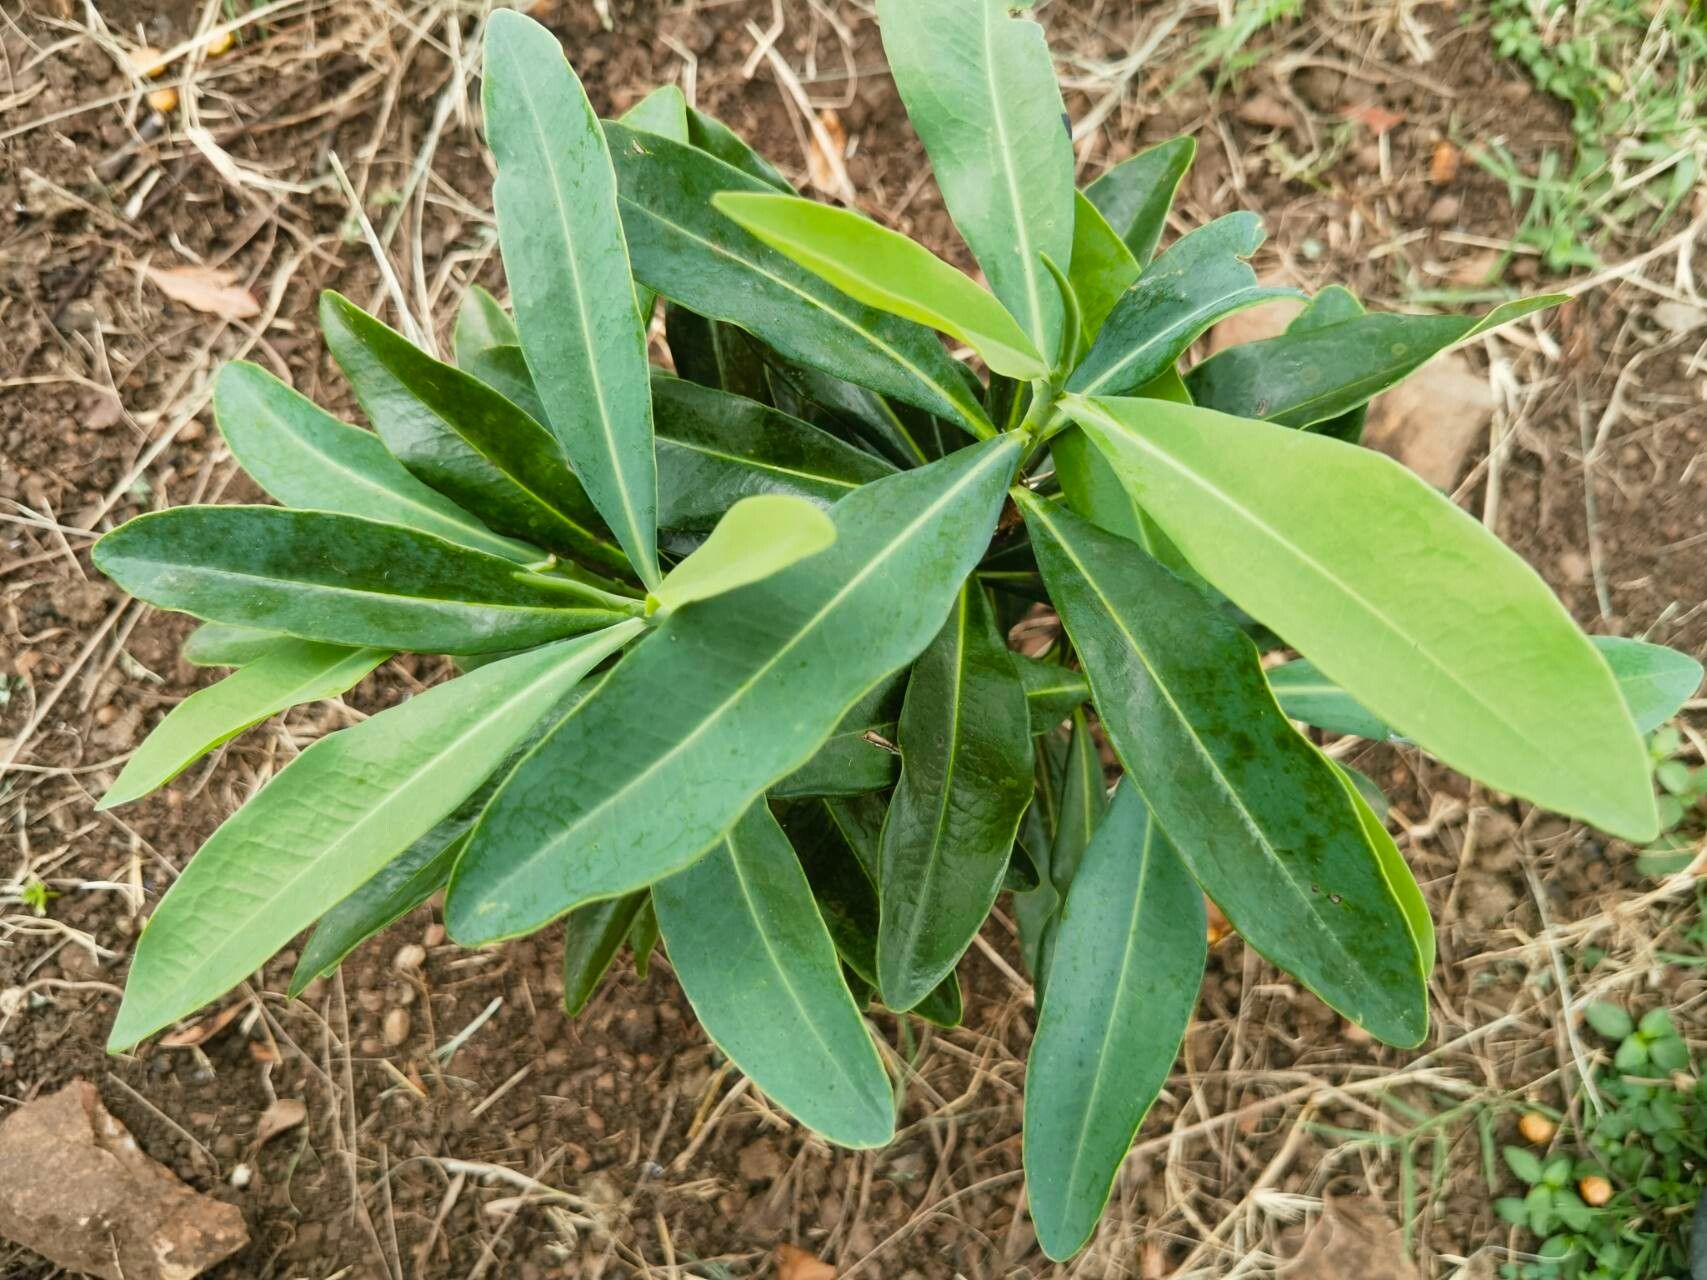
I’m so excited to chat with you today about a truly special plant: Warburgia salutaris, often known as the Pepper-bark Tree. If you’re looking for a gorgeous evergreen with a bit of aromatic charm and a fascinating history, you’re in for a treat. The scent of its crushed leaves alone is enough to make you feel like you’ve stepped into a woodland paradise. And the best part? It’s incredibly rewarding to grow your own from cuttings! While it might seem a touch daunting at first, with a little guidance, you’ll be well on your way to a collection of these beauties.
The Best Time to Start
When it comes to getting new Warburgia plants going, think spring and early summer. This is when the plant is actively growing and has the most energy to put into rooting. You want to take cuttings from healthy, semi-hardwood stems – they’re not too soft and flimsy like new growth, but not too woody and mature either. Think of it like picking a pencil – firm, but still bendable.
Supplies You’ll Need
Gathering your tools ahead of time makes the whole process so much smoother. Here’s what I usually have on hand:
- Sharp Pruning Shears or a Craft Knife: For clean cuts on your cuttings.
- Rooting Hormone: While not strictly essential for every plant, it gives your Warburgia cuttings a fantastic head start. I prefer the powdered kind.
- Gritty, Well-Draining Potting Mix: A 50/50 blend of perlite and peat moss (or coir) works wonderfully. You can also use specialized cutting mixes.
- Small Pots or Seed Trays: Clean ones are key to preventing disease!
- Plastic Bags or a Propagator: To create a humid environment.
- Watering Can with a Fine Rose: For gentle watering.
- Labels and a Pen: To keep track of what you’ve planted!
Propagation Methods
Let’s get our hands dirty! Taking cuttings is the most common and effective way to propagate Warburgia salutaris.
Stem Cuttings:
- Select your parent plant: Choose a healthy, vigorous Warburgia and identify those perfect semi-hardwood stems.
- Make the cut: Using your sharp shears or knife, take cuttings about 4-6 inches long. Make a clean cut just below a leaf node (where a leaf attaches to the stem). This is where the magic happens for rooting.
- Prepare the cuttings: Gently remove the lower leaves, leaving just a couple of leaves at the top. This reduces water loss and prevents leaves from rotting in the soil. If the leaves are very large, you can even cut them in half horizontally.
- Apply rooting hormone: Dip the cut end of each stem into your rooting hormone, tapping off any excess.
- Plant your cuttings: Fill your clean pots or trays with your gritty mix. Make a hole with a pencil or your finger and gently insert the cut end of the stem. Firm the soil around it.
- Water gently: Water thoroughly but carefully so you don’t wash away the rooting hormone.
- Create a humid environment: Cover the pots with a clear plastic bag, securing it with a rubber band, or place them in a propagator. Ensure the bag doesn’t touch the leaves too much. Place them in a bright spot but out of direct sunlight.
The “Secret Sauce” (Pro Tips)
Here are a couple of things I’ve learned over the years that can really make a difference with Warburgia:
- Bottom Heat is Your Friend: If you have a seedling heat mat, now’s the time to use it! Placing your pots on a gentle heat source (around 70-75°F or 21-24°C) encourages root development much faster than ambient room temperature alone. It’s like giving them a warm hug from below.
- Don’t Drench, Dampen: It’s a common mistake to water cuttings too much. They don’t have roots yet to absorb all that moisture, and overly wet soil is a prime invitation for rot. Aim for the soil to be consistently moist, but not soggy. Gently check the soil moisture with your finger.
Aftercare & Troubleshooting
Once your cuttings have been in place for a few weeks, you can start to check for roots. You can give a very gentle tug on a cutting – if there’s resistance, that’s a good sign! You might also see new leafy growth emerging.
Once you see definite signs of rooting, it’s time to gradually acclimatize them to normal conditions. Start by opening the plastic bag for a few hours each day, slowly increasing the time until you can remove it entirely. Continue to keep them in bright, indirect light.
The most common problem you’ll encounter is rot. This usually happens from overwatering. If you see a cutting turning black and mushy, it’s best to remove it immediately to prevent it from affecting others. If the leaves start to droop significantly, it could be a sign of either not enough humidity or too much sun.
A Little Patience Goes a Long Way
Growing plants from cuttings is a beautiful process that connects you deeply with the cycle of life. It takes a bit of patience, a watchful eye, and a willingness to learn. Don’t get discouraged if not every cutting takes – that’s part of gardening! Celebrate the wins, learn from the losses, and most importantly, enjoy the journey of nurturing your own little Warburgia salutaris trees. Happy propagating!
Resource: