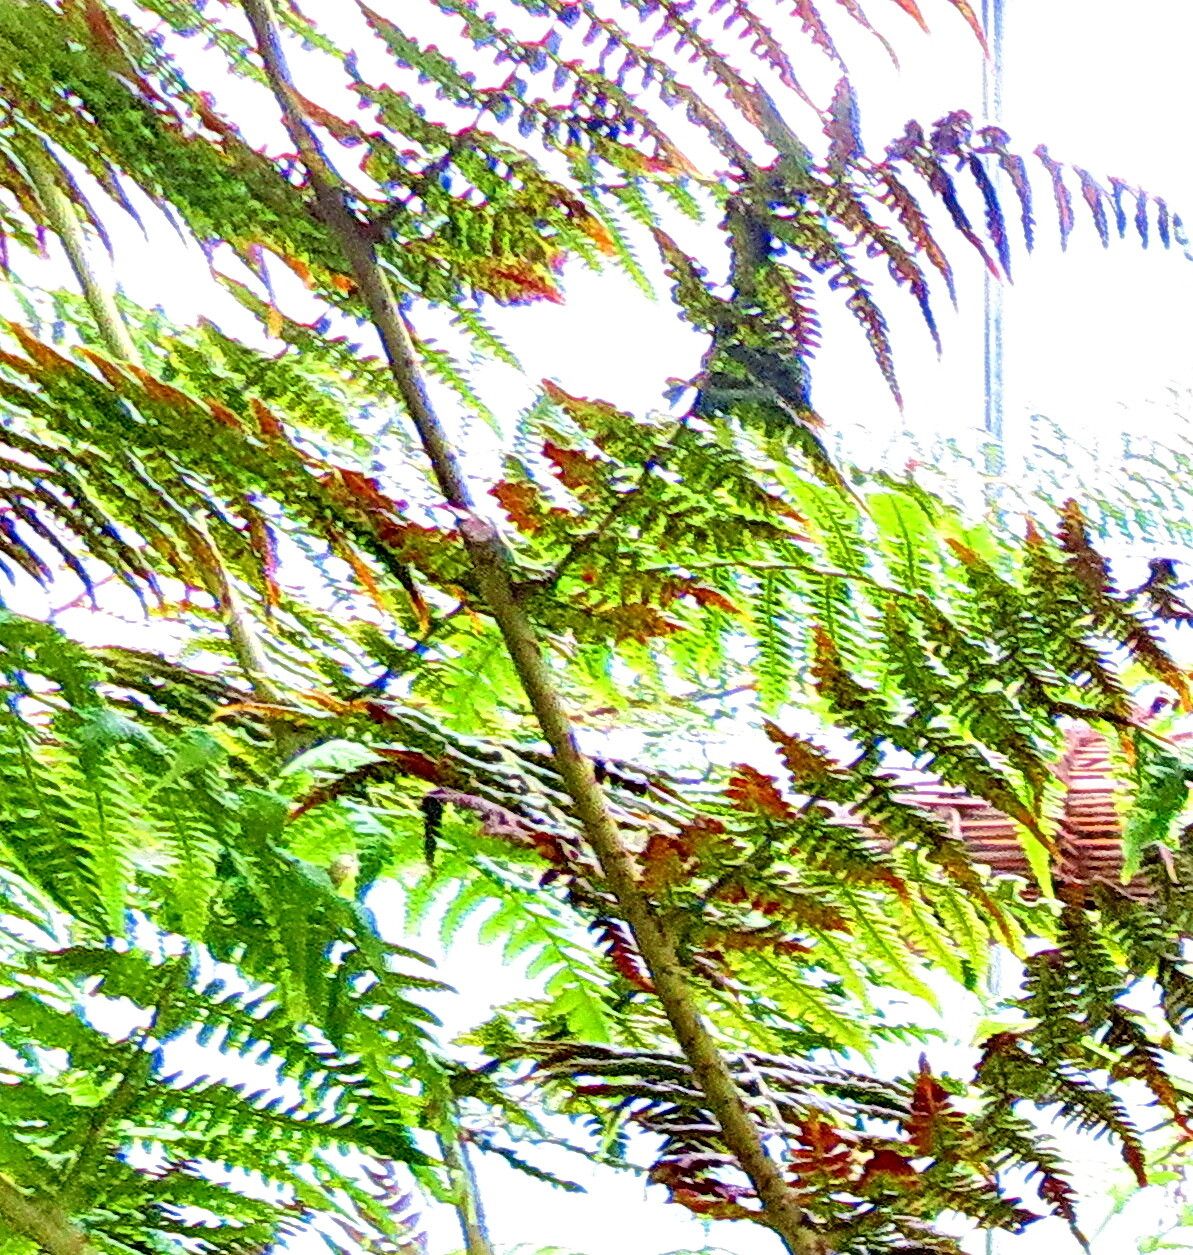
Oh, hello there! So, you’ve fallen for the charm of Dryopteris oligodonta? Wonderful choice! This fern, with its delicate fronds and elegant unfurling fiddleheads, brings such a touch of the wild woodland to any shady nook. And guess what? Propagating it yourself is incredibly satisfying. It’s like coaxing a little bit of that magic into a new pot, just for you. While it’s not the absolute easiest plant to start with for a complete novice, it’s definitely a rewarding challenge that’s entirely achievable with a little care and a good dose of patience.
The Best Time to Start
For Dryopteris oligodonta, spring is your golden ticket. As the plant begins its active growth phase, usually after the last frost has passed and things are warming up, it’s most receptive to being divided. You’ll see those new fronds starting to emerge – that’s your cue! Trying to propagate when the plant is dormant or stressed just won’t yield the best results.
Supplies You’ll Need
Gathering your tools beforehand makes the whole process smoother. Here’s what I usually have on hand:
- Sharp, clean pruning shears or a sharp knife: Crucial for making clean cuts.
- A good quality potting mix: I often use a well-draining blend – think equal parts peat moss, perlite, and compost. This provides moisture retention without getting waterlogged.
- Small pots or trays: Whatever size suits the divisions you’ll be making.
- Optional but helpful: Rooting hormone: Especially for divisions, this can give them a little boost.
- Watering can with a fine rose: For gentle watering.
- Labels and a permanent marker: You’ll thank me later when you forget which fern is which!
Propagation Methods
For Dryopteris oligodonta, division is generally the most successful and straightforward method. This is essentially taking a mature plant and splitting its root system into smaller, viable sections.
Here’s how I do it:
- Gently Excavate: Carefully unpot your Dryopteris oligodonta. You want to ease it out of its current container, trying to disturb the root ball as little as possible initially.
- Inspect the Roots: Turn the plant over and gently shake off some of the excess soil. Look for natural divisions in the root system and crowns (where the fronds emerge). You’ll often see established sections that already have their own developing fronds and roots.
- The Actual Split: This is where your sharp pruning shears or knife come in. You want to make a clean cut through the root ball, separating these natural divisions. Aim for sections that have at least two or three healthy fronds and a decent amount of root attached. Don’t be afraid to be firm; a clean cut is better than tearing.
- Potting Up: Prepare your new pots with your chosen potting mix. Make a little ‘well’ in the center for each division.
- Planting Your Divisions: Place each division into its pot, ensuring the roots are spread out. Add more soil, firming gently around the base of the plant. The top of the root ball should be about an inch below the rim of the pot.
- Water Wisely: Water thoroughly after potting. You want the soil to be moist but not soggy.
The “Secret Sauce” (Pro Tips)
We all love a little insider knowledge, right? Here are a couple of things I’ve learned over the years that really help:
- Don’t Over-Divide: It’s tempting to get as many little plants as possible, but try to avoid making divisions too small. A section that’s too tiny will struggle to establish. Aim for a good balance of roots and foliage. A healthy division leads to a healthy new fern.
- Provide Humidity: Ferns love humidity. Once your new divisions are potted, place them in a bright, humid location. A mini-greenhouse or even just clustering them together on a pebble tray can make a world of difference. I sometimes even mist them lightly every few days in the early stages.
Aftercare & Troubleshooting
Once your little fern babies are in their new homes, give them a good watering. Keep them consistently moist but not waterlogged. If the leaves start to look a bit droopy or pale, it might be a sign they’re too dry or getting too much direct sun.
The most common issue you might encounter is rot. This usually happens if the soil is too wet and there’s poor air circulation. If you see any browning or mushy stems, act fast. Gently remove the affected parts and ensure the soil is draining well. It’s better to err on the side of slightly too dry than too wet for young divisions. Patience is key here; it can take a few weeks for roots to establish and for you to see new growth appearing.
A Encouraging Closing
And there you have it! Propagation can feel a little daunting at first, but with Dryopteris oligodonta, it’s all about observing, dividing with care, and providing a good, humid environment. Be patient, watch for those signs of new life, and enjoy the wonderful journey of nurturing these beautiful ferns. Happy gardening!
Resource: