Oh, hello there! So, you’ve fallen for the charm of Cleistocactus morawetzianus, haven’t you? I can absolutely see why. These columnar cacti, with their striking ribbed bodies and often vibrant, emergent flowers, bring such a wonderful architectural element to any collection. Growing them from scratch, from tiny offshoots or cuttings, is one of the most rewarding gardening experiences, in my book. It’s like watching life unfurl right before your eyes, and honestly, it’s quite an accessible project for most folks who are just dipping their toes into cactus propagation.
When to Get Your Hands Dirty
The sweet spot for propagating Cleistocactus morawetzianus is definitely during its active growing season. Think late spring through summer. This is when the plant is feeling lively, energized by warmer temperatures and longer daylight hours. It means your cuttings or divisions have the best chance of rooting quickly and healthily. Trying to propagate when it’s dormant in winter is just asking for disappointment.
What You’ll Want to Gather
Before we dive in, let’s make sure you have your toolkit ready. Here’s what I typically have on hand:
- Sharp, clean pruning shears or a sharp knife: You need a clean cut for best results.
- Rooting hormone (optional, but helpful): This little powder can give your cuttings a great boost.
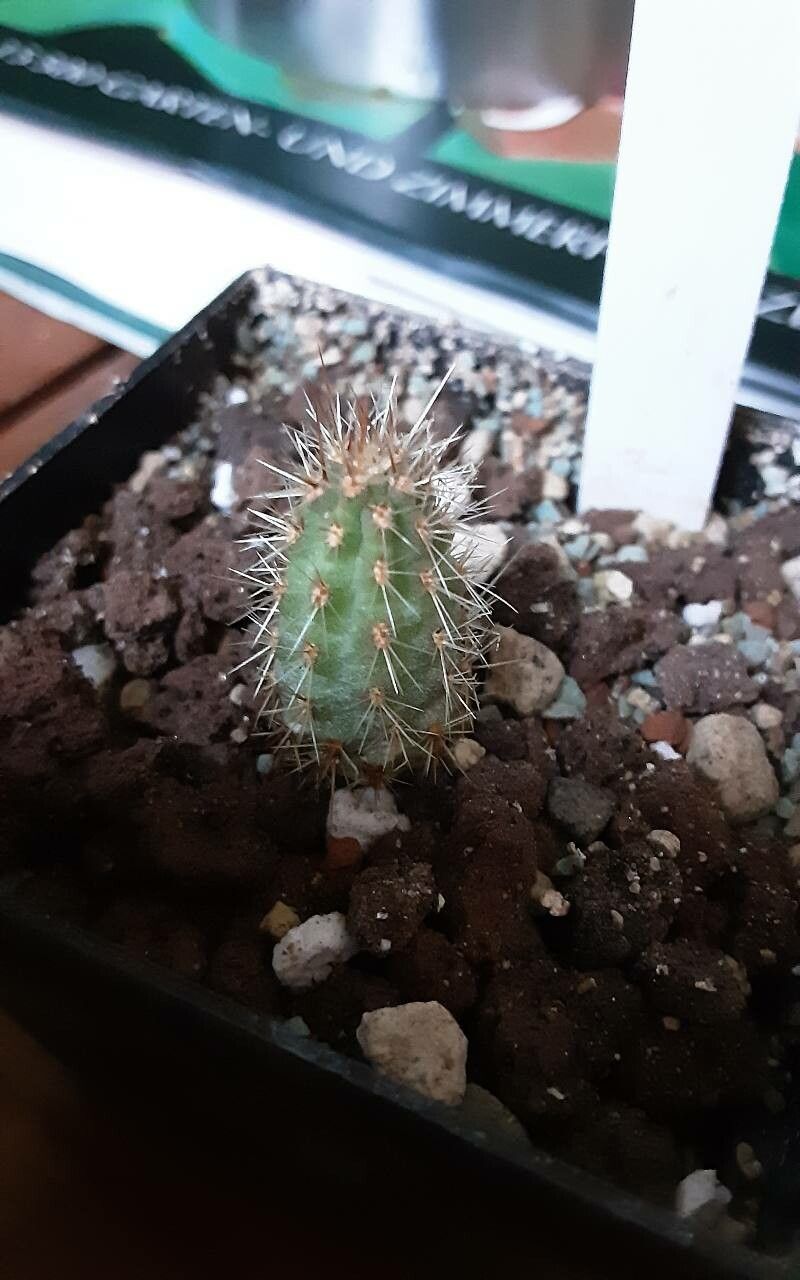
- A well-draining potting mix: I usually opt for a cactus/succulent mix, or I create my own by combining potting soil with perlite or pumice. Think gravelly!
- Small pots with drainage holes: terracotta pots are my personal favorite for cacti because they breathe.
- A watering can with a fine rose or a spray bottle: Gentle watering is key.
- Labels and a pen: Trust me, you’ll thank yourself later when you have a few different projects going.
Bringing New Life: Propagation Methods
Cleistocactus morawetzianus is pretty straightforward to propagate. Here are the main ways I do it:
1. Stem Cuttings: My Go-To Method
This is probably the most common and effective way to propagate these beauties.
- First, select a healthy stem. Look for one that’s at least 4-6 inches long. Using your sharp shears or knife, make a clean cut at the base of the stem.
- Now, this is crucial: Let the cut end “callus over.” This means letting it dry out for a few days, or even a week. Place the cutting in a bright, dry spot, away from direct sun. This prevents rot when you plant it.
- Once callused, you can dip the cut end into rooting hormone if you’re using it.
- Then, gently plant the callused end into your prepared, dry potting mix. You want to insert it deep enough so it stands upright, usually about an inch or so.
- Resist the urge to water immediately! Wait at least a week, maybe even two, before giving it its first light watering. You want to encourage those roots to search for moisture.
2. Offsets (Pups): Nature’s Little Gifts
Sometimes, Cleistocactus morawetzianus will produce little baby plants, called offsets or pups, around its base.
- Wait for the offset to be a decent size, maybe an inch or two tall, and ideally have developed its own little root system.
- Carefully tease the offset away from the mother plant. You might need to use a clean knife to gently sever it, ensuring you get as many of its own roots as possible.
- Just like with cuttings, allow the cut end to callus over for a few days.
- Once callused, plant the offset in its own small pot of well-draining soil, again, leaving it dry for a week or two before watering.
The “Secret Sauce” – Insider Tips
Here are a few little tricks I’ve picked up over the years that make a difference:
- Bottom Heat is Your Friend: If you can manage it, placing your pots on a gentle heating mat during propagation can significantly speed up root development. It mimics the warmth of summer soil.
- Patience with Water: Seriously, this is the most common mistake people make. Overwatering a fresh cutting or offset is a fast track to rot. Err on the side of too dry rather than too wet. When you do water, water thoroughly but then let the soil dry out completely before watering again.
- Air Circulation Matters: If you’re propagating multiple cuttings, make sure they have good air flow around them. This helps prevent fungal issues. I often remove any plastic domes quite quickly to avoid creating a humid, stagnant environment.
Aftercare and When Things Go Wrong
Once you see signs of life – maybe a slight bit of new growth at the top, or if you gently tug and feel resistance (indicating roots) – you can start watering a little more regularly. Continue to keep the soil on the drier side, letting it dry out completely between waterings.
The biggest hurdle you’ll likely face is rot. If your cutting or offset turns mushy, dark, or smells foul, it’s a clear sign of rot. Unfortunately, there’s usually no coming back from that. Prevention is key: use clean tools, let cuttings callus, and don’t overwater. If you catch rot very early, you might be able to cut away the affected parts and try to let the remainder callus again, but it’s a long shot.
Go Forth and Grow!
Horticulture is all about learning, experimenting, and enjoying the journey. Don’t be discouraged if your first attempt isn’t a runaway success. Keep trying, pay attention to your plants’ needs, and celebrate every little root that emerges. Happy propagating, and I can’t wait to see your Cleistocactus collection bloom!
Resource:
https://identify.plantnet.org/k-world-flora/species/Cleistocactus%20morawetzianus%20Backeb./data