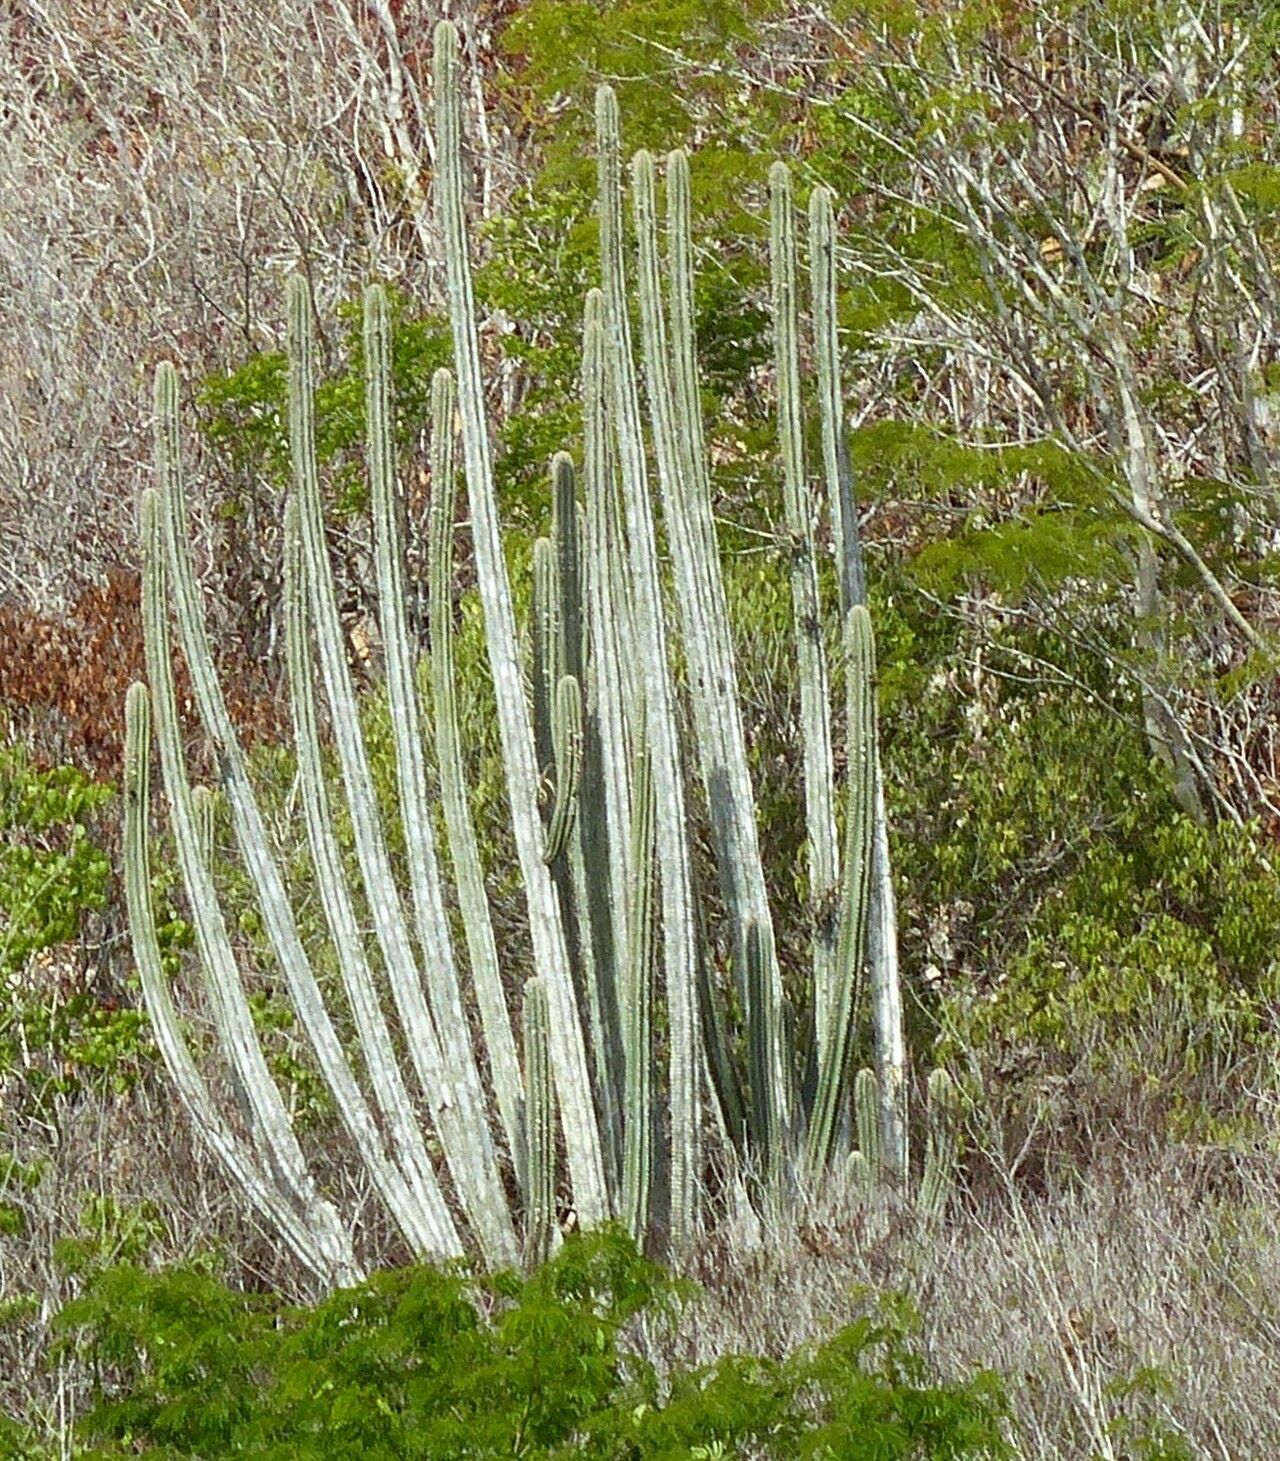
Hello fellow plant lovers! Today, I want to chat about a truly spectacular cactus: the Pilosocereus polygonus, often called the Teddy Bear Cactus or the Fence Post Cactus. Its fuzzy, golden spines are incredibly soft to the touch (hence the “Teddy Bear” moniker!), and as it matures, it can grow into these magnificent, architectural columns. Plus, it’s relatively straightforward to grow, which makes propagating it a really rewarding experience. If you’re new to the cactus world, this is a fantastic plant to get your hands on to test your propagation skills.
The Best Time to Start
When it comes to getting new Pilosocereus polygonus babies, spring and early summer are your best friends. This is when the plant is actively growing, meaning it has the energy reserves to put towards healing those cuts and developing new roots. Waiting until your cactus is showing strong new growth is key – it’s like harvesting an apple when it’s perfectly ripe!
Supplies You’ll Need
Here’s what you’ll want to have on hand before you begin:
- Sharp, clean pruning shears or a sturdy knife: Sterilized with rubbing alcohol is best to prevent disease.
- Rooting hormone (optional, but helpful): I find it gives cuttings a little extra boost. Look for one specifically for succulents or cacti.
- Pots with drainage holes: Terracotta pots are great because they allow the soil to dry out more quickly.
- Cactus/Succulent potting mix: A gritty mix is essential. You can buy a premix or make your own with equal parts potting soil, perlite, and coarse sand.
- A shallow tray or saucer: For water propagation.
- An old newspaper or clean surface: To lay out your cuttings on.
Propagation Methods
Pilosocereus polygonus is quite adaptable, and I’ve had great success with a couple of methods.
Stem Cuttings (My Favorite!)
This is my go-to for Pilosocereus.
- Make the Cut: Using your sterilized shears, cut a healthy section of the stem, at least 4-6 inches long. Try to choose a piece that doesn’t have any flowers or developing buds.
- Let it Callus: This is crucial. Place your cutting on a clean surface, out of direct sunlight, for about 7 to 10 days. You want the cut end to dry out and form a hardened callus. This prevents rot when you plant it. Seriously, don’t skip this step!
- Apply Rooting Hormone (Optional): Once callused, you can dip the cut end into rooting hormone if you’re using it.
- Plant Your Cutting: Fill your pot with your gritty cactus mix. Make a small hole in the center and insert the callused end of your cutting. Make sure it’s firm enough to stand up on its own.
- Wait to Water: Resist the urge to water immediately. Wait another 5 to 7 days after planting. Then, water lightly.
Water Propagation (for smaller offsets or if you’re feeling adventurous)
While less common for large stem sections of this cactus, if you have small offsets that have naturally broken off, or you want to try propagating a very small stem tip, water can work.
- Prepare Your Cutting: Similar to stem cuttings, let any small offsets or stem tips callus over for a few days. You don’t need a full week here, just enough to see a dry surface.
- Place in Water: Get a clean jar or glass and fill it with fresh water. Carefully place the callused end of your cutting into the water. Ensure no part of the cactus flesh is submerged – just the very tip where roots will form. You can prop it up with small stones or toothpicks if needed.
- Change Water Regularly: Change the water every few days to keep it fresh and prevent bacterial growth.
- Watch for Roots: With luck, you’ll start to see tiny white roots forming in a few weeks. Once the roots are about an inch long, carefully transition it to soil as described in the stem cutting method. Let it acclimate to soil by watering very sparingly at first.
The “Secret Sauce” (Pro Tips)
- Bottom Heat is Your Friend: If you can, place your planted cuttings on a gentle seedling heat mat. This little bit of warmth radiating from below encourages root development like nothing else. It mimics the warmth of the summer soil beautifully.
- Don’t Overcrowd: When propagating multiple cuttings in one pot, give them a little space. They need air circulation to prevent fungal issues, and more importantly, they need room to develop their roots without competing too much.
- Talk to Them (Just Kidding… Mostly!): Okay, maybe not literally, but check on them regularly without disturbing them. A gentle poke at the base might tell you if it feels a bit more stable, indicating roots are forming. But patience is key here – resist the urge to tug and check constantly!
Aftercare & Troubleshooting
Once you see new growth and your cutting feels firmly rooted, you can begin treating it like a mature Pilosocereus polygonus. Water thoroughly when the soil is completely dry, and provide plenty of bright, indirect sunlight.
Now, about those pesky problems. The biggest enemy of any cactus cutting is rot. If you see your cutting turning mushy, black, or smelling unpleasant, it’s a strong sign of rot. This is usually due to overwatering or not letting the cutting callus properly. If you catch it early, you might be able to cut away the rotted section, let the healthy part callus again, and replant. If it’s too far gone, sadly, it’s time to start over.
Another sign things aren’t going well is if the cutting simply shrivels up without any signs of rot. This can happen if the environment is too dry or if the cutting was taken from a stressed plant.
A Encouraging Closing
Propagating Pilosocereus polygonus is such a rewarding journey. It takes a bit of patience and a keen eye, but seeing those fuzzy stems take root and grow into new cacti is incredibly satisfying. Don’t be discouraged if your first few attempts aren’t perfect. Every gardener has had their share of “oops” moments! Just keep learning, keep trying, and most importantly, enjoy the process of bringing more of these wonderful plants into your life. Happy growing!
Resource: