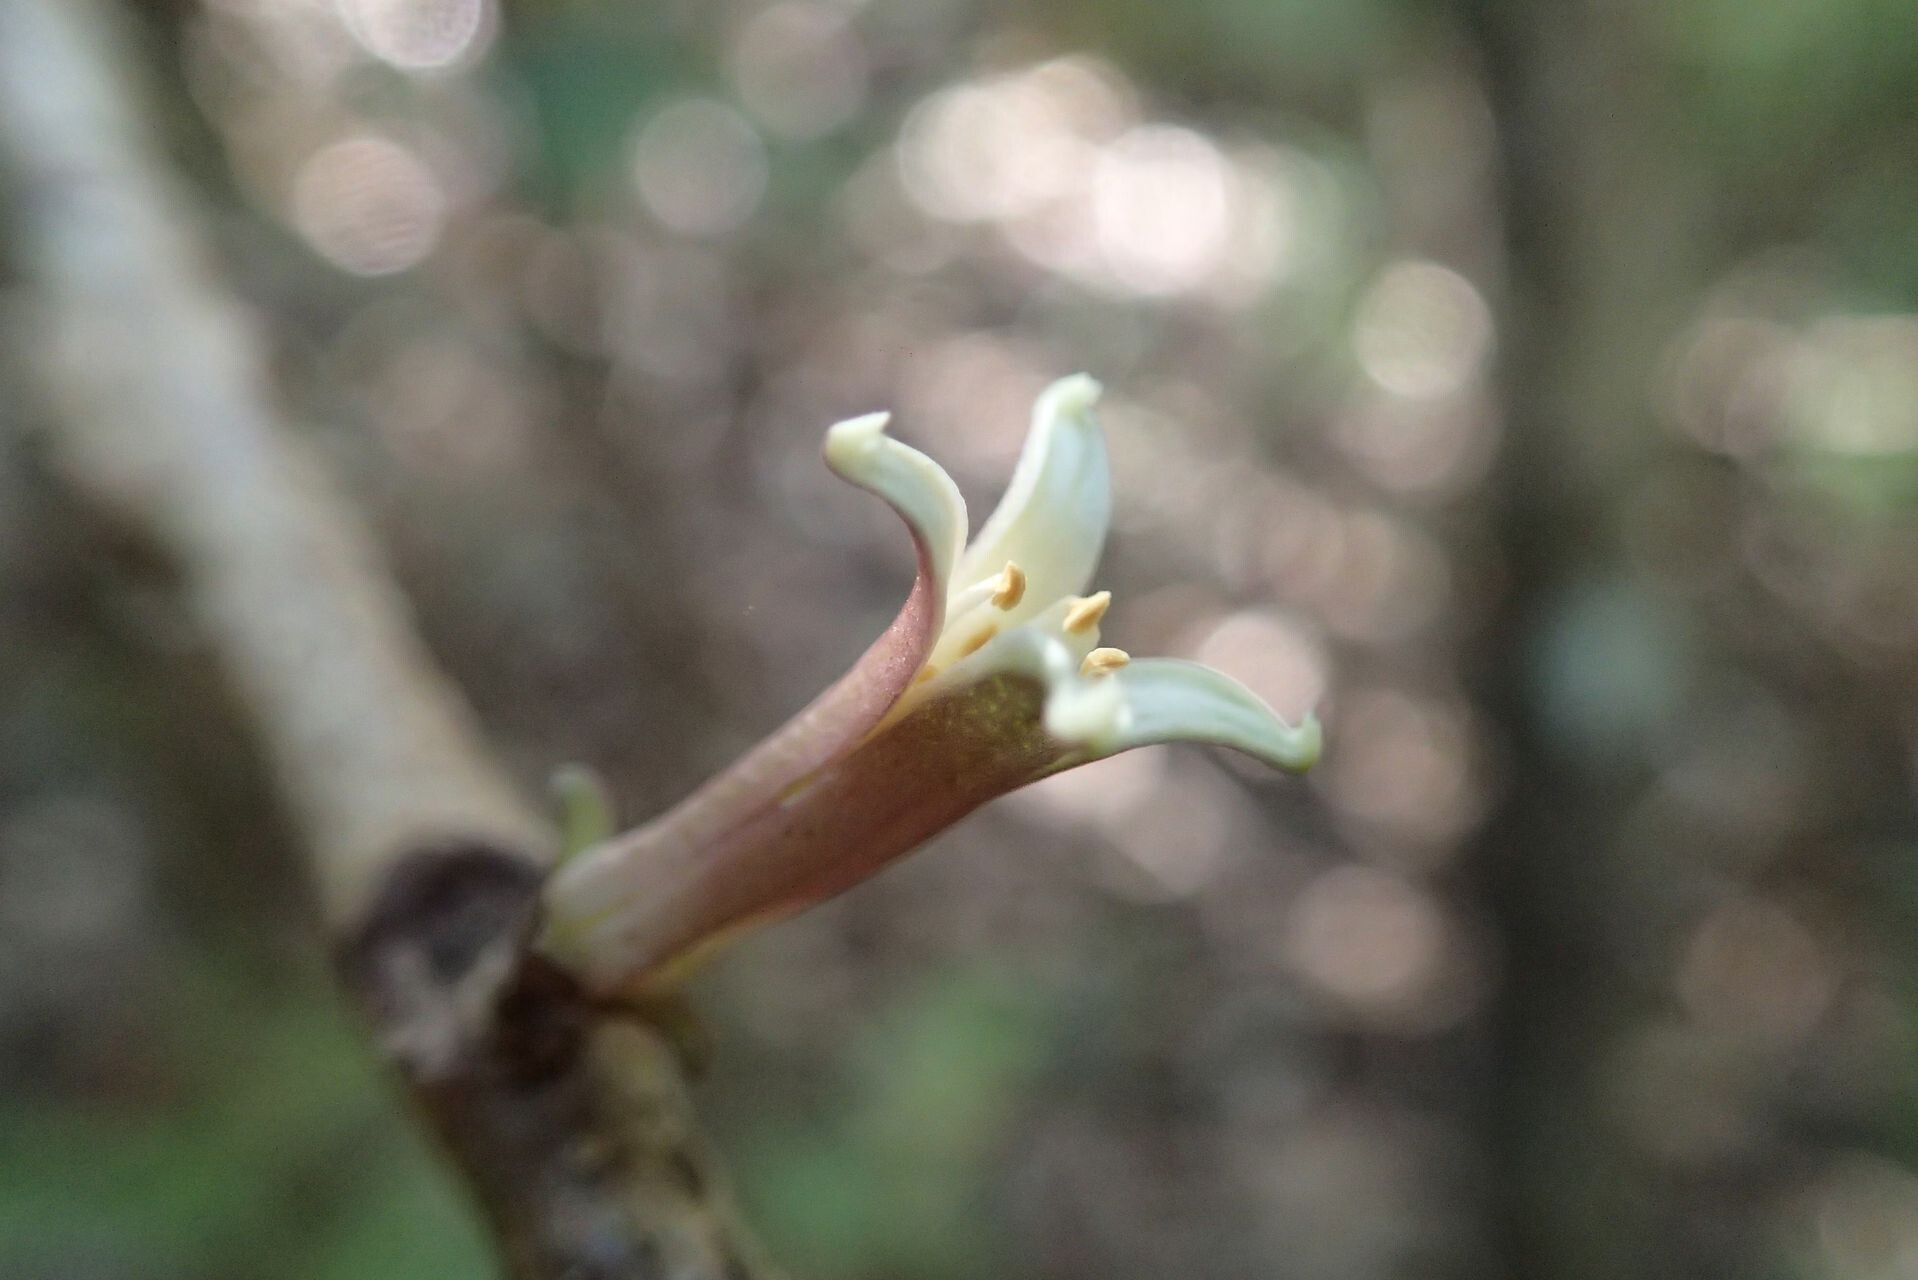
Hello fellow plant lovers! I’ve got such a treat for you today. We’re diving into the world of Melicope lasioneura, a plant that’s truly captured my heart. If you’re looking for something a little different, with beautiful foliage and a subtle, sweet fragrance, this is it. Propagating your own Melicope is incredibly rewarding, and while it might seem a touch intimidating at first, I promise, with a little guidance, you’ll be well on your way to a whole new batch of these beauties. For beginners, I’d say it’s moderately easy, but definitely achievable with some care!
The Best Time to Start
Timing is everything in the garden, and for Melicope lasioneura, the sweet spot is during its active growing season. Think late spring through early summer. This is when the plant has the most energy to put into producing new roots. You’ll want to take cuttings from stems that are semi-hardwood. This means they’re not brand new and floppy, but not old and woody either. They should feel firm but still have a bit of flexibility to them.
Supplies You’ll Need
Before we get our hands dirty, let’s gather our tools:
- Sharp pruning shears or a clean, sharp knife: For making clean cuts, which is crucial.
- Rooting hormone (optional but recommended): I find it really gives cuttings that extra boost.
- Small pots or propagation trays: Make sure they have drainage holes!
- A well-draining potting mix: A mix of perlite, peat moss, and a little bit of compost works wonders. About a 1:1:1 ratio is a good start.
- Watering can or spray bottle: For keeping things moist.
- Clear plastic bag or a propagator lid: To create a humid environment.
- Labels: Don’t forget to label what you’ve propagated and when!
Propagation Methods
I’ve found that stem cuttings are the most reliable way to go with Melicope lasioneura. Here’s how I do it:
- Take Your Cuttings: Using your sharp shears or knife, select healthy, semi-hardwood stems. Aim for cuttings that are about 4-6 inches long. Make your cut just below a leaf node (where a leaf attaches to the stem). This is where the magic of root development often happens!
- Prepare the Cuttings: Gently remove the lower leaves from your cuttings. You want to leave just a couple of leaves at the very top to help with photosynthesis. If the remaining leaves are very large, you can even cut them in half to reduce water loss.
- Apply Rooting Hormone (Optional): Dip the cut end of each stem into your rooting hormone powder, tapping off any excess.
- Plant Your Cuttings: Fill your pots or trays with your prepared potting mix. Make a small indentation in the center of each. Gently push the cut end of each cutting into the soil, about 1-2 inches deep. Gently firm the soil around the base to ensure good contact.
- Water and Cover: Water the soil thoroughly until you see water draining from the bottom of the pot. Then, cover the pots with a clear plastic bag or place them in a propagator with a lid. This creates a mini-greenhouse effect, keeping the humidity high, which is essential for cuttings that don’t yet have roots.
The “Secret Sauce” (Pro Tips)
Now, for a couple of my little tricks that I’ve learned over the years:
- Bottom Heat is Your Friend: If you can, place your pots on a heated propagation mat. This gentle bottom warmth really encourages root development. It mimics the warmth of summer soil and gives those little root initiators a significant kickstart.
- Don’t Let Those Leaves Drip: When you water, be mindful that the leaves of your cuttings don’t sit in standing water inside the plastic bag or tray. If they do, it can encourage fungal diseases and rot. A gentle misting is often better than heavy watering once they’re covered.
Aftercare & Troubleshooting
Once your cuttings are planted, keep them in a bright, indirect light location. Avoid direct sun, which can scorch those precious young leaves. Keep the soil consistently moist but not waterlogged. Check it with your finger regularly. After about 4-8 weeks, you should start to see signs of new growth, like tiny new leaves appearing at the top. This indicates that roots have formed! You can gently tug on a cutting – if there’s resistance, you’ve got roots!
The most common issue you might encounter is rot. If you see your cuttings turning mushy or black, it’s usually a sign of too much moisture and not enough air circulation. Remove the affected cuttings immediately. If a cutting looks completely dead, with no signs of life after a few months, don’t be disheartened. It happens to all of us!
A Warm Wrap-Up
Propagating plants is a journey, a beautiful dance between nature and patience. Don’t get discouraged if every cutting doesn’t make it. Celebrate the successes, learn from the challenges, and most importantly, enjoy the process of nurturing new life. Happy gardening!
Resource: