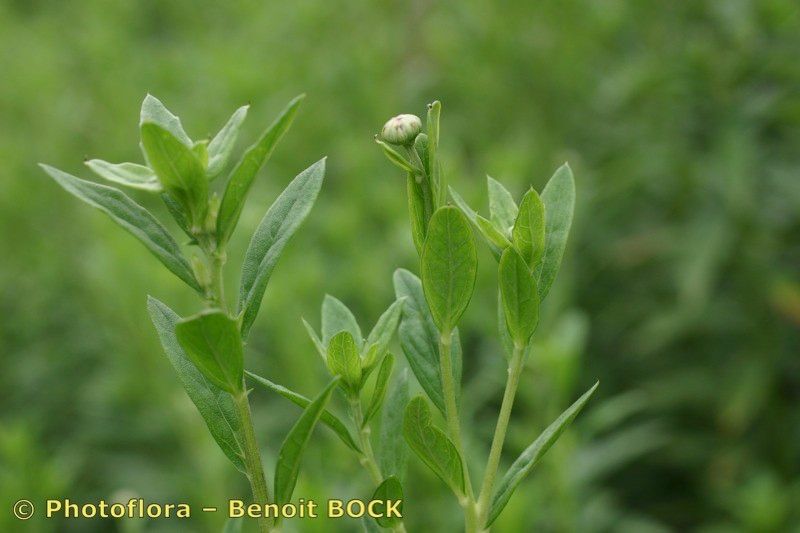
Oh, Leucanthemella serotina! I just love these late-blooming beauties. They bring such a cheerful, daisy-like presence to the garden when other flowers are starting to fade. Their delicate white petals and sunny yellow centers are like a little burst of summer sunshine in the autumn. Propagating them is a wonderful way to fill your garden with more of that joy, and honestly, I find them quite forgiving. Even if you’re new to the gardening game, you might find this a lovely place to start.
The Best Time to Start
For Leucanthemella serotina, I’ve found the sweet spot is late spring to early summer. This is when the plants are actively growing, bursting with energy after winter. You want to catch them before they start putting all their effort into blooming. Taking cuttings or dividing them during this vigorous growth phase gives them the best chance to establish themselves quickly.
Supplies You’ll Need
Here’s what I usually gather when I’m ready to get propagating:
- Sharp pruning shears or a clean knife: For making nice, clean cuts.
- Rooting hormone (optional but helpful): A little boost can speed things up.
- Potting mix: A well-draining mix is crucial. I often use a blend of perlite or gritty sand with good quality potting soil.
- Small pots or trays: Clean ones, of course!
- Watering can or spray bottle: For gentle watering.
- Labels and a marker: To keep track of what you’ve planted.
Propagation Methods
There are a couple of tried-and-true ways to get more Leucanthemella serotina.
Stem Cuttings
This is my go-to method, and it’s quite straightforward.
- Find a healthy stem: Look for a young, non-flowering stem that’s at least 4-6 inches long.
- Make the cut: Using your clean shears or knife, make a clean cut just below a leaf node. This is where roots are most likely to form. Remove the lower leaves, leaving just a few at the top.
- Apply rooting hormone (if using): Dip the cut end into the rooting hormone powder.
- Plant the cutting: Insert the end of the cutting into your prepared potting mix. Gently firm the soil around it.
- Water and cover: Water the pot thoroughly but gently. You can place a plastic bag or a clear dome over the pot to create a mini-greenhouse. This keeps the humidity high, which is essential for cuttings to root.
Division
If your plants are looking a bit crowded, division is a fantastic way to get more plants and rejuvenate the parent.
- Dig up the plant: In late spring or early summer, carefully dig up the entire clump.
- Gently separate: Using your hands or a trowel, gently pull or cut the root ball into sections. Each section should have some healthy roots and at least a few shoots.
- Replant immediately: Plant the divisions into their new spots in the garden or into pots filled with fresh soil. Water them well to help them settle in.
The “Secret Sauce”
Here are a couple of things I’ve learned over the years that really make a difference:
- Don’t use old wood: When taking cuttings, always aim for soft, new growth. Woody stems from older parts of the plant are much harder to root.
- Bottom heat is your friend: If you can, place your pots on a heated propagator mat. This gently warms the soil from below, encouraging faster root development. It’s like giving cuttings a cozy warm bed!
Aftercare & Troubleshooting
Once your cuttings have rooted (you can gently tug on them – if there’s resistance, they’ve got roots!) or your divisions are planted, the real gardening journey begins.
- Watering: Keep the soil consistently moist but not waterlogged. For cuttings, especially those under cover, check the moisture level frequently. For divisions, water them in well and monitor their needs as they establish.
- Light: Place your newly potted cuttings in a bright spot out of direct, harsh sunlight. A bit of dappled shade is perfect.
- Acclimation: If you’ve used a plastic cover for your cuttings, gradually introduce them to the open air before removing the cover completely. Do this over a few days.
The main pest you might encounter is rot. If you see your cuttings wilting, turning mushy, or developing dark spots, it’s usually a sign of too much moisture or poor drainage. Act quickly by removing affected parts and ensuring better air circulation and less water. Sometimes, it’s just a matter of giving them more time. Not all cuttings will take, and that’s perfectly okay.
A Little Patience Goes a Long Way
Propagating plants is a joy. It’s about fostering new life and expanding the beauty in your garden. Don’t get discouraged if every single cutting doesn’t make it. Each attempt is a learning experience, and the successes are incredibly rewarding. So grab your tools, get your hands in the soil, and enjoy the process of growing more of these delightful Leucanthemella serotina!
Resource:
https://identify.plantnet.org/k-world-flora/species/Leucanthemella%20serotina%20(L.)%20Tzvelev/data