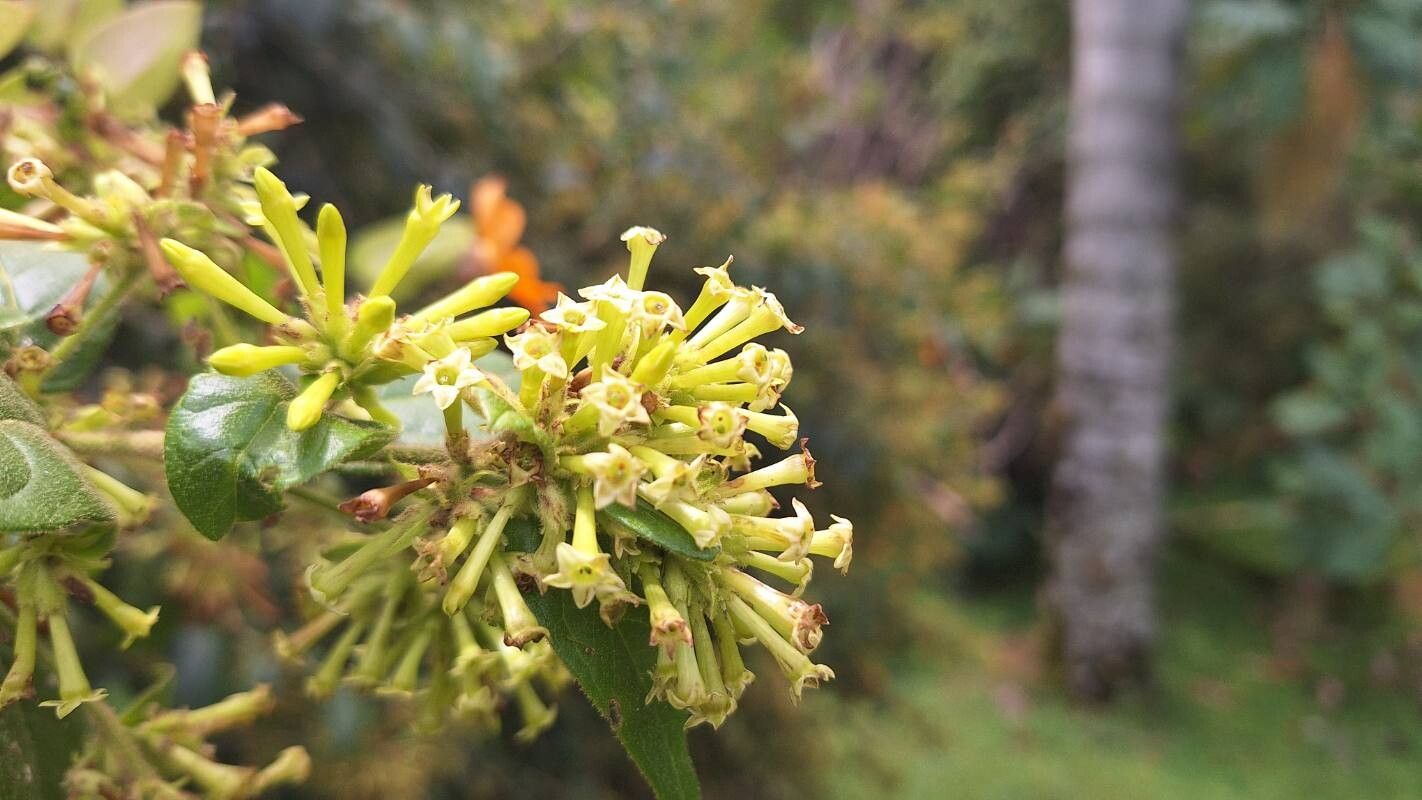
Hey there, fellow garden enthusiasts! It’s so good to be chatting with you today. If you’ve ever admired the vibrant blooms or lush foliage of Cestrum latifolium, also known as Chilean cestrum or wild cestrum, then you’re in for a treat. I’ve grown this beauty for years, and let me tell you, its sweet, intoxicating fragrance, especially in the evening, is simply divine. Plus, seeing those little plants you nurtured from a tiny piece of stem grow into established beauties is one of the most rewarding feelings in gardening.
Now, you might be wondering if Cestrum latifolium is a tricky plant to propagate. Honestly, I find it quite forgiving. It’s a plant that’s happy to share its gene pool, and with a little know-how, you’ll be well on your way to creating more of these wonderful specimens for your own garden or to share with friends.
The Best Time to Start
When it comes to getting the best bang for your buck with propagation, timing is everything. For Cestrum latifolium, the sweet spot is late spring or early summer. This is when the plant is actively growing and has plenty of energy to put into roots. You’re looking for semi-hardwood cuttings. These are stems that are no longer floppy and new like a spring shoot, but not yet as woody and mature as an older branch. Think of them as being somewhere in between – firm but still flexible.
Supplies You’ll Need
Gathering your supplies beforehand makes the whole process much smoother. Here’s what I usually have on hand:
- Sharp pruning shears or a clean knife: For making precise cuts.
- Rooting hormone: I prefer a powder, but gel works too. It really gives your cuttings a boost.
- Potting mix: A well-draining mix is crucial. I like to use a blend of peat moss or coco coir and perlite or coarse sand (about a 50/50 ratio). This prevents waterlogging, which is a common enemy of cuttings.
- Small pots or trays: Clean pots with drainage holes are a must.
- Plastic bags or a propagation dome: To create a humid environment.
- Water: For misting and watering.
- Labels: To remember what you’ve planted and when!
Propagation Methods
Let’s get our hands dirty! I typically go for stem cuttings for Cestrum latifolium, and it’s remarkably successful.
Stem Cuttings:
- Take Your Cuttings: Head out to your Cestrum latifolium plant after you’ve identified those perfect semi-hardwood stems. Using your clean pruning shears, take cuttings that are about 4-6 inches long. Make your cut just below a leaf node (where a leaf attaches to the stem).
- Prepare the Cuttings: Gently strip off the lower leaves from the bottom half of the cutting. You want to expose a few nodes where roots can form. You can also pinch off any flower buds if present, as these take energy away from root development.
- Apply Rooting Hormone: Dip the cut end of each cutting into your rooting hormone, tapping off any excess. This step significantly increases your chances of success.
- Plant the Cuttings: Fill your clean pots with your prepared well-draining potting mix. Make a small hole in the center of the mix with your finger or a pencil. Insert the prepared cutting into the hole, ensuring the nodes where you removed the leaves are below the soil surface. Gently firm the soil around the cutting.
- Water and Cover: Water the soil thoroughly until it’s evenly moist, but not soggy. Then, cover the pots with a plastic bag or place them in a propagation dome. This will create the high humidity that cuttings need to thrive before they develop roots.
The “Secret Sauce” (Pro Tips)
Here are a few little tricks I’ve learned over the years that can really make a difference:
- Bottom Heat is Your Friend: If you can, place your pots on a gentle heating mat. This encourages root formation from below, giving your cuttings a significant advantage, especially if your ambient temperatures aren’t super warm.
- Don’t Let Leaves Touch the Water (if water propagating): While I primarily recommend soil propagation for Cestrum latifolium, if you decide to try a few in water, be meticulous about keeping the leaves above the water line. Submerged leaves are a fast ticket to rot.
- Cleanliness is Key: I can’t stress this enough. Sterilize your tools before you start and ensure your pots are clean. This prevents the spread of diseases that can wipe out your precious cuttings.
Aftercare & Troubleshooting
Once your cuttings are planted, place them in a bright spot with indirect sunlight. Avoid harsh, direct sun, which can scorch the leaves. Keep the soil consistently moist but not waterlogged. A good way to check is to lightly press your finger into the soil; if it springs back, it’s probably a good moisture level.
You should start to see signs of rooting in 4-8 weeks. You can gently tug on a cutting; if there’s resistance, roots are forming. Once you see new leaf growth, that’s another great sign! At this point, you can gradually acclimate them to lower humidity by opening the plastic bag or dome a bit more each day.
If your cuttings turn brown and shrivel, or if they develop a slimy feel and smell, that’s usually a sign of rot. This often happens due to overwatering or poor drainage. Don’t be discouraged if some don’t make it – it’s all part of the learning process. Sometimes, if the rot isn’t too advanced, you can salvage a cutting by trimming off the rotten parts and trying again in fresh, dry medium.
A Bittersweet Goodbye (For Now!)
So there you have it! Propagating Cestrum latifolium is a truly rewarding endeavor. Be patient, keep those cuttings moist and humid, and before you know it, you’ll have a collection of these fragrant beauties. Don’t be afraid to experiment and learn from each attempt. Happy propagating, and I hope your gardens are bursting with life!
Resource:
https://identify.plantnet.org/k-world-flora/species/Cestrum%20latifolium%20Lam./data