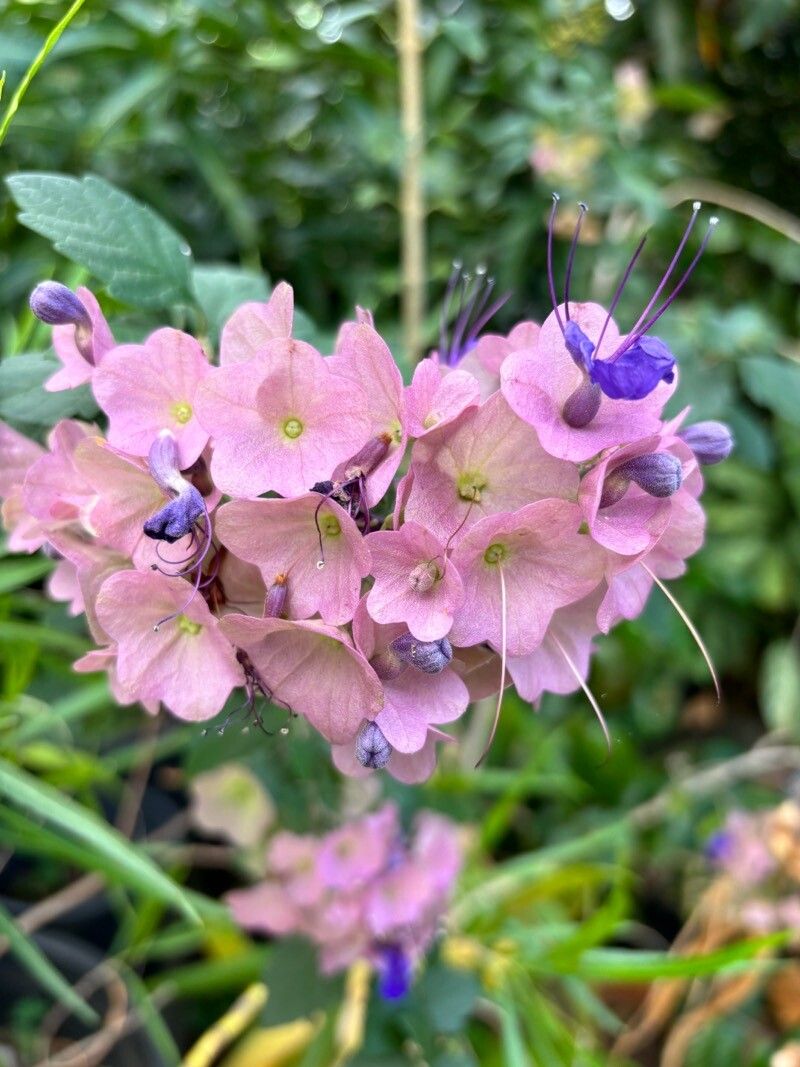
Hello, fellow garden enthusiasts! Today, I want to talk about a truly magnificent plant: Karomia speciosa, often known as the Cape Mallow or Sugar Bush. Its delicate, star-shaped flowers, often in shades of pink and lavender, are just a joy to behold, and trust me, having more of them is always a good thing. Propagating Karomia speciosa is a wonderfully rewarding endeavor, a chance to fill your garden (or a friend’s!) with its charm. While it’s not rocket science, it does require a little patience and the right approach. Don’t be discouraged if your first try isn’t perfect; gardening is a journey, and we learn as we go.
The Best Time to Start
For the happiest Karomia speciosa, your best bet is late spring or early summer. This is when the plant is in its active growth phase, meaning it has more energy to put into developing roots. You’ll want to select stems that are semi-hardwood – think of them as not too young and floppy, but not old and woody either. They should snap cleanly when bent, not just bend over.
Supplies You’ll Need
Here’s what I always have on hand when I’m about to get my hands dirty propagating:
- Sharp Pruning Shears or a Knife: Cleanliness is key to preventing disease.
- Rooting Hormone (Optional but Recommended): A little boost can make a big difference. Look for one with a rooting stimulant like IBA.
- Well-Draining Potting Mix: A good quality mix of peat moss and perlite or horticultural sand works wonders. You want something that doesn’t hold excess moisture.
- Small Pots or Trays: Clean ones, of course!
- Plastic Bags or a Propagator: To create a humid environment.
- Labels: Don’t forget to label your cuttings, especially if you’re trying different methods!
- A Watering Can with a Fine Rose: For gentle watering.
Propagation Methods
Let’s get down to business! My favorite and most reliable method for Karomia speciosa is stem cuttings.
Stem Cuttings – My Go-To:
- Select Your Stems: As I mentioned, look for those semi-hardwood stems in late spring or early summer. Aim for pieces about 4-6 inches long.
- Prepare the Cuttings: Carefully remove the lower leaves from your cuttings. You want to leave just a couple of leaves at the very top. This prevents the leaves from rotting when they’re buried in the soil.
- Dip in Rooting Hormone (Optional): If you’re using rooting hormone, dip the cut end of each cutting into the powder. Tap off any excess.
- Plant the Cuttings: Make a hole in the potting mix with a pencil or your finger. This prevents the rooting hormone from rubbing off. Then, insert the cutting into the hole and gently firm the soil around it.
- Create Humidity: This is crucial! Water the soil gently until it’s moist but not soggy. Then, cover the pot or tray with a plastic bag or place it in a propagator. This traps moisture and keeps the humidity high, which is vital for cuttings to root. You can prop up the bag with stakes so it doesn’t touch the leaves.
The “Secret Sauce” (Pro Tips)
Here are a few little tricks I’ve picked up over the years that can really boost your success rate:
- Bottom Heat is Your Friend: If you have access to a heat mat, placing your tray of cuttings on it can significantly speed up root development. It mimics that lovely warm soil feeling that plants adore.
- Don’t Disturb Too Soon: Resist the urge to constantly tug on your cuttings to see if they have roots. You’ll only damage tender new growth. Give them at least 4-6 weeks before you even think about checking. Look for signs of new leaf growth instead – that’s a strong indicator they’re rooting.
Aftercare & Troubleshooting
Once you start seeing tiny leaves emerging (hooray!), it’s time for a bit of aftercare.
- Acclimatization: Gradually reduce the humidity over a week or so. Start by opening the propagator or bag for a few hours each day. This helps the new plants adjust to normal air conditions.
- Watering: Keep the soil consistently moist but never waterlogged. Water from the bottom if you can, as this encourages root growth downwards.
- Light: Place your new cuttings in a bright spot, but avoid direct, harsh sunlight, especially initially. Dappled shade is perfect.
Now, let’s talk about what happens if things don’t go as planned. The most common culprit is rot. If your cuttings turn black and mushy, it’s usually a sign of too much moisture and not enough air circulation. In this case, unfortunately, they’re likely lost.
Another sign that things aren’t working is if the cuttings just shrivel up and die without any signs of new growth. This could be due to insufficient humidity, too much direct sun, or simply that they weren’t ready when you took them. Don’t beat yourself up! Just clean up, review your steps, and try again.
A Little Patience Goes a Long Way
So there you have it! Propagating your own Karomia speciosa is a truly satisfying experience. It takes a bit of a gentle touch and a watchful eye, but the rewards are so worth it. Be patient, enjoy the process of nurturing these tiny new plants, and soon you’ll have a whole garden bursting with their beautiful blooms. Happy propagating!
Resource: