Hello there, fellow plant enthusiasts! It’s wonderful to have you join me today as we delve into the rewarding world of propagating Neea elegans.
Why Propagate Neea elegans?
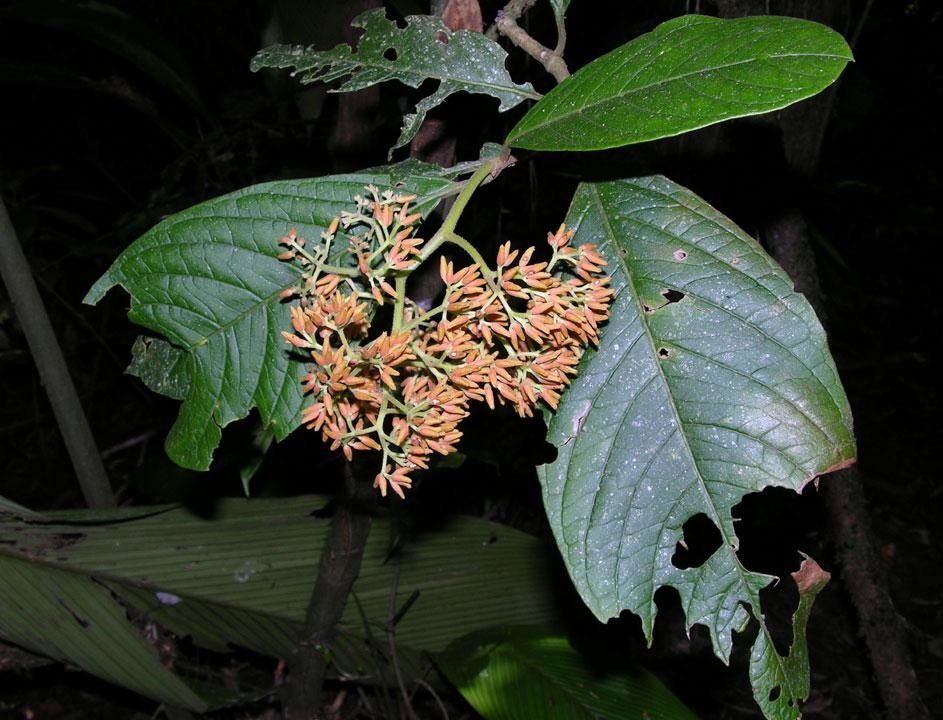
I’ve always adored Neea elegans for its delicate, star-shaped white flowers and its lovely, somewhat cascading habit. It brings a touch of ethereal beauty to any space, whether it’s gracing a sunny windowsill indoors or adding charm to a garden bed in warmer climes. And the joy of growing a whole new plant from a tiny piece of your beloved one? Pure magic! My experience tells me that Neea elegans is moderately easy to propagate. It’s not quite as foolproof as a pothos, but with a little attention, you’ll be well on your way to success.
When the Time is Right
The absolute best time to get your propagation projects underway with Neea elegans is during its active growing season. That typically means late spring through early summer. You want to be taking cuttings when the plant is healthy, vigorous, and putting on new growth. Avoid propagating from very old, woody stems or when the plant is stressed from heat or drought.
What You’ll Need
Let’s gather our tools! Having everything on hand makes the process so much smoother.
- Sharp Pruning Shears or a Clean Knife: For making clean cuts. Sterilize them with rubbing alcohol first!
- Rooting Hormone (Optional but Recommended): A powdered or liquid hormone can significantly boost your success rate.
- A Well-Draining Potting Mix: I like a blend of equal parts perlite and peat moss or coco coir, or a good quality seed-starting mix.
- Small Pots or Seedling Trays: Clean, small containers are perfect for cuttings.
- Plastic Bags or a Clear Propagator: To create a humid environment.
- Water: For a quick dip or for water propagation.
- Labels and a Marker: To keep track of your projects!
Let’s Get Growing: Propagation Methods
Neea elegans is most commonly propagated from stem cuttings. It’s a straightforward method that yields excellent results.
- Take Your Cuttings: Select healthy, non-flowering stems that are about 4-6 inches long. Make a clean cut just below a leaf node (where the leaf meets the stem). Remove the leaves from the bottom half of the cutting.
- Prepare for Rooting: If you’re using rooting hormone, dip the cut end of the stem into the powder or liquid, tapping off any excess.
- Potting Up: Gently insert the treated end of the cutting into your pre-moistened potting mix. Make sure at least one leaf node is buried beneath the surface.
- Create Humid Conditions: Water the potting mix lightly. Then, either cover the pot with a clear plastic bag (making sure the leaves don’t touch the sides) or place it inside a mini greenhouse or propagator. This traps humidity, which is crucial for cuttings to root.
- Placement is Key: Position your pots in a bright location but out of direct sunlight. Consistent warmth is also important; a sunny windowsill that doesn’t get scorching hot is usually ideal.
For a quicker start, you can also try water propagation with Neea elegans. Simply take your cuttings (following step 1 above) and place them in a jar or vase of clean water. Ensure no leaves are submerged. Change the water every few days to keep it fresh. Once you see little roots forming, you can carefully pot them up into the well-draining mix.
My “Secret Sauce” Tips
After years of coaxing little plants into existence, I’ve picked up a few tricks that seem to make all the difference.
- The Importance of the Leaf Node: Always make your cut below a leaf node. This is where the plant is most likely to initiate root development. Don’t skimp on this detail!
- Bottom Heat is Your Friend: If you can, place your pots on a gentle heating mat. This provides consistent warmth to the base of the cuttings, encouraging faster root formation. It’s a game-changer, especially if your home is on the cooler side.
- Don’t Mist Aggressively: While humidity is vital, over-misting the leaves can actually encourage fungal issues. The plastic bag or propagator method is often more consistent and safer than frequent misting.
Aftercare and What to Watch For
Once your cuttings have developed a good root system (you can gently tug on them; if there’s some resistance, they’ve likely rooted), it’s time to transition them to their own small pot. Continue to keep them in a bright, indirect light and water when the top inch of soil feels dry. Gradually acclimate them to lower humidity levels by opening the plastic bag a little more each day over a week or two.
The most common issue you’ll encounter is rot. If a cutting turns black and mushy, it’s often a sign that it was too wet, lacked air circulation, or wasn’t in a warm enough environment. If you see this, remove the affected cutting immediately to prevent it from spreading to others. Sometimes, a cutting may simply fail to root; this is also a normal part of the process. Don’t despair if a few don’t make it!
Keep the Green Thumbs Rolling!
Propagating plants, especially beautiful ones like Neea elegans, is a journey of patience and observation. There’s such incredible satisfaction in nurturing a new life from a tiny cutting. So, gather your supplies, take a deep breath, and enjoy the process. Happy growing!
Resource:
https://identify.plantnet.org/k-world-flora/species/Neea%20elegans%20P.H.Allen/data