Oh, hello there, fellow garden enthusiast! I’m so glad you’re here. Today, we’re going to talk about a truly exquisite plant: Camellia euphlebia.
A Camellia Worth Cuddling
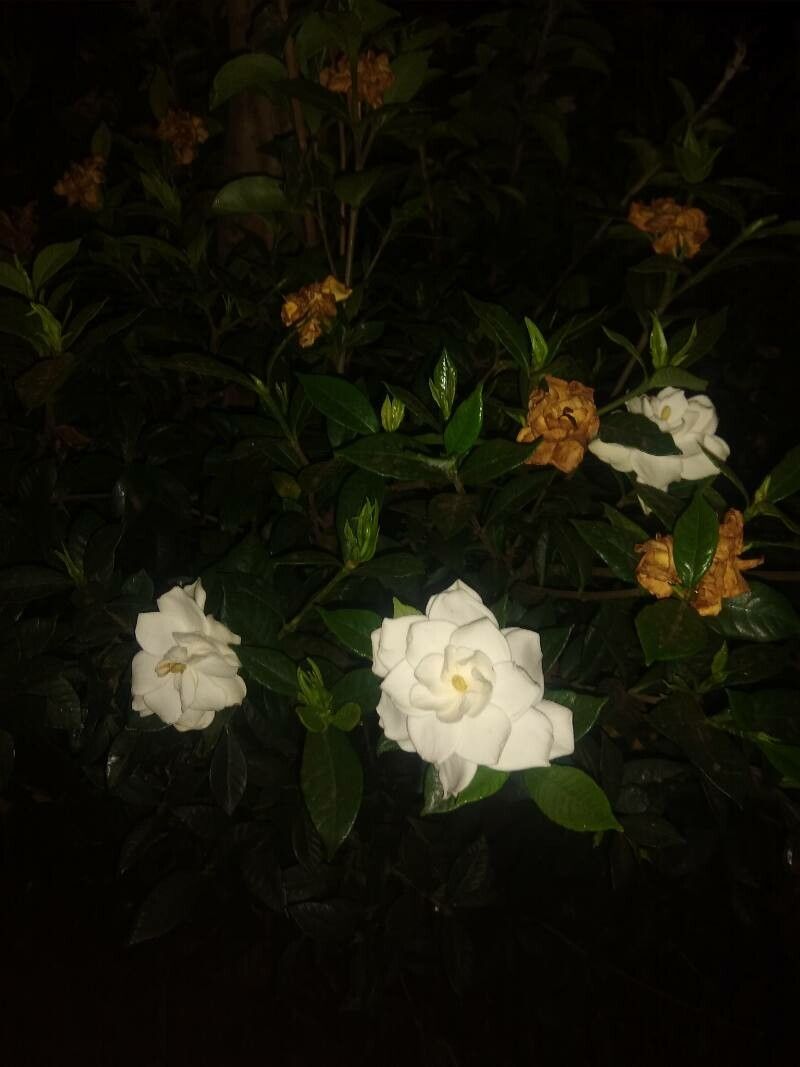
There’s something so elegant about camellias, isn’t there? Their glossy leaves and those beautiful, often fragrant blooms… Camellia euphlebia is no exception, with its delicate, ruffled flowers that can just brighten any corner. Propagating your own makes it even more special. It’s like growing a piece of your garden dream, one cutting at a time. Now, I’ll be honest, camellias can be a little particular, but don’t let that intimidate you. With a bit of patience and these tips, we can coax them into making little babies for us. It’s a rewarding journey, and I’m excited to guide you through it.
The Sweet Spot for Starting
When it comes to getting new camellias going, timing is everything. My favorite time to take cuttings is in late spring to early summer. This is when the plant is actively growing, meaning the stems are fresh and full of life, giving them a good chance to root. Look for new shoots that have started to harden off a bit – they should snap cleanly when bent, not just flop over. This “semi-hardwood” stage is usually your best bet.
What You’ll Need to Get Growing
Gathering your supplies beforehand makes the whole process smoother. Here’s what I always have on hand:
- Sharp Pruning Shears or a Knife: Clean cuts are crucial!
- Rooting Hormone: A powder or gel to give your cuttings a little boost.
- Well-Draining Potting Mix: I like a mix of perlite, peat moss, and a bit of grit. You can also buy specific camellia or azalea mixes.
- Small Pots or Trays: With drainage holes, of course!
- Plastic Bags or Propagation Dome: To keep humidity high.
- Watering Can with a Fine Rose: For gentle watering.
- Labels: To keep track of what’s what!
Let’s Get Our Hands Dirty: Propagation Methods
While camellias can be a touch tricky, stem cuttings are usually the most successful method for home gardeners. Here’s how I do it:
- Take Your Cuttings: Select healthy, non-flowering stems from your chosen Camellia euphlebia. Aim for pieces about 4-6 inches long. Make a clean cut just below a leaf node (where a leaf attaches to the stem). Remove the lower leaves, leaving just a few at the top.
- Apply Rooting Hormone: Dip the cut end of the stem into your rooting hormone. Swirl gently to coat, then tap off any excess.
- Pot Them Up: Fill your small pots with the well-draining potting mix. Make a hole in the center with your finger or a pencil, and insert the cutting. Gently firm the soil around it.
- Water Gently: Water your cuttings thoroughly but gently so the soil is moist but not waterlogged.
- Create a Humid Microclimate: Cover the pots with a plastic bag, ensuring the leaves don’t touch the sides, or place them under a propagation dome. This traps moisture, which is vital for rooting.
- Find a Suitable Spot: Place your pots in a bright location that receives indirect sunlight. Avoid direct sun, which can scorch the cuttings.
The “Secret Sauce” from My Garden
Over the years, I’ve learned a few tricks that seem to make all the difference with camellias:
- The Water Dip Trick: Before potting, I sometimes dip the cut end of the stem in water for a few minutes, then apply the rooting hormone. It seems to help the hormone adhere better.
- Embrace Bottom Heat: This is a game-changer! Placing your pots on a heated propagation mat provides gentle warmth to the base of the cuttings. This encourages root development and can significantly speed up the process. It’s like giving them a little thermal hug.
Nurturing Your New Green Thumbs: Aftercare & Troubleshooting
Once you’ve potted up your cuttings, the waiting game begins. Resist the urge to constantly check for roots! I usually wait for at least 4-6 weeks before gently tugging on a cutting to see if it has resistance. If you feel a tug, congratulations! You’ve got roots!
- Gradual Acclimation: When roots have formed, it’s time to slowly introduce your new plant to normal conditions. Gradually increase its exposure to fresh air by opening the plastic bag or dome for longer periods each day over a week or so.
- First Transplant: Once the root system is well-established, you can transplant your new camellia into a slightly larger pot with fresh, rich potting soil.
- Watch for Rot: The most common problem you’ll encounter is rot. This usually happens if the soil stays too wet or the humidity is too high for too long without good air circulation. If you see wilting, yellowing leaves, or a blackening stem base, it’s likely rot. You might be able to save a cutting by trimming away the rotted parts and repotting it in fresh, drier soil, but often it’s a sign that conditions weren’t quite right. Don’t be discouraged if some don’t make it; it’s part of the learning process.
Keep Growing!
Propagating plants, especially the beautiful Camellia euphlebia, is a journey of patience and observation. Each cutting is a tiny experiment, and seeing those first tiny roots emerge is incredibly satisfying. Don’t be afraid to try, and even if your first attempts aren’t perfect, you’ll learn so much. Enjoy the process, and before you know it, you’ll have a whole collection of these gorgeous blooms to share! Happy gardening!
Resource:
https://identify.plantnet.org/k-world-flora/species/Camellia%20euphlebia%20Merr.%20ex%20Sealy/data