Oh, hello there! Come on in, grab a mug. Let’s chat about those darling Melaleuca pancheri. If you’re admiring those delicate, almost feathery leaves and wondering if you could have more of them gracing your own little green corner of the world, you’ve come to the right place.
Why Propagate Melaleuca Pancheri?
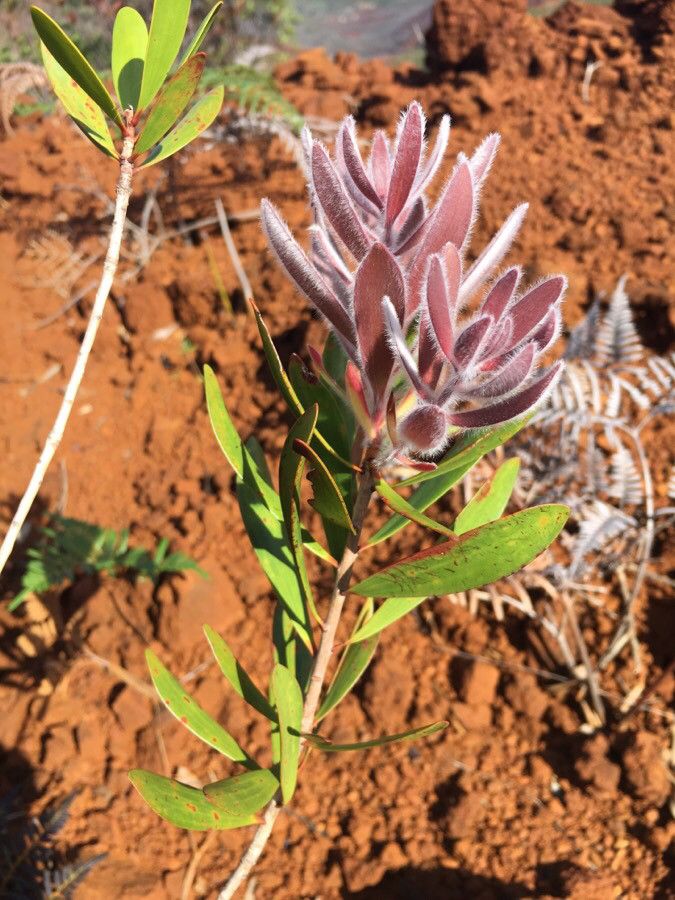
These Australian natives are just delightful, with their airy foliage and often charming, sometimes shaggy bark. They bring a touch of the wild to our gardens and patios. And the sheer satisfaction of watching a tiny snippet of a plant grow into a robust specimen? It’s a joy that never gets old. Now, are they a breeze for a total beginner? I’d say they’re moderately easy. They’re not as forgiving as, say, a pothos, but with a little attention, you’ll do wonderfully.
When to Get Your Hands Dirty
The absolute best time to try your hand at propagating Melaleuca pancheri is when it’s actively growing. That means late spring and early summer. The plant is full of vigor then, and cuttings taken during this period have the best chance of rooting. You want to avoid propagation when the plant is stressed, like during a heatwave or when it’s dormant in winter.
Your Propagation Toolkit
Here’s what you’ll want to gather before we begin:
- Sharp Pruning Shears or a Knife: Cleanliness is key!
- Rooting Hormone: Not strictly essential for every plant, but it definitely gives Melaleuca pancheri a helpful boost. Get one with a fungicide if you can.
- Well-Draining Potting Mix: A mix of perlite, peat moss, and a bit of coarse sand works wonders. You can also use a commercial seedling or propagation mix.
- Small Pots or Trays: With drainage holes, of course!
- Plastic Bags or a Clear Plastic Dome: To create a humid environment.
- Watering Can or Spray Bottle: For gentle watering.
- Labels: Trust me, you’ll thank yourself later!
Let’s Get Propagating!
There are a few ways to go about this, but stem cuttings are my go-to method for Melaleuca pancheri.
- Take Your Cuttings: Find a healthy, non-flowering stem on your Melaleuca pancheri. Using your clean pruning shears, cut a piece about 4-6 inches long. Make the cut just below a leaf node (where a leaf attaches to the stem).
- Prepare the Cutting: Gently remove the lower leaves from the stem, leaving just a few at the very top. This prevents them from rotting in the soil.
- Apply Rooting Hormone: Dip the cut end of the stem into your rooting hormone, tapping off any excess.
- Plant Your Cuttings: Fill your small pots or trays with your well-draining mix. Make a hole in the center of the soil with your finger or a pencil.
- Insert the Cutting: Gently push the prepared cutting into the hole, making sure the leaf nodes are buried in the soil. Firm the soil gently around the stem to ensure good contact.
- Water Gently: Water the soil lightly until it’s moist but not waterlogged.
- Create Humidity: This is crucial! Cover the pots with a plastic bag, ensuring the leaves don’t touch the plastic if possible. You can use stakes to hold the bag up. Alternatively, use a clear plastic dome.
- Place in Bright, Indirect Light: Find a spot that gets bright light but no direct sun. Too much sun will scorch those tender new cuttings.
The “Secret Sauce” of Success
Here are a couple of tricks I’ve learned over the years that really make a difference:
- Bottom Heat is Your Friend: Melaleuca pancheri absolutely loves a bit of warmth from below. If you have a seedling heat mat, place your pots on it. This encourages root development much faster. It’s like giving them a cozy, warm bed to grow those roots in.
- Air It Out Occasionally: While humidity is vital, don’t forget to open the plastic bag or dome for a few minutes each day to allow for some air circulation. This helps prevent fungal issues. Think of it as their daily breath of fresh air!
Aftercare and What to Watch For
Once your Melaleuca pancheri cuttings have started to root (you can gently tug on one – if there’s resistance, you’ve got roots!), it’s time to transition them.
- Gradually Acclimate: Slowly start removing the plastic cover over a week or two. You want to get them used to less humidity.
- Water When Topsoil is Dry: Continue to water gently, and let the top inch or so of soil dry out between waterings.
- Move to Larger Pots: Once your babies have a good root system and are pushing out new growth, transplant them into slightly larger pots with fresh potting mix.
Now, what if things go wrong? The most common culprit is rot. If your cuttings turn black and mushy at the base, it’s usually due to too much moisture and not enough air circulation. If this happens, discard the rotten cutting and review your watering and humidity levels. Sometimes, cuttings just don’t take, and that’s okay too! It’s part of the learning process.
Keep Growing!
Propagating plants is a journey, and with Melaleuca pancheri, you’re embarking on a really rewarding one. Be patient, enjoy the quiet moments tending to your little green charges, and celebrate every tiny new leaf and emerging root. Happy growing!
Resource: