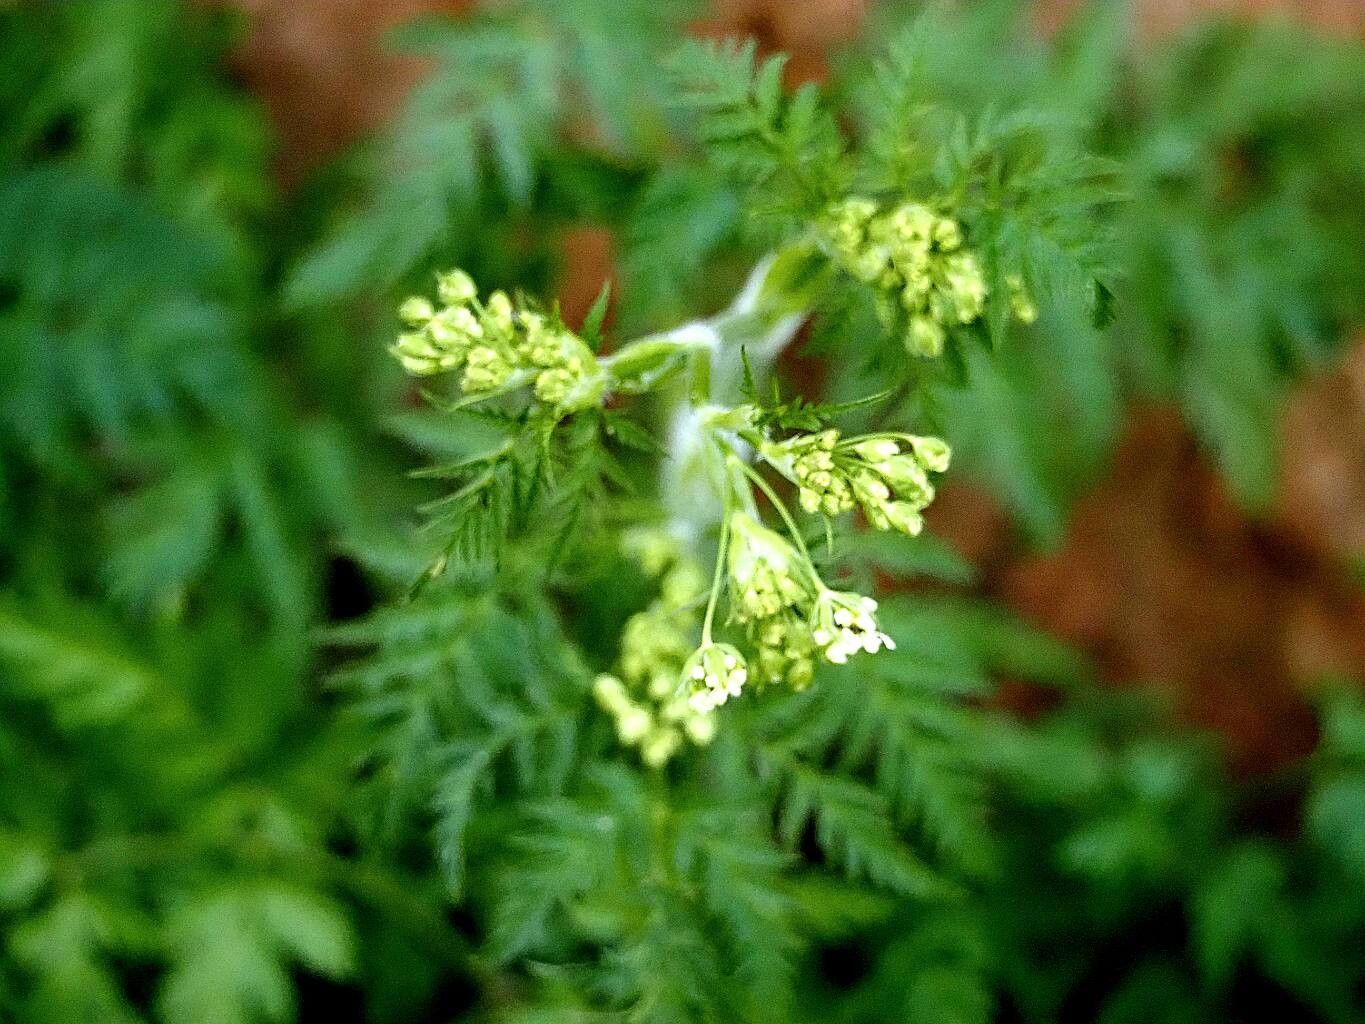
Hello fellow plant lovers! Today, we’re diving into the wonderful world of propagating Chaerophyllum bulbosum, also known as wild or turnip-rooted chervil. Now, I know what some of you might be thinking – “Is this one going to be tricky?” And I’m here to tell you, while it requires a bit of attention to detail, it is absolutely achievable and incredibly rewarding. Seeing those little roots emerge and a new plant begin its life is just pure magic, isn’t it? It’s a fantastic way to fill your garden or share your green thumb with friends.
The Best Time to Start
For Chaerophyllum bulbosum, the sweet spot for propagation is right after the plant has finished flowering and is starting to go to seed. This usually happens in late spring or early summer. The energy is still there, but the plant is naturally entering a phase where it’s ready to reproduce. Trying to propagate too early, when the plant is in full leafy growth, can sometimes be less successful.
Supplies You’ll Need
Gathering your supplies upfront makes the whole process smoother. Here’s what I always have on hand:
- Clean, sharp pruning shears or a clean knife: For making precise cuts.
- A well-draining potting mix: I like a blend of peat moss, perlite, and a little bit of compost. You want something that doesn’t hold too much moisture.
- Small pots or trays: Clean ones are crucial to prevent disease.
- Rooting hormone (optional but recommended): Especially if you’re new to this. It gives those cuttings a great boost.
- A spray bottle: For gentle misting.
- A small trowel or dibber: For making holes in the soil.
- Labels: To remember what you’ve planted and when!
Propagation Methods
While Chaerophyllum bulbosum can be grown from seed, division is generally the most reliable and straightforward method for propagating established plants. Here’s how I tackle it:
Dividing Established Plants:
- Gently excavate: In late spring or early summer (as mentioned above), when the plant is starting to fade, carefully dig around the base of your Chaerophyllum bulbosum plant. You want to lift the entire root ball from the soil. Try to disturb the roots as little as possible.
- Clean the roots: Gently brush or rinse away excess soil from the roots. This allows you to clearly see the individual crowns (where the stems emerge from the roots).
- Identify your divisions: Look for natural separation points. You should be able to see where one plant starts and another begins, often with its own set of roots and stems.
- Make the cut: Using your clean shears or knife, carefully separate the plant into smaller sections. Each division should have at least one healthy root system and a few emerging shoots or leaves. If a division seems fragile, don’t force it too much; aim for clean breaks.
- Replant immediately: Plant each division into its new home. Use your well-draining potting mix. Make sure the top of the root ball is level with the soil surface. Water them in gently.
The “Secret Sauce” (Pro Tips)
Here are a couple of things I’ve learned over the years that can really make a difference:
- Don’t let the roots dry out, even for a moment! Once you’ve dug up the plant for division, work quickly. If you have to pause, lightly cover the roots with damp newspaper or a tarp. Dry roots are a fast track to failure.
- Give them a little dappled shade. New divisions don’t like harsh, direct sun. Find them a spot that gets bright, indirect light for the first week or two as they recover and establish. This prevents them from drying out too quickly.
Aftercare & Troubleshooting
Once your divisions are nestled in their new pots or garden spots, keep the soil consistently moist, but not waterlogged. Think of it like a wrung-out sponge – damp, but not soggy. Avoid letting them dry out completely. As they start to show new growth, you know they’re settling in well!
The most common issue you might see is rot, which is usually a sign of too much moisture. If you notice soft, mushy stems or roots, it’s often a sign that the soil is too wet or the plant isn’t getting enough air circulation. In this case, you can try to carefully remove the rotted parts, replant in fresh, drier soil, and adjust your watering. Don’t be discouraged if a division doesn’t make it; sometimes nature has its own plans, and we learn from every experience.
A Encouraging Closing
Propagating Chaerophyllum bulbosum might take a little patience, but the sense of accomplishment is wonderful. Watch for those tiny new leaves unfurling, and know that you’ve helped grow new life. Happy gardening, and enjoy the journey!
Resource:
https://identify.plantnet.org/k-world-flora/species/Chaerophyllum%20bulbosum%20L./data