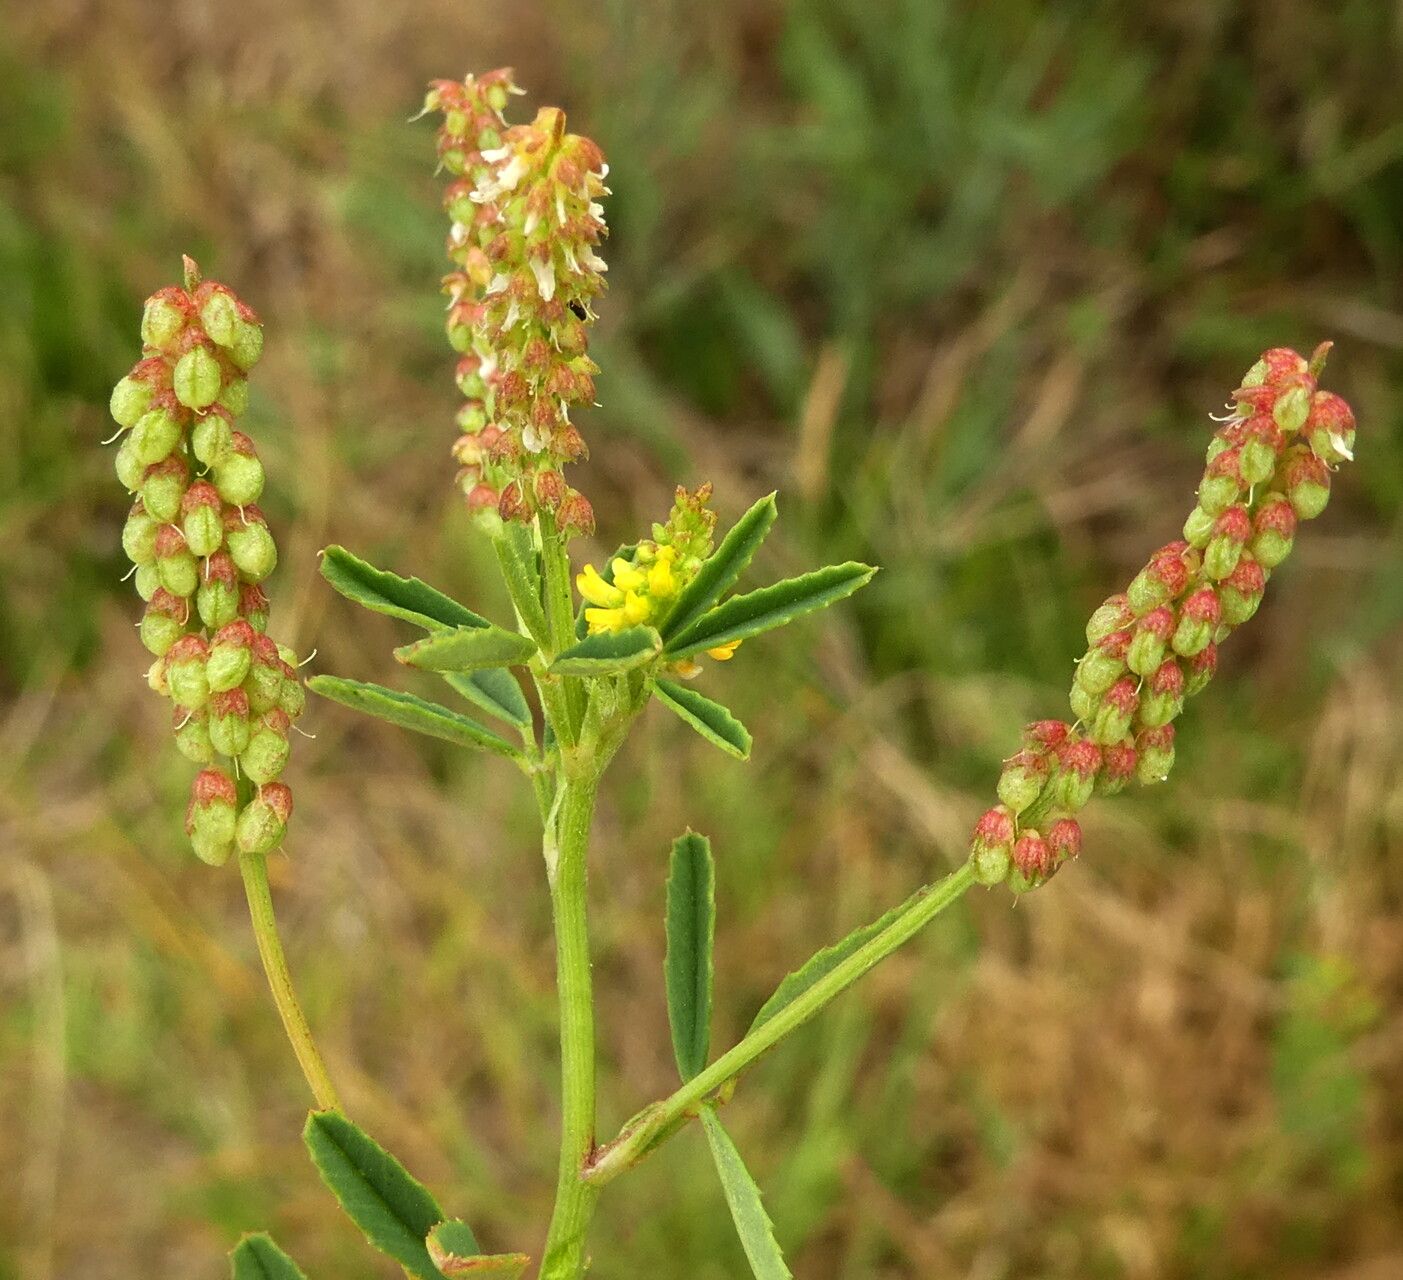
Oh, hello there, fellow plant lover! I’m so glad you’ve stopped by. Today, we’re diving into the charming world of Melilotus sulcatus, also known as Mediterranean sweet clover. If you’ve ever seen this beauty gracing a garden or a meadow, you’ll know its delicate, fragrant blooms and airy foliage are simply captivating. Propagating it yourself is a truly rewarding experience, and happily, for us gardeners, it’s generally quite accessible, even for those just starting their green-thumb journey.
The Best Time to Start
When it comes to getting new Melilotus sulcatus plants going, late spring to early summer is usually your sweet spot. This is when the plant is actively growing, and cuttings taken during this time have a much better chance of rooting quickly. You’re essentially tapping into its natural vigor, and that makes all the difference.
Supplies You’ll Need
Gathering your supplies beforehand makes the whole process so much smoother. Here’s what I usually have on hand:
- Sharp pruning shears or a clean knife: For taking clean cuttings.
- Good quality potting mix: A well-draining mix is crucial. I often use a blend of peat moss, perlite, and a bit of compost.
- Rooting hormone (optional but recommended): This can give your cuttings a helpful boost.
- Small pots or seed trays: With drainage holes, of course!
- Plastic bags or a propagator: To create a humid environment.
- Watering can with a fine rose: For gentle watering.
Propagation Methods
For Melilotus sulcatus, stem cuttings are my go-to method. It’s reliable and yields great results.
-
Taking Cuttings: In late spring or early summer, select healthy, non-flowering stems from a mature plant. You’re looking for stems that are firm but not woody – think of them as pencil-thick. Using your sharp pruning shears or knife, make a cut just below a leaf node (where a leaf attaches to the stem). Aim for cuttings that are about 4-6 inches long. Remove the lower leaves, leaving just a few at the top.
-
Preparing for Rooting: If you’re using rooting hormone, lightly dip the cut end of the stem into the powder, tapping off any excess.
-
Planting Your Cuttings: Fill your small pots with your prepared potting mix. Make a hole in the center of the soil with your finger or a pencil. Gently insert the cut end of the stem into the hole, ensuring the leaf nodes are below the soil surface. Firm the soil gently around the stem to make sure it has good contact.
-
Creating Humidity: Water the soil thoroughly but gently. To keep the humidity high, which cuttings love, you can cover the pot with a clear plastic bag, supported by stakes so it doesn’t touch the leaves. Alternatively, place your pots in a propagator.
-
Placement: Find a bright spot with indirect light. Avoid harsh, direct sun, which can scorch the delicate cuttings.
The “Secret Sauce” (Pro Tips)
Here are a couple of little tricks I’ve learned over the years that can really make a difference:
- Don’t let those leaves touch the soil! Any leaves submerged in the soil are invitations for rot. Make sure all the lower leaves are removed, and if any accidentally dip into the potting mix, trim them off.
- A touch of bottom heat is your friend. If you have a heat mat, placing your pots on it can significantly speed up root development. It mimics the warmth of spring and encourages those roots to get going.
Aftercare & Troubleshooting
Be patient! It can take anywhere from 3 to 6 weeks for your Melilotus sulcatus cuttings to develop a good root system. You can check for roots by giving the cutting a very gentle tug. If you feel resistance, you’ve got roots! Once they’ve rooted, gradually remove the plastic bag or open the propagator vents over a few days to acclimate them to normal room humidity. Water them when the top inch of soil feels dry.
The most common issue you might encounter is rot. If a cutting turns black and mushy, it’s a sign of too much moisture and not enough airflow. Make sure your soil drains well and don’t overwater. If you see signs of wilting or yellowing leaves, it could be a sign the cutting isn’t establishing, but don’t give up on others just yet! Keep the conditions consistent.
A Little Encouragement
Propagating plants is a wonderful way to connect with nature and build your garden. Don’t be discouraged if every single cutting doesn’t make it – that’s part of the learning process! Celebrate your successes, learn from any setbacks, and most importantly, enjoy the quiet satisfaction of nurturing new life. Happy propagating!
Resource:
https://identify.plantnet.org/k-world-flora/species/Melilotus%20sulcatus%20Desf./data