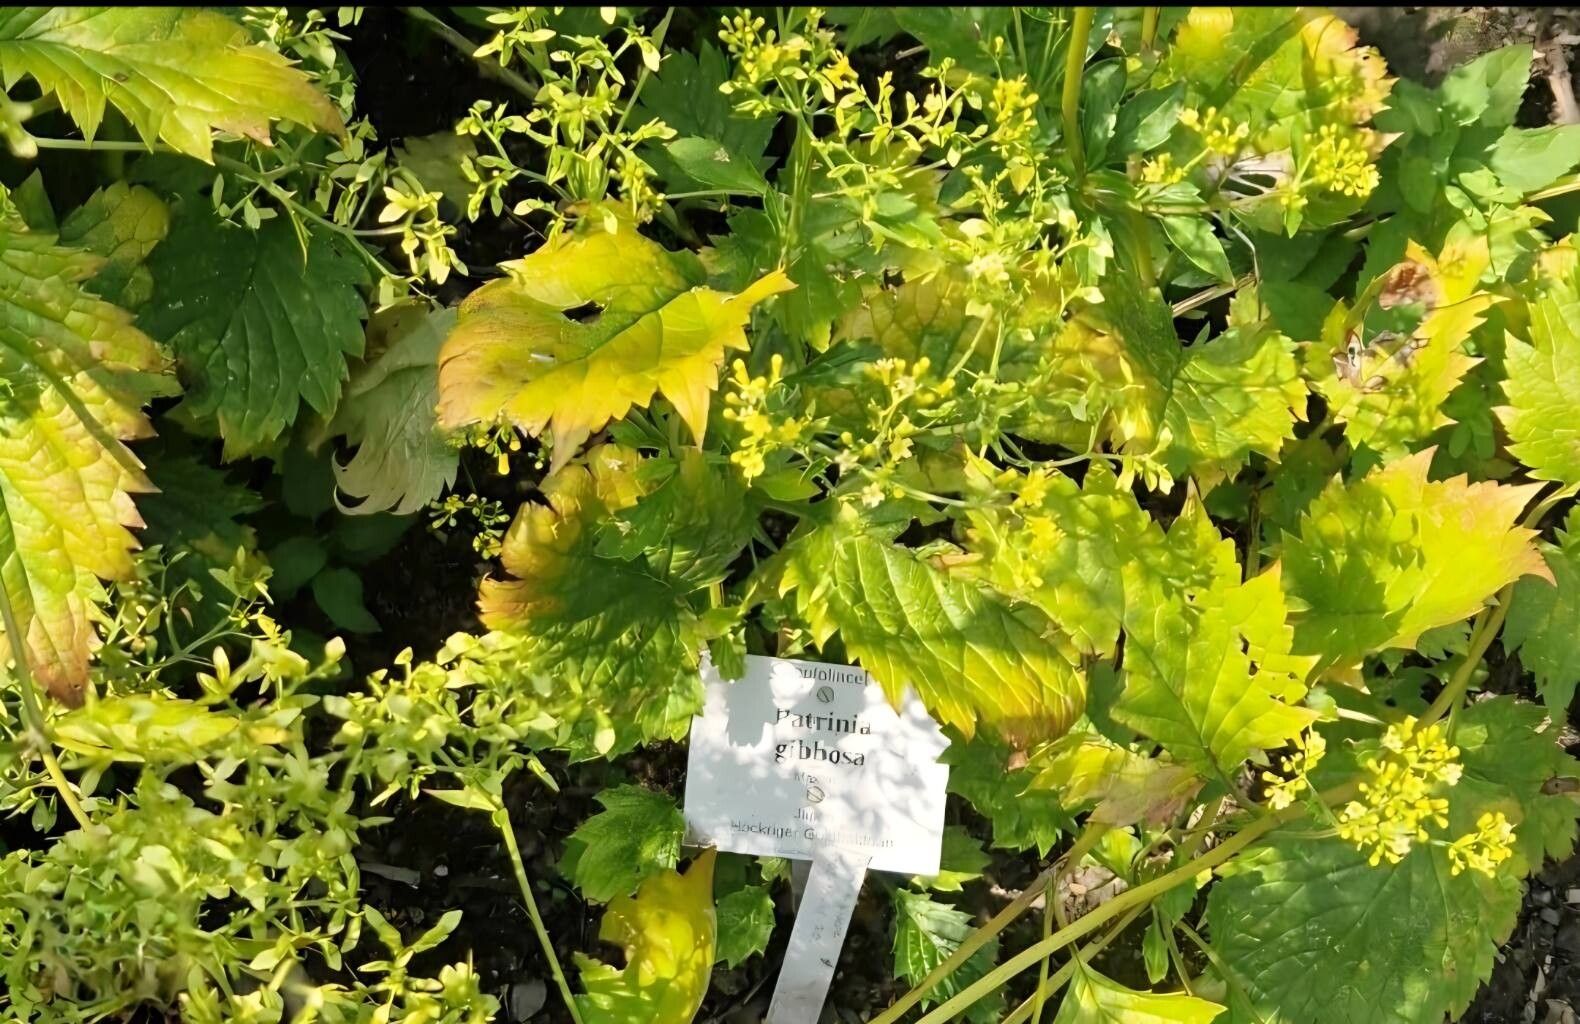
Oh, Patrinia gibbosa! If you’re looking for a plant that brings a touch of wild elegance to your garden, you’ve found a winner. With its delicate, star-shaped yellow blooms and foamy texture, it looks almost ethereal, especially when massed in drifts. And the best part? It’s not as fussy as some of its more delicate cousins. I’ve been growing and propagating it for years, and I can tell you, getting more of these beauties is a wonderfully rewarding experience. For beginners, I’d say it’s a solid moderately easy plant to start with. With a little care, you’ll have a whole patch of them in no time!
The Best Time to Start
For Patrinia gibbosa, late spring to early summer is your golden window. This is when the plant is actively growing after its spring spurt, and the cuttings are more vigorous. Waiting until after the plant has finished its main flush of spring growth, but before it goes into summer dormancy, gives you the best chance of success. You want material that’s healthy and full of life!
Supplies You’ll Need
Gathering your supplies beforehand makes the whole process so much smoother. Here’s what I usually have on hand:
- Sharp pruning shears or a clean knife: For making precise cuts.
- Rooting hormone (optional, but recommended): A powder or gel to encourage root development.
- Well-draining potting mix: A good blend of potting soil, perlite, and perhaps a bit of coarse sand or coco coir works wonders.
- Small pots or seed trays: With drainage holes, of course!
- Plastic bags or a propagation dome: To create a humid environment.
- Water mister: For keeping things moist.
- Labels and a permanent marker: So you don’t forget what’s what!
Propagation Methods
Patrinia gibbosa is quite amenable to a couple of propagation techniques. I’ve had the most consistent luck with stem cuttings and division.
Stem Cuttings:
- Take your cuttings: In late spring or early summer, look for healthy, non-flowering stems. Using your clean shears, cut lengths of about 4-6 inches. Try to get these from the tips, where the growth is most vigorous.
- Prepare the cuttings: Gently remove the lower leaves from the stem, leaving just a couple of pairs at the top. If your cuttings are longer, you can cut them in half horizontally just below a leaf node. This gives you more potential propagation points.
- Apply rooting hormone: Dip the cut end of each stem into your rooting hormone powder or gel, tapping off any excess. This step isn’t strictly essential for Patrinia, but it really does give you a boost of confidence and often speeds things along.
- Plant the cuttings: Fill your small pots with your prepared potting mix. Make a small hole in the center of the soil with your finger or a pencil. Insert the cutting into the hole, ensuring the leaf nodes are buried slightly. Gently firm the soil around the stem.
- Create humidity: Water the soil lightly with your mister. Cover the pots with a plastic bag (tie it loosely at the base of the pot) or place them under a propagation dome. This creates a mini-greenhouse effect.
- Place in bright, indirect light: Find a warm spot that gets plenty of bright, but not direct, sunlight. A windowsill out of the direct afternoon sun is usually perfect.
Division:
- Dig up the parent plant: This is best done in early spring as soon as the ground can be worked, or in early autumn after the plant has finished flowering. Be gentle!
- Gently separate the divisions: Loosen the soil around the root ball with your hands. You’ll often see where the plant has naturally formed clumps. With a bit of gentle tugging or a clean trowel, you can separate these clumps into smaller sections. Each division should have a good portion of roots and at least a few healthy shoots or stems.
- Replant immediately: Plant the divisions into their new spots in the garden or into containers with fresh potting mix, spacing them as you would the parent plant. Water them in well.
The “Secret Sauce” (Pro Tips)
Here are a few little tricks I’ve learned over the years for getting the best results:
- Air circulation is key: While you want humidity, you don’t want stagnant air, which can lead to rot. Once roots start to form, or if you see any sign of condensation dripping excessively, lift the plastic bag or open the vents on your dome for a few hours each day to allow for some fresh air exchange.
- Patience with the “wiggle test”: Don’t be tempted to pull up your cuttings too soon to check for roots. Wait at least 3-4 weeks. When you do check, try a very gentle wiggle. If you feel resistance, you’ve got roots! Resist the urge to yank!
- Bottom heat is a game-changer: If you’re serious about propagation, a heated propagator mat can make a huge difference. It keeps the soil consistently warm, encouraging faster root development. This is especially helpful if your propagation space is a bit cooler.
Aftercare & Troubleshooting
Once you see new growth on your cuttings, it’s a good sign roots are forming!
- Acclimatize slowly: Gradually reduce the humidity over a week to ten days. Start by opening the bag or dome for longer periods. This helps your new plants get used to drier air before you remove the covers completely.
- Watering: Water the new plants when the top inch of soil feels dry. Don’t let them sit in soggy conditions, as this is a fast track to root rot.
- Fertilizing: Wait until you see significant new growth before offering a very diluted liquid fertilizer, perhaps once a month.
The most common problem you’ll face is rot. If a cutting or division turns black and mushy, it’s usually a sign of too much moisture and not enough air circulation. Unfortunately, these are usually lost. Another sign of failure is simply no growth whatsoever after a prolonged period – this might mean the cuttings weren’t viable or conditions weren’t quite right. Don’t get discouraged; just try again!
A Encouraging Closing
See? It’s not rocket science! Propagating Patrinia gibbosa is a lovely way to multiply your garden’s beauty and share it with friends. Remember, gardening is a journey, and sometimes the most beautiful lessons come from a little bit of trial and error. Be patient, enjoy the process of nurturing these little green shoots, and you’ll soon have a whole lot more of that gorgeous yellow sunshine gracing your garden. Happy propagating!
Resource:
https://identify.plantnet.org/k-world-flora/species/Patrinia%20gibbosa%20Maxim./data