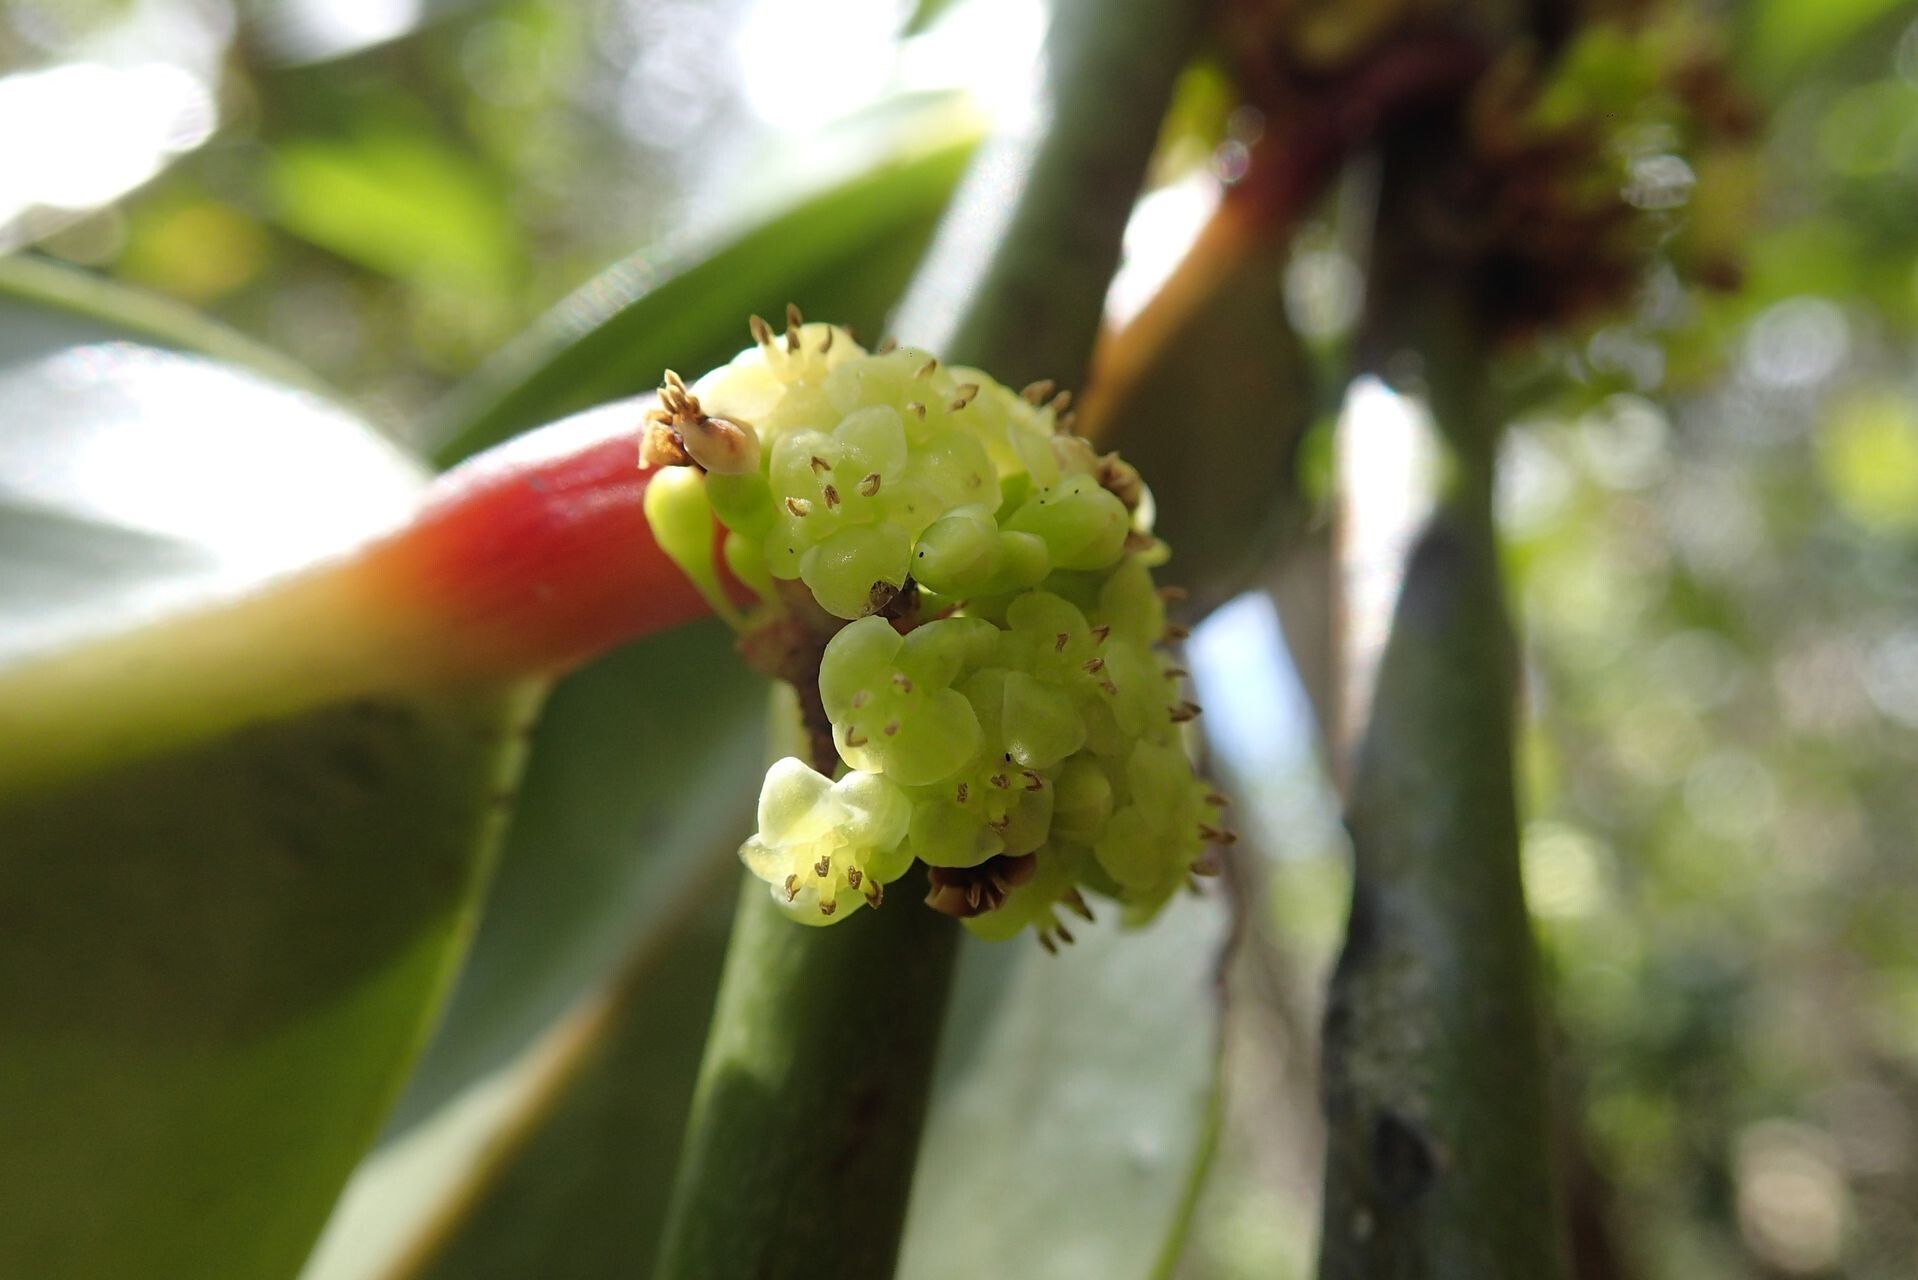
Ah, Phyllanthus carlottae! Isn’t she a beauty? With those delicate, almost fern-like leaves and that charming cascade, it’s no wonder so many of you are falling head over heels for this gem. I get asked about it all the time, and truthfully, sharing your passion for gardening by propagating a plant like Phyllanthus carlottae is one of the most rewarding things you can do. It’s a fantastic way to fill your space with more of what you love, or to share a bit of green joy with friends.
Now, about being a beginner? I’d say Phyllanthus carlottae falls somewhere in the middle. It’s not the absolute easiest for someone who’s never touched a cutting before, but it’s certainly not an insurmountable challenge either! With a little patience and these tips, you’ll be well on your way.
The Best Time to Start
For the highest success rate with Phyllanthus carlottae, I always recommend working with actively growing younger stems. This usually means late spring through early to mid-summer. You want to choose stems that aren’t woody yet, but have a bit of firmness to them. Think of it as seizing the moment when the plant is bursting with life and energy – that’s when it’s most willing to branch out and create new roots.
Supplies You’ll Need
Before we get our hands dirty, let’s gather our tools. It’s always better to be prepared!
- Sharp Pruning Shears or a Clean Knife: For making clean cuts on your cuttings. A dull tool can bruise the stems, making it harder to root.
- Rooting Hormone (Optional but Recommended): A liquid or powder formula. It really gives your cuttings a little boost.
- Well-Draining Potting Mix: A good blend would be about equal parts perlite and peat moss, or a quality seedling starting mix. We don’t want anything too heavy that holds onto excess moisture.
- Small Pots or Propagation Trays: Clean pots are important to prevent disease. Small ones are ideal for cuttings.
- Clear Plastic Bag or Dome: To create a humid environment for your cuttings.
- Watering Can with a Fine Rose: For gently watering without disturbing your new cuttings.
- Labels: Don’t forget to label your cuttings! You’d be surprised how quickly you forget what’s what.
Propagation Methods
Here are my go-to methods for coaxing new Phyllanthus carlottae from the parent plant.
Method 1: Stem Cuttings (My Favorite!)
This is usually the most reliable way to go.
- Take Cuttings: Using your clean shears, select a healthy stem. Cut a piece that’s about 4-6 inches long. Make your cut just below a leaf node (where a leaf meets the stem). These nodes are where roots are most likely to form.
- Prepare the Cuttings: Gently remove the lower leaves, leaving only the top 2-3 leaves. If the remaining leaves are very large, you can trim them in half – this reduces water loss through transpiration.
- Apply Rooting Hormone: If you’re using rooting hormone, dip the cut end of the stem into the powder or liquid. Tap off any excess.
- Plant the Cuttings: Fill your clean pots with your prepared potting mix. Make a small hole in the center of the soil with your finger or a pencil. Insert the cutting into the hole, ensuring the nodes where you removed the leaves are covered by soil. Gently firm the soil around the stem.
- Water Gently: Water the soil thoroughly until it’s moist but not soggy.
- Create Humidity: Place a clear plastic bag over the pot, securing it around the rim with a rubber band, or use a clear dome. This creates a mini-greenhouse effect.
Method 2: Water Propagation (For the Impatient Gardener)
This method is satisfying to watch, but sometimes the roots aren’t as robust as those from soil.
- Take Cuttings: Follow step 1 from the stem cuttings method.
- Prepare the Cuttings: Follow step 2 from the stem cuttings method.
- Place in Water: Fill a clean jar or glass with room-temperature water. Place the prepared cuttings in the water, ensuring no leaves are submerged. Leaves in the water will rot and can take down your whole cutting.
- Change Water Regularly: Change the water every 2-3 days to keep it fresh and prevent bacterial growth.
- Wait for Roots: Roots should start to appear within a few weeks. Once they are about an inch long, you can transplant them into soil.
The “Secret Sauce” (Pro Tips)
Here are a few things I’ve learned over the years that can make all the difference:
- Bottom Heat is Your Friend: If you can, place your pots on a gentle heating mat. This consistent warmth from below encourages root development much faster. It’s a game-changer, especially if your home is a bit cooler.
- Don’t Disturb Too Soon: Resist the urge to pull the cuttings out to check for roots every day! They need time to settle in. You’ll know they’re rooting when you see new growth and they feel firmly planted. A gentle tug will tell you if roots are developing.
- Cleanliness is Key: I can’t stress this enough. Sterilize your tools, use clean pots, and even clean your hands before you start. Fungal infections and rot are the enemies of new cuttings, and a clean environment is your best defense.
Aftercare & Troubleshooting
Once you see those first signs of roots – maybe a tiny bit of new growth at the tip or the cutting feels secure when gently tugged – it’s time for a change in care.
- Gradually Acclimate: If you’re using a humidity dome or bag, start to remove it for increasing periods each day over a week. This helps your new plant adjust to lower humidity.
- Watering: Water when the top inch of soil feels dry. Always water thoroughly, allowing excess to drain away.
- Light: Provide bright, indirect light. Direct sun can scorch those delicate new leaves.
- Troubleshooting: The most common issue is rot. If you see stems turning mushy and black, or leaves wilting without any signs of new growth, it’s likely rot. This is usually caused by overwatering or poor drainage. If you catch it early, you might be able to salvage a good part of the cutting by re-cutting above the rotted area and starting again, in a drier medium. Yellowing leaves on their own can be a sign of too little light or nutrient deficiency, but it’s less common with brand new cuttings.
A Little Encouragement
Propagating plants is an act of faith, really. You’re trusting in nature’s remarkable ability to create life. Some will succeed, and some might not, and that’s perfectly okay. The joy is in the process, in watching a tiny piece of stem transform into a whole new plant. Be patient, be observant, and most importantly, enjoy the journey of bringing more beautiful Phyllanthus carlottae into your world. Happy propagating!
Resource:
https://identify.plantnet.org/k-world-flora/species/Phyllanthus%20carlottae%20M.Schmid/data