Oh, hello there! Come on in, pull up a chair. I’ve got a fresh pot of coffee brewing, and I’m just itching to talk about one of my favorite little plants: Rhynchosia viscosa.
Bringing Home More Beauty: Propagating Rhynchosia viscosa
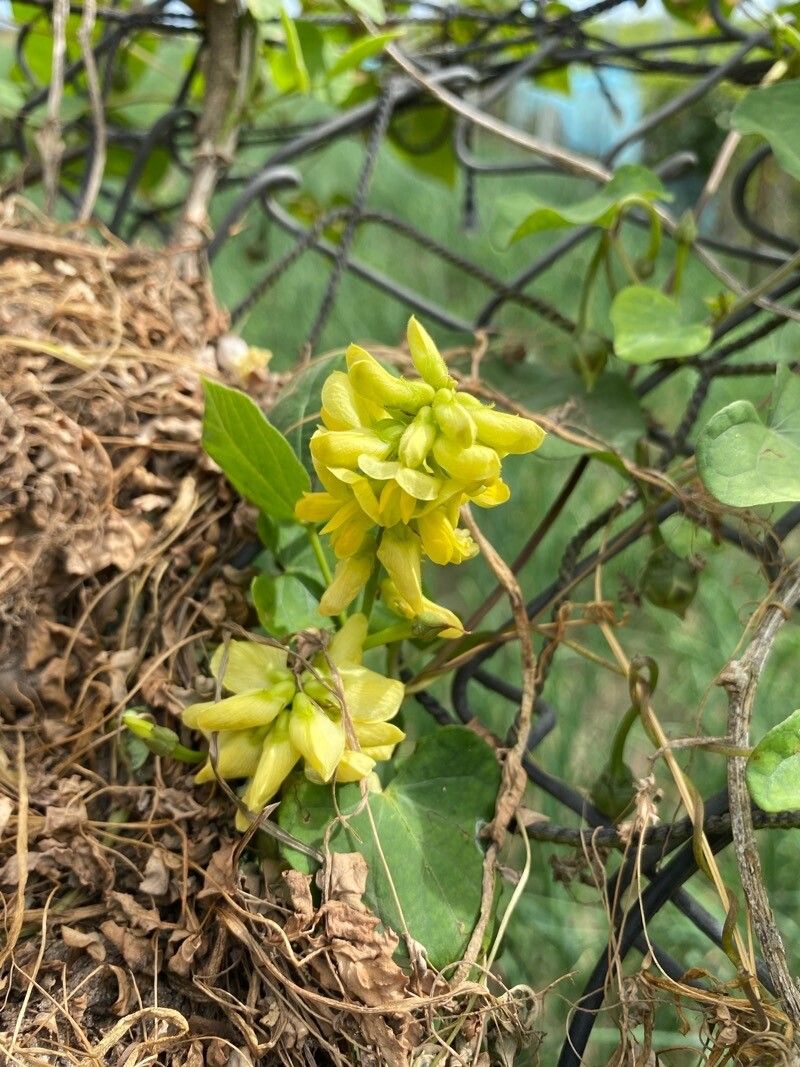
You know, I’ve been gardening for a good two decades, and one of the most satisfying things you can do is take a piece of a plant you love and bring it to life as a new one. Rhynchosia viscosa, with its fuzzy leaves and charming, pea-like flowers, is just one of those plants that feels incredibly rewarding to multiply. It’s a lovely addition to a patio, a hanging basket, or even as a groundcover in milder climates. And honestly, while some plants can be a bit finicky, I find Rhynchosia viscosa to be quite accommodating. It’s a great plant for those just dipping their toes into propagation.
When to Get Your Hands Dirty
The best time to propagate Rhynchosia viscosa is definitely during its active growing season. For most of us, this means late spring through early to mid-summer. You want to be working with healthy, vigorous stems that are full of life, not plants stressed from drought or extreme heat. Think of it like building something – you want the best materials to start with!
Your Propagation Toolkit
Here’s what you’ll want to have on hand:
- Sharp, clean pruning shears or a craft knife: For making those precise cuts.
- A good quality potting mix: I usually go with a blend that drains well, something like a mix of potting soil and perlite or coarse sand. This is crucial!
- Small pots or seed trays: About 3-4 inches in size works perfectly. Make sure they have drainage holes!
- Rooting hormone (optional but recommended): This can give your cuttings a little boost. Look for one that contains IBA.
- A plastic bag or clear humidity dome: To keep the humidity high around your cuttings.
- Water: For a few methods, and for keeping things moist.
Growing New Rhynchosias: My Go-To Methods
I find that stem cuttings are hands-down the most reliable way to propagate Rhynchosia viscosa.
Stem Cuttings:
- Select your stem: Look for a healthy, non-flowering stem that’s at least 4-6 inches long. You want a stem that’s mature enough to be firm, but not woody. A stem that bends slightly without snapping is usually a good sign.
- Make the cut: Using your clean shears or knife, make a clean cut just below a leaf node (where the leaf attaches to the stem).
- Remove lower leaves: Gently strip off the leaves from the bottom half of your cutting. This prevents them from rotting once they’re in the soil or water. Leave a few leaves at the top – these are important for photosynthesis!
- Dip in rooting hormone (if using): Lightly moisten the cut end of the stem and then dip it into your rooting hormone. Tap off any excess.
- Plant your cutting: Fill your small pot with your well-draining potting mix. Make a small hole with your finger or a pencil and gently insert the cut end of the stem. Firm the soil gently around it.
- Water and cover: Water the soil thoroughly but gently. Then, cover the pot with a clear plastic bag, making sure the leaves don’t touch the plastic. You can use stakes to hold the bag up. Alternatively, use a clear humidity dome. Place the pot in a bright spot, but out of direct sunlight.
The “Secret Sauce” for Success
Now, here are a couple of little things I’ve learned over the years that make a big difference:
- Bottom Heat is Your Friend: Rhynchosia roots love a little warmth from below. If you have a seedling heat mat, placing your pots on it can significantly speed up root development. It mimics the warm soil they’d find in nature.
- Don’t Drown Them: While humidity is key, waterlogged soil is the quickest way to kill a cutting. Ensure your potting mix is airy and that excess water can drain away freely. A soggy environment invites rot.
- Patience, Patience, Patience: It might take a few weeks, sometimes even a month or two, before you see signs of new growth. Don’t be tempted to pull your cuttings up to check for roots too often! Keep the humidity high and let them do their thing.
Aftercare and When Things Go Wrong
Once you start to see new growth appearing at the top of your cutting, that’s a fantastic sign! It means roots are forming. You can gently increase the watering slightly, but still avoid soaking the soil. Keep the humidity up for another week or two before gradually acclimating your new plant to normal household humidity by opening the bag or dome for longer periods each day.
The most common sign that a cutting isn’t making it is if it turns yellow and then brown and crispy, or if the stem becomes mushy and black at the soil line. This usually points to too much water and not enough airflow, or a lack of light. Don’t get discouraged if a few cuttings don’t take – it happens to all of us! Just try again with fresh ones.
Go Forth and Grow!
So there you have it! Propagating Rhynchosia viscosa is a wonderful way to expand your collection or share the joy with friends. Be patient, enjoy the process, and before you know it, you’ll have a whole little family of these charming plants. Happy gardening!
Resource:
https://identify.plantnet.org/k-world-flora/species/Rhynchosia%20viscosa%20DC./data