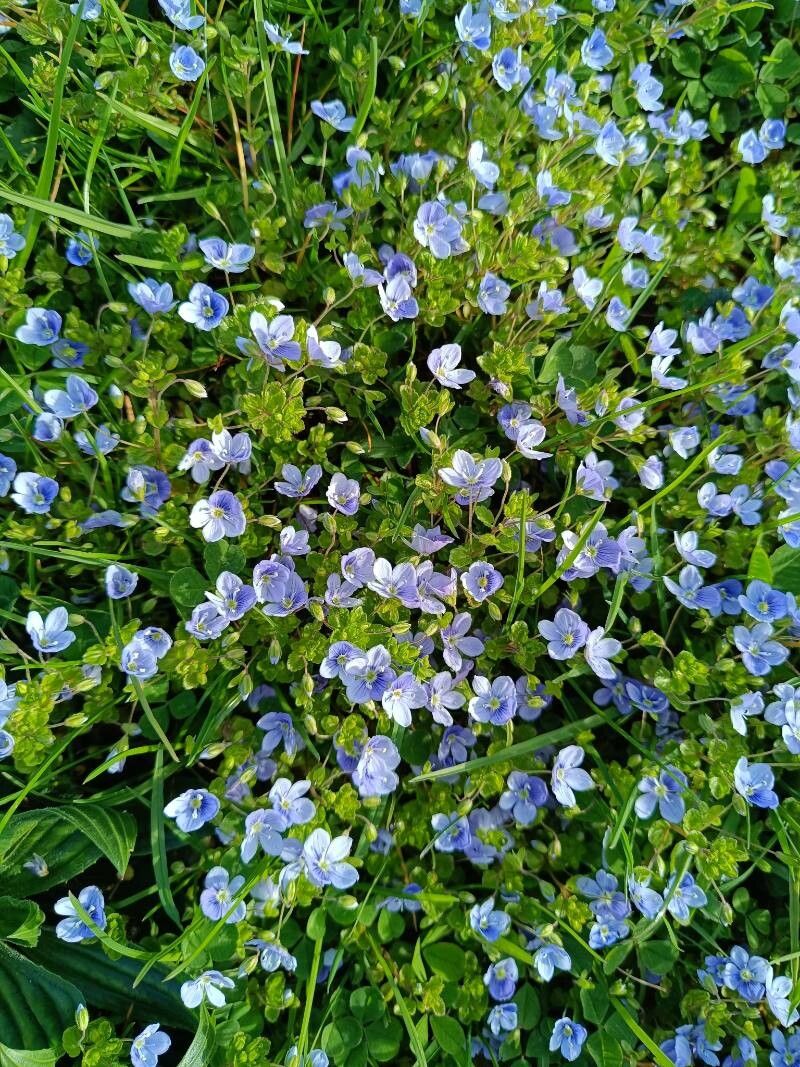
Oh, Veronica filiformis! You know, the creeping speedwell with its charming little blue flowers that just carpet the ground? It’s such a delight in the garden, and honestly, one of my absolute favorites for its low-maintenance attitude and cheerful bloom. If you’ve ever admired its delicate beauty and thought, “I wish I had more of that!”, you’re in luck. Propagating this little gem is not only easy, but it’s incredibly rewarding to watch those tiny new plants thrive. Trust me, even if you’re new to the gardening game, you can totally do this.
The Best Time to Start
For Veronica filiformis, the sweet spot for propagation is really from late spring through early summer. This is when the plant is actively growing, and the stems are usually at a good stage – not too woody, but not brand new and floppy either. You want a stem that’s got some substance to it, you know? This vigorous growth period means your cuttings will have the best chance of rooting quickly and successfully.
Supplies You’ll Need
Gathering your supplies beforehand makes the whole process so much smoother. Here’s what I usually have on hand:
- Sharp pruning shears or scissors: Clean cuts are key!
- Small pots or seed trays: Don’t need anything too large to start with.
- Well-draining potting mix: A good quality mix designed for seedlings or cuttings works best. I often add a bit of perlite for extra aeration.
- Rooting hormone (optional but helpful): A light dusting can give your cuttings a boost.
- A misting bottle: For keeping those leaves and the soil surface nice and moist.
- Plastic bags or a clear plastic dome: To create a mini-greenhouse environment.
Propagation Methods
There are a couple of wonderfully simple ways to get more Veronica filiformis. My go-to is usually stem cuttings, but division is also super straightforward.
Stem Cuttings
- Take cuttings: Find healthy, non-flowering stems. Using your clean shears, cut lengths of about 3-4 inches. Make sure each cutting has at least a couple of leaf nodes (where the leaves grow from the stem).
- Prepare the cuttings: Gently remove the lower leaves from the cutting, leaving maybe one or two at the very top. This prevents them from rotting when you stick them in the soil.
- Apply rooting hormone (if using): Dip the cut end of the stem into your rooting hormone powder. Tap off any excess.
- Plant the cuttings: Fill your pots or trays with your pre-moistened potting mix. Make a small hole with your finger or a pencil, and gently insert the cutting, ensuring the leaf nodes you stripped are below the soil surface. Press the soil lightly around the stem to secure it.
- Create a humid environment: Water the soil gently. Then, cover the pots with a clear plastic bag or a dome. This traps moisture and helps prevent the cuttings from drying out. You can prop up the bag with skewers if needed to keep it from touching the leaves.
Division
This is perhaps the easiest method for Veronica filiformis!
- Dig up a clump: In spring or early fall, carefully dig up a healthy, established clump of Veronica filiformis.
- Gently separate: You can often gently pull the root ball apart with your hands. If it’s a bit stubborn, use a clean trowel or even a fork to tease the roots apart into smaller sections.
- Replant: Immediately replant the divided sections into their new homes. Water them well.
The “Secret Sauce” (Pro Tips)
Here are a few little tricks that have helped me over the years:
- Bottom heat is your friend: If you’re doing cuttings and your house is a bit cool, placing your pots on a propagation mat set to a low heat can really speed up root development. It mimics that nice, warm spring soil.
- Don’t overcrowd: When planting multiple cuttings in one pot, give them a little breathing room. They need space to develop roots and air circulation helps prevent mold.
- Check the soil moisture through the plastic: Instead of constantly lifting the cover and disturbing the humidity, I often just gently squeeze the plastic bag. If it’s fogged up, it’s usually moist enough. You don’t want soggy soil, just consistently damp.
Aftercare & Troubleshooting
Once you start seeing tiny new leaves emerging or feel a little resistance when gently tugging on a cutting, that’s a great sign! You can gradually acclimate your new plants to the open air by opening the plastic bag a little bit each day over a week. Once they seem robust and have a good root system (you might see roots peeking out the drainage holes), you can transplant them into their own pots or into the garden.
The most common issue you’ll face is rot, which usually happens if the soil stays too wet or the humidity is too high with poor air circulation. If you see a cutting turning black and mushy, unfortunately, it’s best to remove it to prevent it from affecting others. Sometimes, a cutting just doesn’t take – and that’s okay! Don’t get discouraged; it’s all part of the learning process.
A Encouraging Closing
Remember, gardening is a journey, and propagation is one of its most magical aspects. Be patient with your little Veronica cuttings. Watch them, tend to them, and celebrate every tiny bit of progress. Soon, you’ll have a whole patch of these cheerful blue beauties. Happy growing!
Resource:
https://identify.plantnet.org/k-world-flora/species/Veronica%20filiformis%20Sm./data