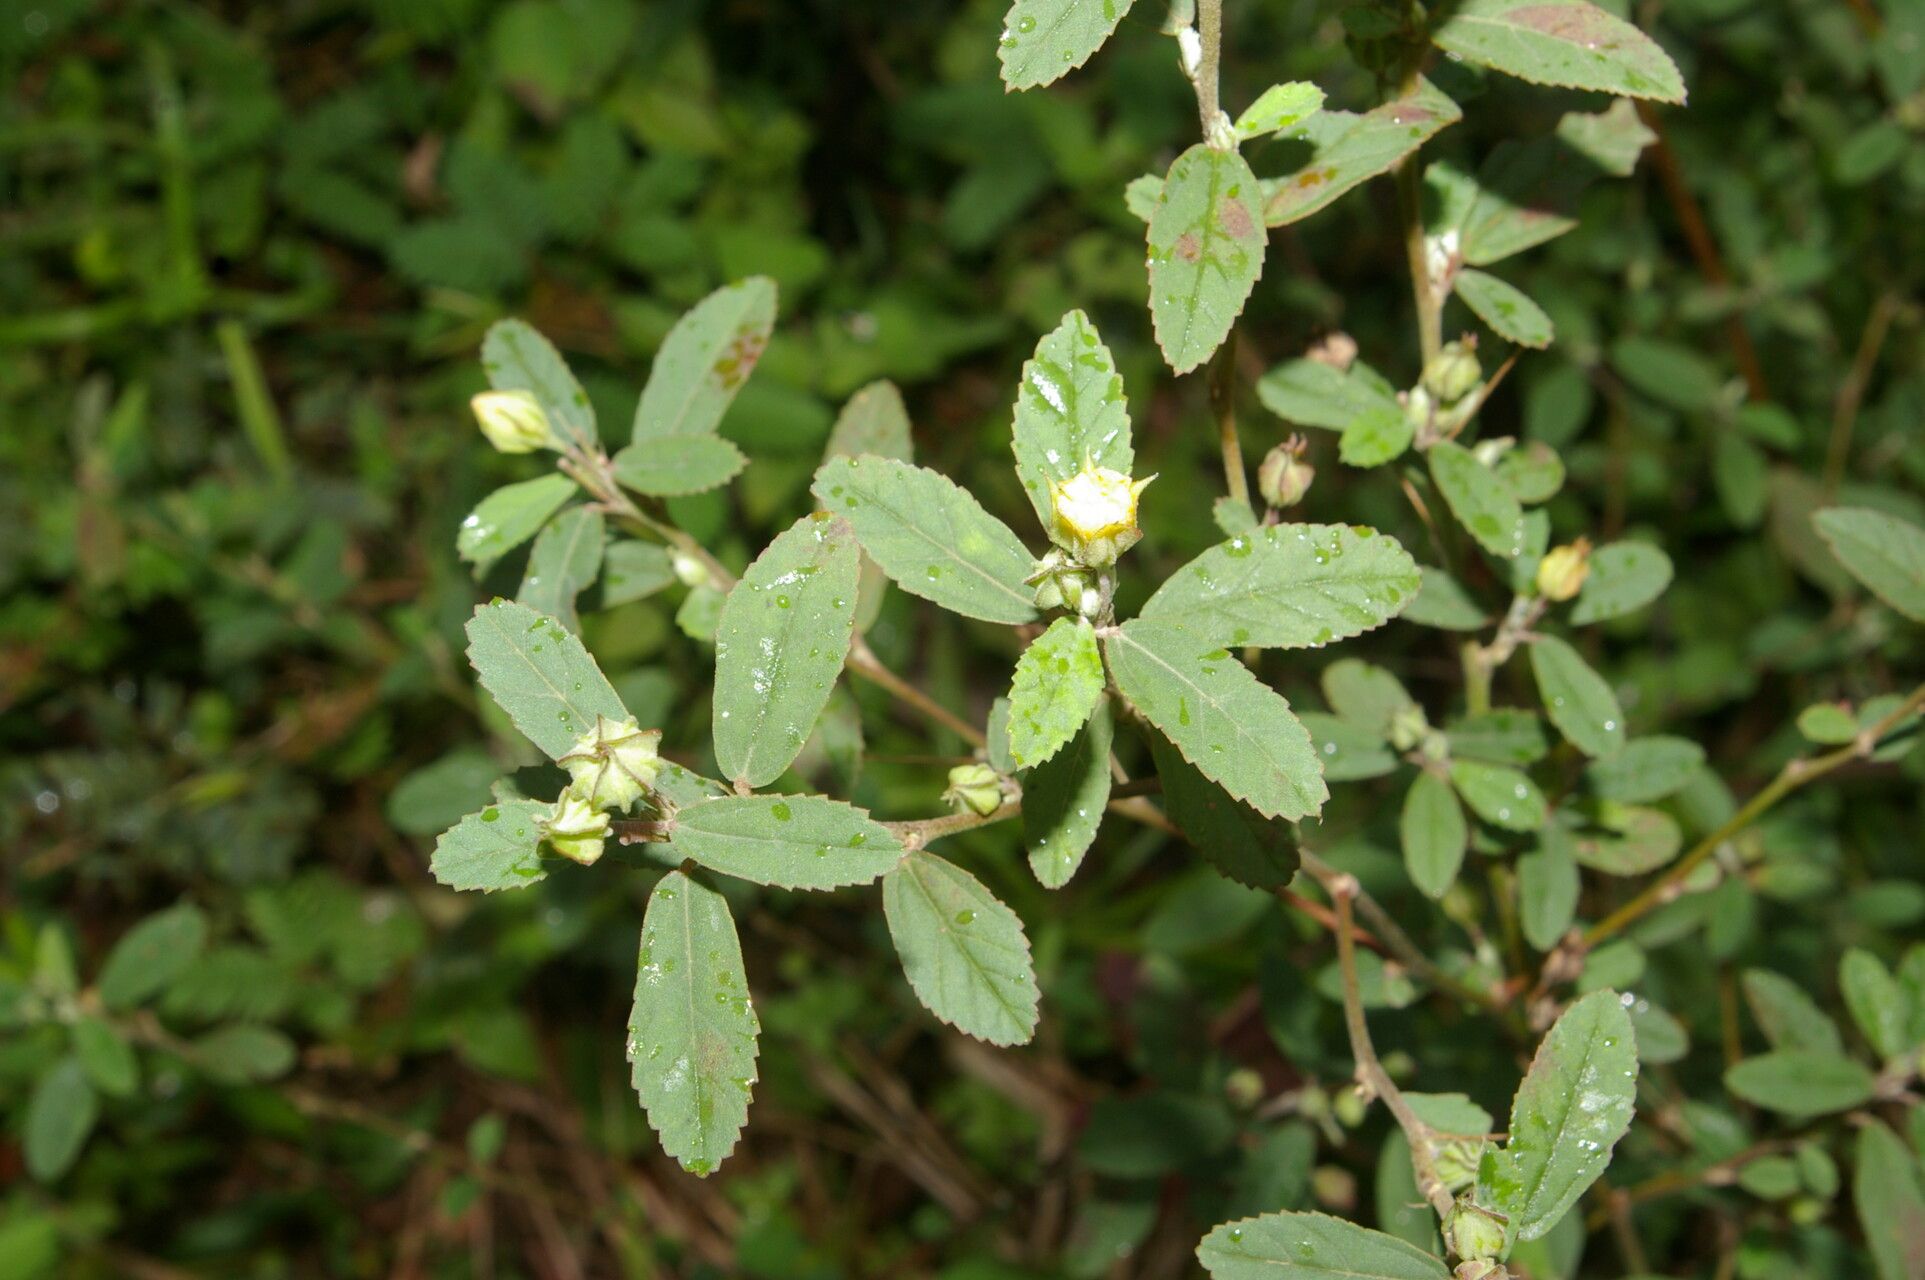
Hello, fellow plant lovers! Today, we’re diving into the wonderful world of propagating Sida haenkeana. If you’re drawn to its delicate, nodding flowers and lovely foliage, you’re in for a treat. Growing more of these beauties from existing plants is such a rewarding way to expand your garden and share them with friends. I’ve found Sida haenkeana to be quite amenable to propagation, making it a great project for even those just starting their green thumb journey.
The Best Time to Start
For the highest success rates, I always recommend propagating Sida haenkeana from stem cuttings in late spring or early summer. This is when the plant is actively growing and has plenty of energy to invest in developing new roots. You’ll want to take cuttings from healthy, non-flowering stems if possible.
Supplies You’ll Need
Before we get our hands dirty, let’s gather our essentials:
- Clean, sharp pruning shears or a sharp knife: A clean cut is crucial to prevent disease.
- Rooting hormone powder or gel: This is a helpful booster, but not strictly essential for Sida haenkeana.
- A well-draining potting mix: I prefer a blend of equal parts peat moss, perlite, and a little bit of compost.
- Small pots or trays: Clean containers are important!
- A clear plastic bag or a propagation dome: This creates a humid environment for your cuttings.
- Water: For misting and, well, watering.
Propagation Methods
Let’s get to the fun part! My go-to method for Sida haenkeana is stem cuttings. Here’s how I do it:
- Select and take your cuttings: Find a healthy stem that’s about 4-6 inches long. Make a clean cut just below a leaf node (that little bump where a leaf grows from the stem).
- Prepare the cuttings: Gently remove the lower leaves, leaving just a couple at the top. This prevents them from rotting in the soil. If you’re using rooting hormone, dip the cut end into it now, tapping off any excess.
- Plant your cuttings: Fill your small pots with the pre-moistened potting mix. Make a small hole with your finger or a pencil, and gently insert the cut end of the stem. Firm the soil around it to ensure good contact.
- Create humidity: Water the soil lightly. Then, cover the pot with a clear plastic bag, securing it around the rim with a rubber band, or place it under a propagation dome. This is key to keeping the cuttings from drying out.
- Place and wait: Put your pots in a bright spot, but out of direct, harsh sunlight. A north-facing window or a spot with dappled shade is perfect.
- Check for roots: After about 3-6 weeks, give your cuttings a gentle tug. If there’s resistance, you’ve got roots! You can also look for new leaf growth as a sign of success.
The “Secret Sauce” (Pro Tips)
Here are a couple of little tricks I’ve learned over the years that can really make a difference for Sida haenkeana:
- Don’t overcrowd: Give your cuttings enough space. Too many in one pot can lead to competition for resources and air circulation issues.
- Bottom heat is your friend: If you have a seedling heat mat, placing your pots on it can significantly speed up root development. It mimics the warmth of spring soil and encourages those roots to get going.
- Air circulation is vital: While we want humidity, stagnant air can encourage fungal diseases. Open the plastic bag or dome for a few minutes each day to let fresh air in. This helps prevent rot.
Aftercare & Troubleshooting
Once you see those signs of successful rooting – new leaves unfurling or that tell-tale tug – it’s time to transition!
Gradually acclimate your new plant to normal room humidity. This means slowly opening the plastic bag or dome over a week or two. Continue to keep it in bright, indirect light. Water when the top inch of soil feels dry.
Now, what if things don’t go as planned? The most common issue is rot. If a cutting turns black and mushy, it’s likely gone too far. This often happens due to too much moisture and not enough air circulation. If you see signs of fungus on the soil, remove the affected cutting immediately and improve aeration. Sometimes, even with the best care, a cutting just won’t root. Don’t get discouraged! It happens to the best of us. Just try again.
A Encouraging Closing
Propagating plants is a journey of patience and observation. Don’t be afraid to experiment! With a little practice and the tips I’ve shared, you’ll soon be surrounded by even more of your beloved Sida haenkeana. Enjoy the process of nurturing new life; it’s one of the most satisfying parts of gardening. Happy propagating!
Resource:
https://identify.plantnet.org/k-world-flora/species/Sida%20haenkeana%20C.Presl/data