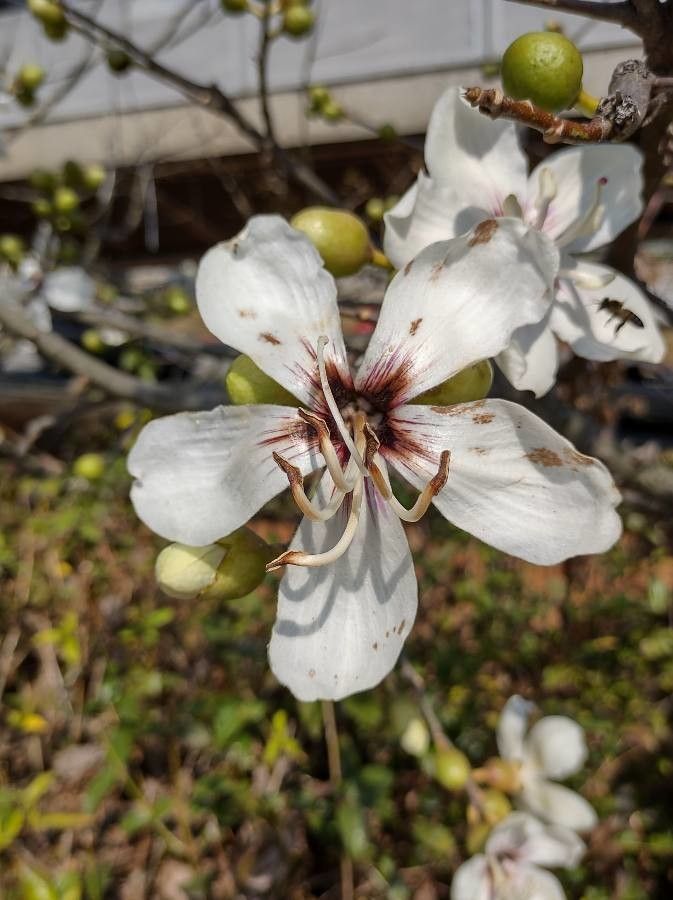
Ah, the Ceiba glaziovii! I admit, I have a real soft spot for these magnificent trees. Their striking umbrella shape and the unique, smooth, greenish-grey bark have a way of drawing you in. And oh, those beautiful, waxy flowers that appear, sometimes even before new leaves! Growing one from a tiny cutting or seed and nurturing it into a young tree is one of those garden joys that really stick with you. It’s a journey that’s both deeply satisfying and surprisingly accessible, even for those of you who are just dipping your toes into propagation.
The Best Time to Start
For Ceiba glaziovii, like many tropical and subtropical plants, the warm, active growing season is your best bet. Think late spring through to early autumn. This is when the plant has plenty of energy reserves to put into developing new roots and establishing itself. Starting a little earlier in spring gives you a longer window to see good growth before cooler weather arrives.
Supplies You’ll Need
Here’s what you’ll want to gather before you get started:
- Sharp, clean pruning shears or a sharp knife: Essential for making clean cuts.
- Well-draining potting mix: A blend of peat moss, perlite, and coarse sand is excellent. Look for something that doesn’t hold too much moisture.
- Rooting hormone (optional, but recommended): Encourages faster and stronger root development. Look for one formulated for semi-hardwood cuttings.
- Small pots or seedling trays: Clean and with drainage holes, of course!
- Clear plastic bags or a propagator: To maintain humidity around your cuttings.
- Water spray bottle: For misting.
- Gravel or perlite (for water propagation): To support the cuttings.
Propagation Methods
Ceiba glaziovii can be propagated by a couple of common methods. Let’s dive in!
Stem Cuttings: My Go-To Method
This is a fantastic way to get a head start.
- Select your parent plant: Choose a healthy, vigorous Ceiba glaziovii. Look for a stem that’s about a year old – not too soft and green, but not overly woody either. We call this semi-hardwood.
- Take the cutting: Using your sharp pruning shears, cut a section about 6-8 inches long. Make the cut just below a leaf node (where a leaf attaches to the stem).
- Prepare the cutting: Gently remove the lower leaves. If there are any flowers or flower buds, snip those off too – we want all that energy to go into roots! You can leave two to three sets of leaves at the top.
- Apply rooting hormone (if using): Dip the cut end into the rooting hormone, tapping gently to remove any excess.
- Pot it up: Fill your small pot with the well-draining potting mix. Make a hole in the center with your finger or a pencil.
- Insert the cutting: Gently place the cut end of the stem into the hole and firm the soil around it.
- Water and cover: Water the soil thoroughly until it drains from the bottom. Then, cover the pot with a clear plastic bag or place it in a propagator. This creates a humid environment, which is crucial for cuttings while they’re trying to root. You can use stakes to keep the bag from touching the leaves.
- Location, location, location: Place the pot in a warm spot with bright, indirect light. Avoid direct sun, which can scorch the new cutting.
Water Propagation: A Visual Treat
This method is wonderful because you can see the roots forming!
- Take a cutting: Similar to the stem cutting method, select a healthy, semi-hardwood stem and cut a 6-8 inch piece just below a leaf node.
- Prepare the cutting: Remove the lower leaves.
- Set it up: Fill a clean jar or glass with water. You can add a few pieces of gravel or perlite at the bottom to help support the stem and prevent it from tipping over.
- Place the cutting: Submerge the cut end of the stem in the water, making sure the leaves are well above the water line.
- Change the water regularly: This is important to prevent bacterial growth. I like to change it every 3-5 days.
- Provide light: Keep the jar in a spot with bright, indirect light.
The “Secret Sauce” (Pro Tips)
I’ve learned a few tricks over the years that can really make a difference with Ceiba glaziovii.
- Bottom Heat is Your Friend: If you’re struggling to get cuttings to root, consider a heat mat. Placing your pots on a seedling heat mat provides gentle warmth to the soil, encouraging root development from below. This is especially helpful if your room temperatures fluctuate.
- The “Wiggle Test”: Don’t be tempted to yank on your cutting too soon to see if it has roots. A gentle tug test is more effective. If there’s slight resistance, you likely have new roots. You’ll usually see new leaf growth before significant roots appear, so don’t despair if it looks a bit dormant initially.
- Humidity, Humidity, Humidity: I can’t stress this enough! For stem cuttings, that plastic bag or propagator isn’t just for show. Maintain high humidity around the cutting. If the leaves start to look droopy, it’s a sign the humidity has dropped too low. A light misting inside the bag can help.
Aftercare & Troubleshooting
Once you see signs of new growth – tiny leaves unfurling or even just a healthy, firm stem – you’re on the right track!
- For Cuttings: If you propagated in soil, continue to keep the soil consistently moist but not soggy. Once the roots have established well (you’ll see good top growth), you can acclimatize it to less humidity by gradually opening the plastic bag over a week or so. Then, it’s ready for its own pot to grow on.
- For Water Propagation: Once the roots are a couple of inches long, it’s time to transplant them into potting mix. Gently place the rooted cutting into its pot, and water it in. Again, maintain that higher humidity for a week or two as it adjusts to soil.
- Rot happens: The most common problem you might encounter is rot, usually due to overwatering or poor drainage. If you see a cutting turning black and mushy, it’s likely rotted. Remove it immediately to prevent it from affecting other cuttings. Make sure your soil is airy and drains well, and that you’re not keeping it constantly waterlogged.
A Little Patience Goes a Long Way
Propagating a Ceiba glaziovii is a wonderful way to connect with these beautiful trees. Don’t be discouraged if your first attempt isn’t a roaring success. Gardening is a learning process, and sometimes it means trying a few times before you get it just right. Embrace the journey, observe your plant, and remember to enjoy the magic of growth! Happy propagating!
Resource:
https://identify.plantnet.org/k-world-flora/species/Ceiba%20glaziovii%20(Kuntze)%20K.Schum./data